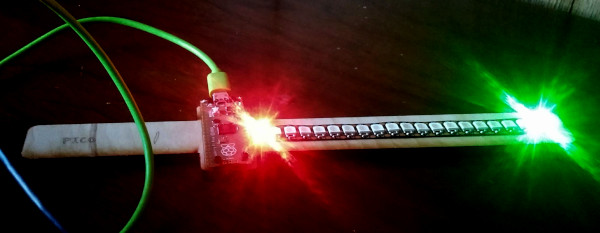
Hardware
You will need:
- Raspberry Pi Zero W or Raspberry Pi Pico (should also work with the B series). The server setup assumes that the Pi has a wifi chip so you won't be able to control the Pico remotely.
- The Pi Zero WH, which includes headers would be the easiest to start with. Otherwise, you'll need to solder on your own headers (headers are the places wher you can plug in wires/jumpers).
- I've also used the Pi Zero 2 W.
- WS281x LED strips (tested with WS2812B). These are individually addressable strips. The default programs use 20 LEDs.
- If you have a month of lead time, I've used these before.
- Jumper cables
- If you have a Pi with headers, and a new LED strip, you should be able to connect everything just using male-to-male jumpers.
- micro-USB cable or power supply:
- You can power the Pi with just a micro-USB cable connected to the USB port on a computer.
- Alternatively, pretty much any micro-USB power supply will work.
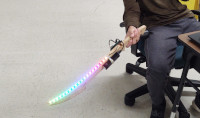
- We have been able to run them off a USB battery (see Figure 1).


Software
rpi-led-strip: Software setup instructions are detailed at the GitHub repository.
- These lessons do not require the server to be set up.The server allows you to control the LEDs using a web page, and there are instructions about how to use and code this, however, with these lessons you'll use the command line.
- Assumes that the led strip is controlled by the GPIO 18 pin.
- You need to use a Pi computer (Zero, B+ etc) for the server to work. The Pico has no built-in wifi.
Connecting
Connecting and Command Line: Instructions for connecting to the Pi and running programs to control the LEDs (using the command line).

