Makerspace at the Fulton School
Keycap Project

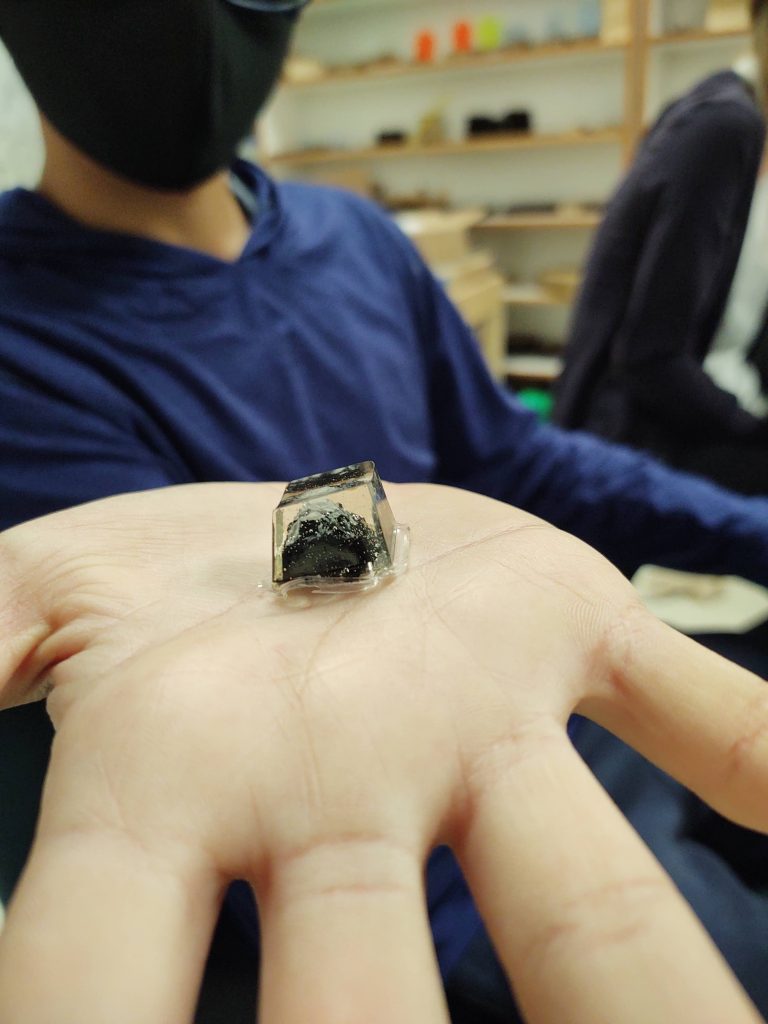
In this project I am working on a keycap. A keycap is the top part of a key on a keyboard. Mine specifically is used on a mechanical keyboard. Originally, the I ordered the supplies for creating the mold which didn’t work out later on.
The first attempt I used a two part silicon solution to create the mold of the actual keycap from the keyboard. This required the bottom and the top of the keycap. With the mold of the bottom part completed, I attempted to create a clay sculpture on top. Then poured the epoxy with the clay sculpture in it upside-down. Once the resin hardened, I took apart the mold.
The challenge for the first attempt was not being able to re-use the mold multiple times very well and the time it took to create a new one is very time consuming.
To overcome this I ordered molds online which worked very well and where larger than the usual sized keycaps which made for a clearer keycap. Something that was very challenging with this, would be the bubbles in the epoxy. To remove the bubbles I would have to use a blow torch of some sort, which I didn’t have access to at the time.
I repeated this process a two times then attempted to make three keys at once. The results were bad because I messed up the two-part solution and the epoxy wasn’t able to harden and is still liquid to this day.

Recent Comments