Makerspace at the Fulton School
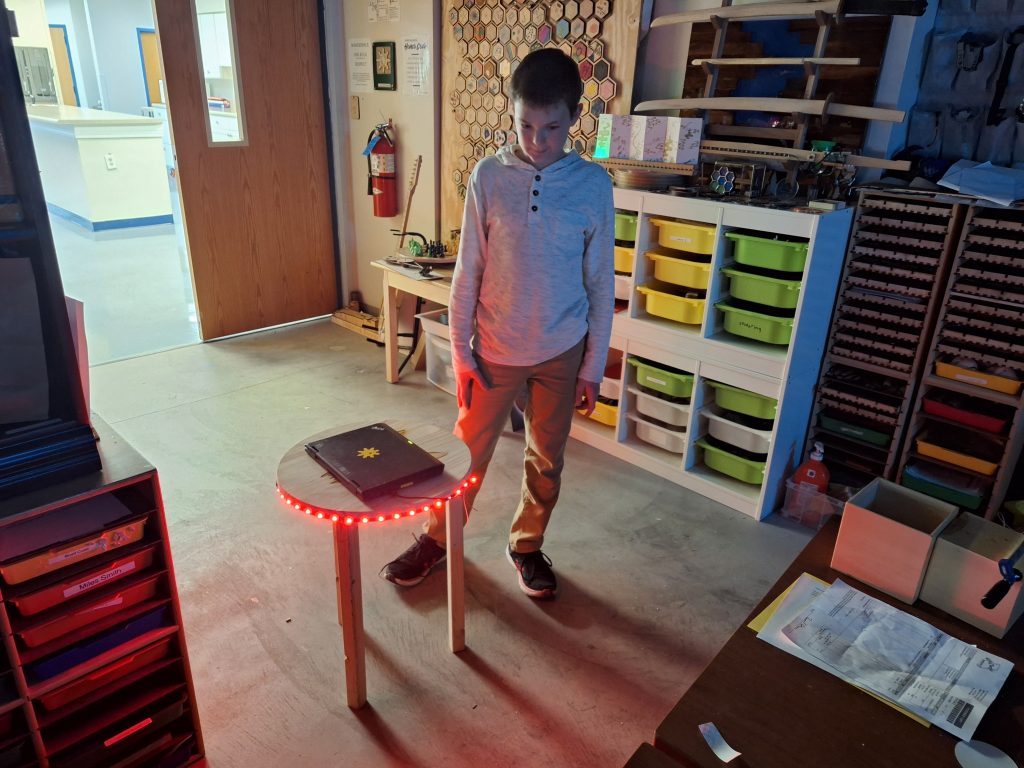
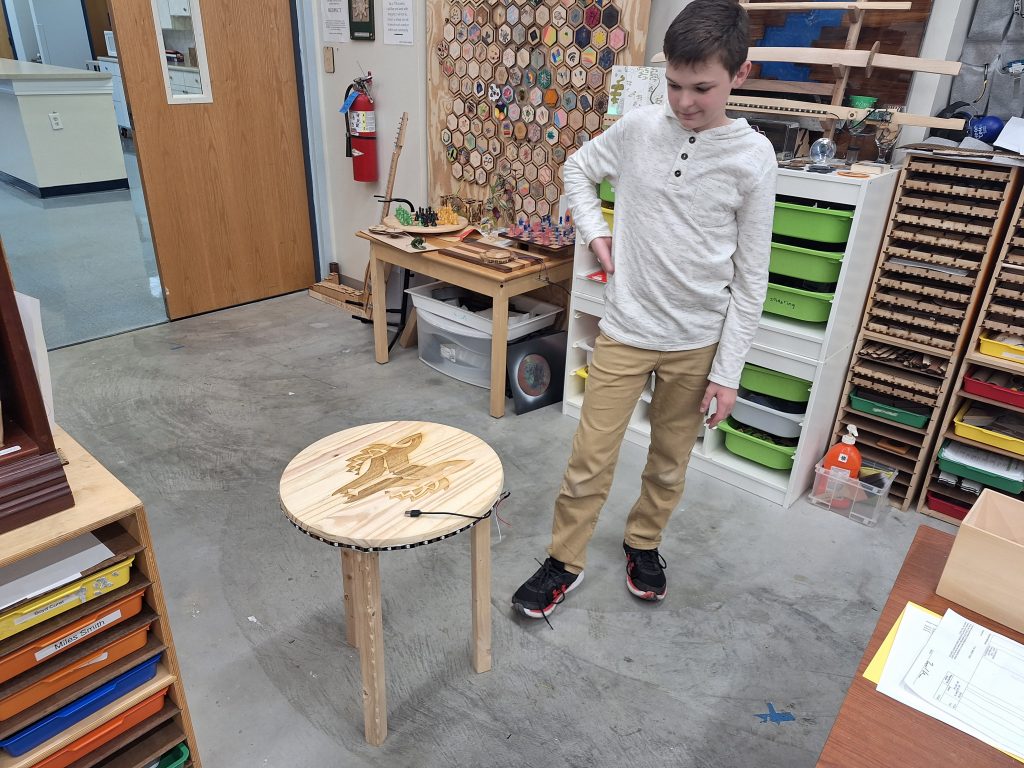
Wolf Pack table
I really like Star Wars, especially the Clone Wars. So I decided to make a table with the Wolf Pack logo on it. The table has some LEDs around the edge.
Procedure
Step 1. Get an 18 inch circle made of wood.
Step 2. Measure and mark the center of the circle on one side.
Step 3. Find the logo, download the image, and put the image on CorelDRAW.
Step 4. Etch the logo on the side of the wood with the marked center. Remember to align the wood so that the center of the logo is at the same position as the center of the wood. The machine used to etch the logo is the laser cutter
Step 5. Get an 8 foot long 2 in by 2 inch wood plank. Measure and cut three sections of the plank. Each section should be 23 inches long. There will be some extra wood, though it will not be used.
Step 6. Get a Raspberry Pi Pico and solder the headers onto it.
Step 7. Measure the circumference of the circle. Cut the length of the circumference off of an LED strip. Round to the nearest LED.
Step 8. Cut a red wire, a black wire, and a green wire. Each wire should be about 10 inches long.
Step 9. Strip the wires on both sides and cut them so that there is only about half of a centimeter of exposed wire on each side.
Step 10. Solder the black wire to the copper colored area labeled “GND”, the red wire to the one labeled “+5v”, and the green wire to the one labeled “DIN”.
Step 11. Solder the black wire to any pin labeled “GND”, the red wire to the pin labeled “VBUS”, and the green wire to any “GP” pin. (any GP pin will be labeled as “GP” then a number)
Step 12. Use a hole say jig on one end of each of the three pieces. Drill four holes on each piece. (one on each side)
Step 13. Screw on the legs.
Step 14. Code the Raspberry Pi to make the LEDs light up at full brightness.
Step 15. add some other features to the LED code. (optional)
One Comment on “Wolf Pack table”
Leave a Reply
You must be logged in to post a comment.
good job