Makerspace at the Fulton School
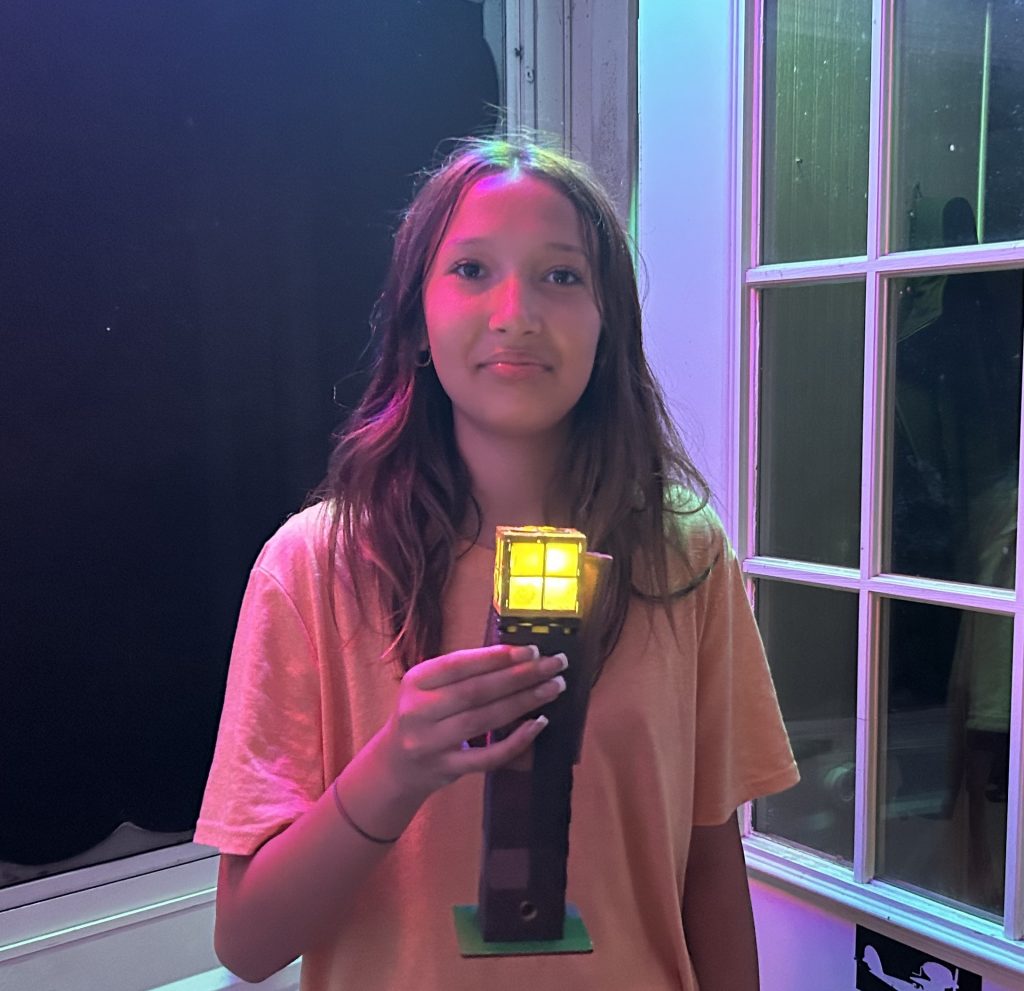
Minecraft Torch (by sydney DON’T COPY WRITE)

So, letucce get to the basics of it. This is my minecraft torch! For those of you who don’t know what that is, it’s from a video game called Minecraft. I started by using the laser cutter to cut out the base of the torch (The brown part) and put the box together. Then I started on the top of torch by doing the same thing with the base, except this time I cut out windows in the sides. I mixed up some epoxy and used it to fill in the windows doing a different shade of yellow in each window pane. It ended up failing the first time so now the first attempt is kept in the makerspace. After my first attempt I tried it again and it worked! I put the pieces together and attached it to the base. After all of that I decided to make another flat base to go under all of that so then its stable. I then painted it green to look like grass. Now that the main part was done, it was time to get into the wiring and coding aspect of it.
I used the raspberry pie and soldered the wires and LED strip to it. I used a touch censor to signal the lights on and off. Now all I need to do it plug it in and code it. BOOMSHAKALAKA!
Recent Comments