Tri State Area
Makerspace at the Fulton School
Fish tank assistance
During the first quarter I worked in a group with Amelia and Mary to build a fish tank. I helped move equipment, and harvested water from a nearby pond for algae and microorganisms. We plan to assemble the fish tank later this year and make it somewhat self sustaining.
First Crochet Project
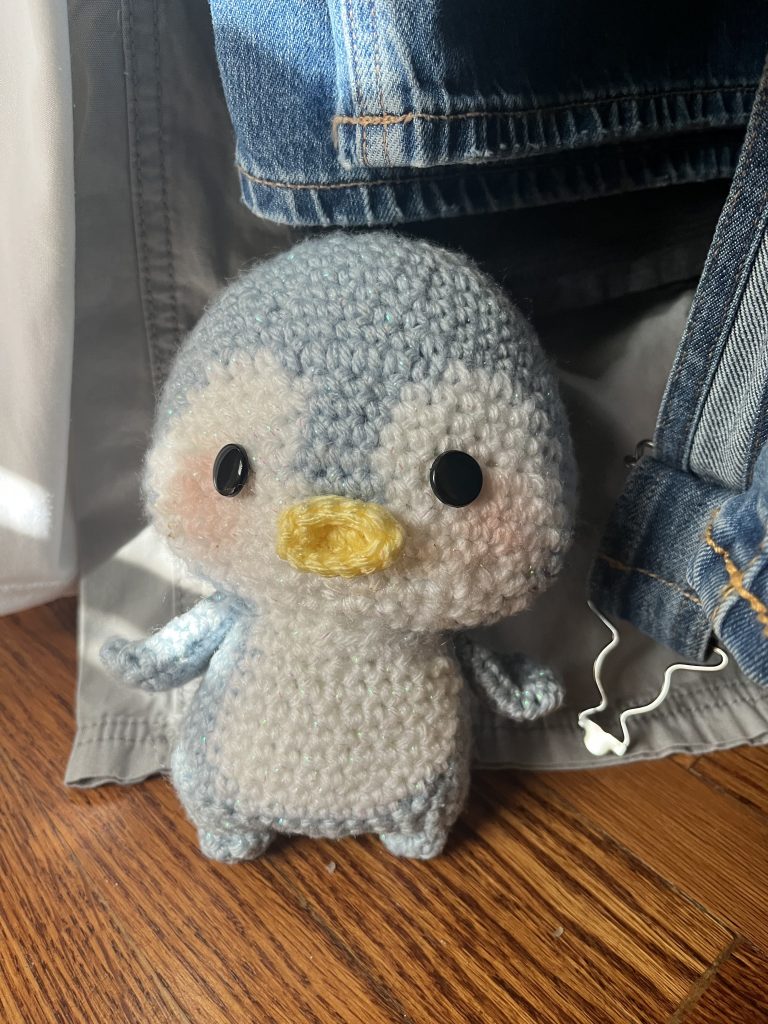
For this quarter I chose to continue working on a crochet project I started during the end of the summer. I used a amigurumi crochet pattern that I was able to download. However, it was written for intermediate crocheters, and used terms that I had never heard before, so I spent a lot of time using the internet to decode the pattern that I had– searching up different stitches and techniques. I realize I shouldn’t have started with a penguin, but it was entertaining and looked cute enough for me to feel like it was worth it.
Making a mini model ecosystem
I used the laser printer to make a bunch of shapes that are all precisely the same size. Those shapes are then glued together to create a custom box the perfect size for this project. It will eventually hold things like sand and epoxy to create the illusion of a realistic little pond or lake.

engine teardown
taking a engine apart to show how it works and for fun. it a power washing engine. i found it on the side of the road for free and took it home and started taking it apart. it has 1.5 hp. it was in good condision. the engine is very rusty on the outside.

sticker
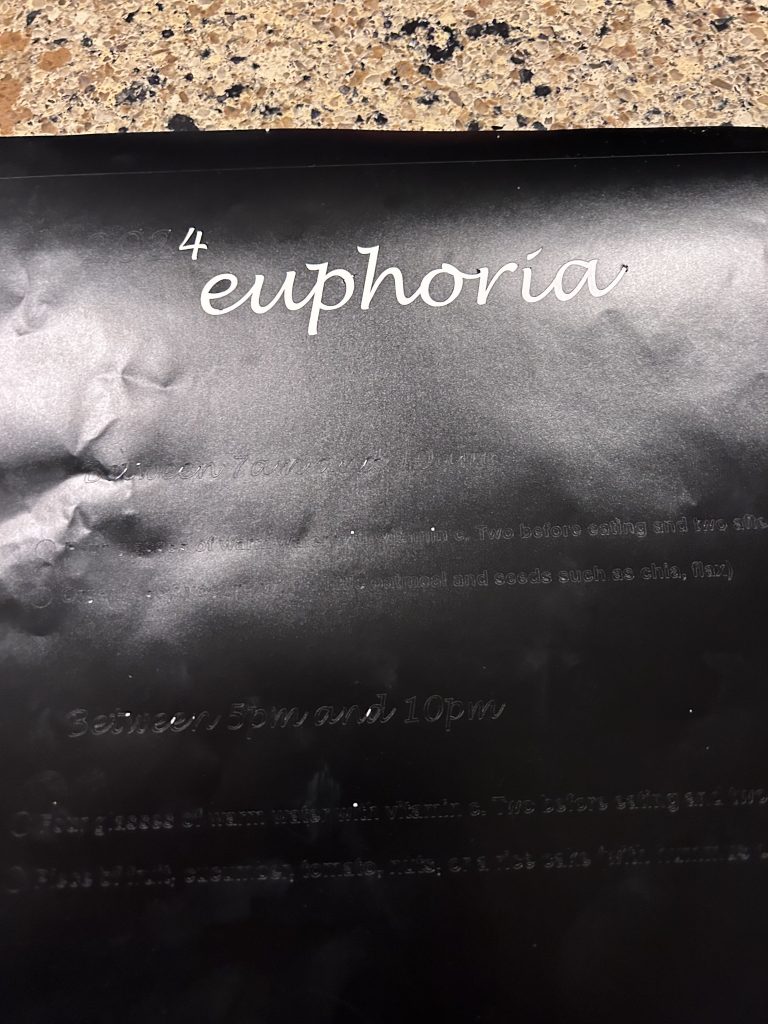
basically, at home I am making my closet door filled with stickers that make me happy and on this one I wrote the name of my favorite movie with a little model habit underneath. i love the entire theme that euphoria gives and i love the process of stickers. this took me only about 30 minutes.
Fall decorations
I couldn’t find certain fall decorations in the store so recently I have created the fall decorations that I wanted. I created cutouts of pumpkins and four different leaves. I printed the leaves in two different sizes for different places in the house. In the future, I will paint the cutouts. I put a hole 1/16th of an inch in each of the stems of the smaller leaves where I will connect the leaves with string to hang them.
Throughout this project, I encountered a few problems. The first was that when I was cutting the leaves for the first time the leaves did not cut through the wood because the outline was not in the hairline so I needed to change that. The second was when I was getting the outline of the cutouts some of the lines were connected where I didn’t want them so I needed to individually change them. When I cut out the leaves and pumpkins some of the lines were too thin and broke so I will cut them out again in the future.


Light Up Rainbow Sword
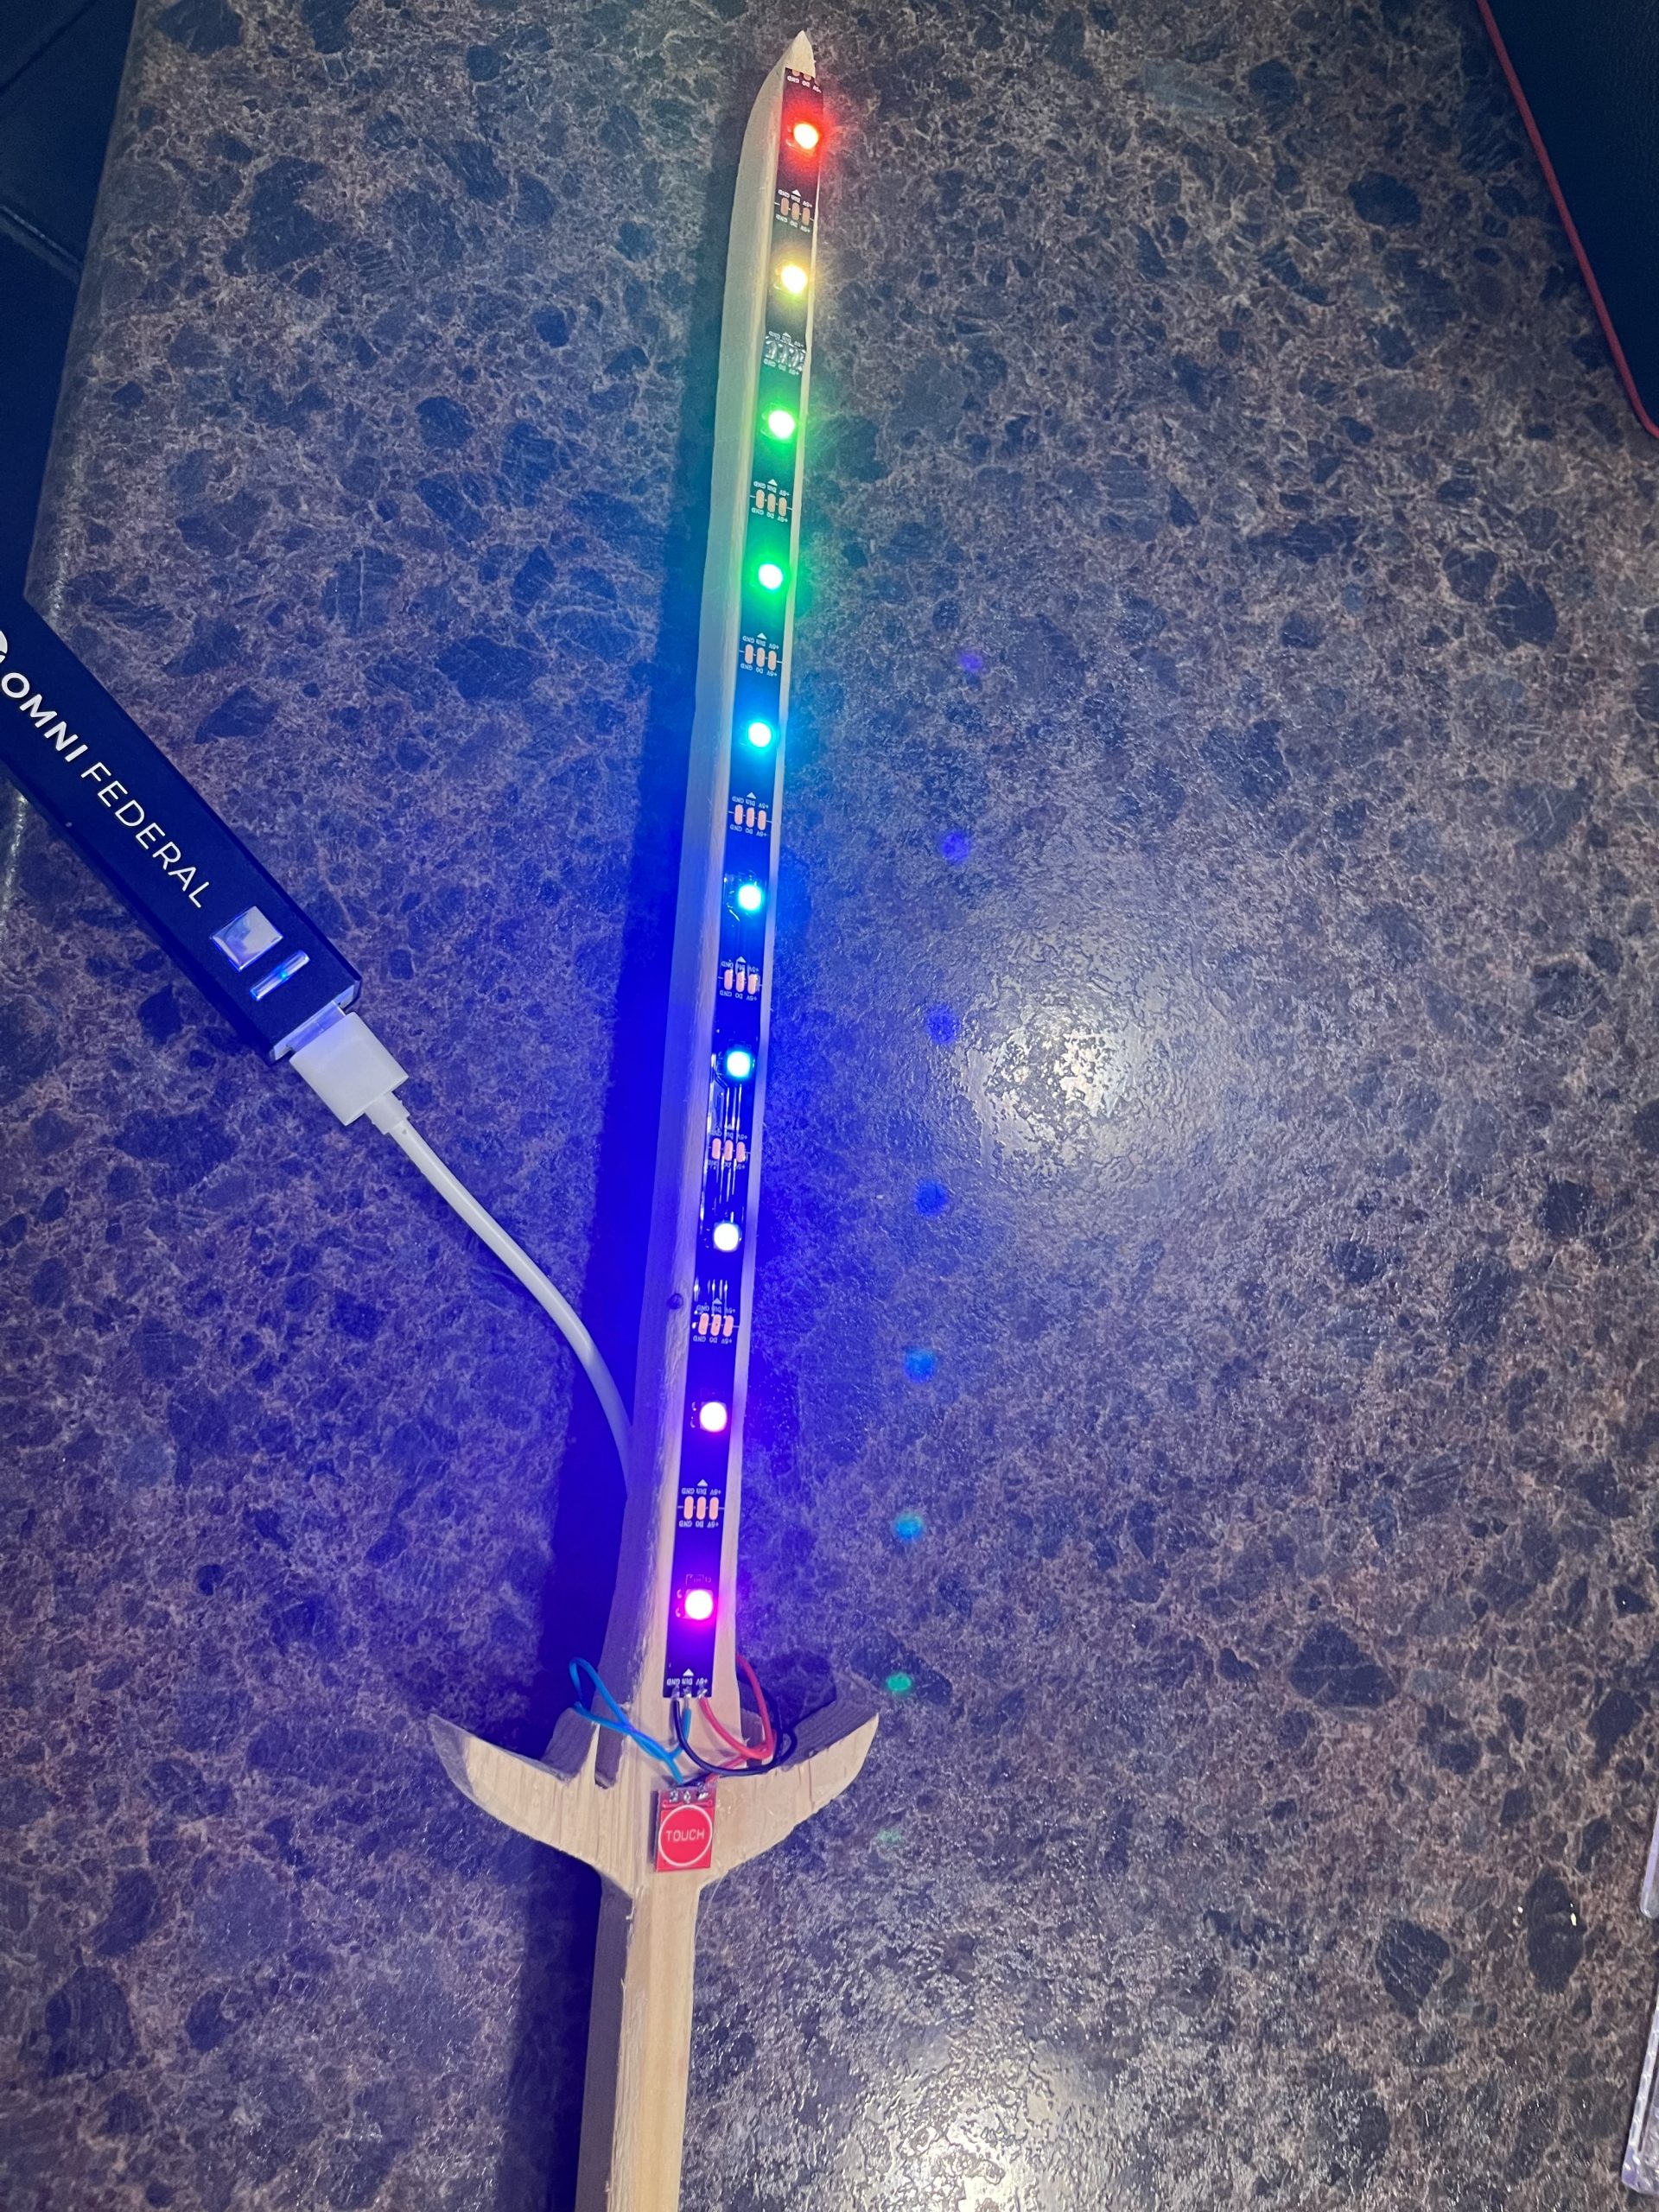
The first step in making this was finding a picture and making an outline. Next I put the outline into the computer connected to the CNC machine and found my wood to input measurements. After cutting it with the machine I had to hand saw it because the machine did not cut all the way through ( I suggest putting the thickness of the wood thicker than it actually is ). After I hand sawed it, I used the rasp to shape it how I desired. Then sanded it to smooth it out.
After the wood work was done it was time to add LEDs. I attached the led to the sword and me and Doc did the soldering to attach the wires to the board and the touch sensor. After that, doc gave me the code from another project to use for the sword because I was in a rush and had to have it done by Friday. A word of advice I’d give to anyone attaching LEDs to a sword, if you want it to go quicker and be simpler you can use a portable charger to power it.
Embroidery Machine
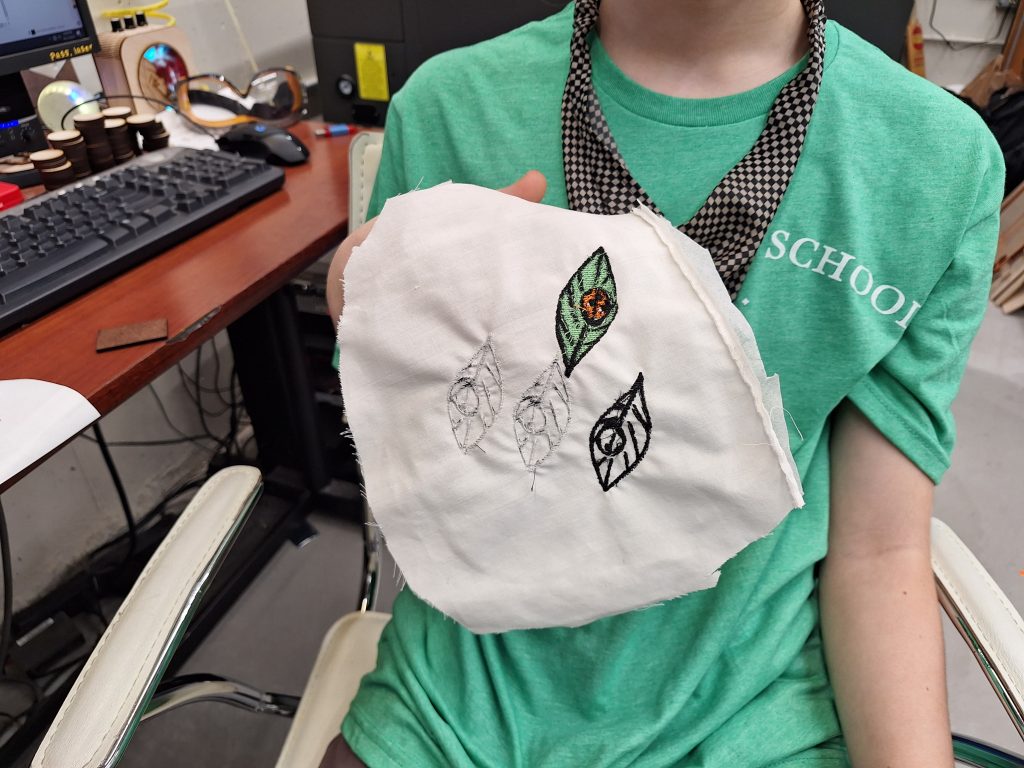
For the past 3 weeks, I have been learning how to use the embroidery machine. Even though I ended up figuring it out, I still struggled quite a bit. Every time I would use the machine, it would come out white. eventually it I just googled it and it finally came out in color. First doc and I tried to make the the fabric tighter, but that didn’t work, so then we changed the spool color in the bottom to black and it ended up working much better.
Our Katana,
Me, August, and Aiden worked on a katana sword.
First, we saw the other katanas on the wall so we decided to make our own.
Then we found a design and modified it for our liking then we placed the katana in an easel inventable and measured it, once we measured it we put a piece of wood on the CNC machine so we clamped it down and imported the katana design to the CNC then we all got our goggles and turned it on and watched it go! After we cut it it didn’t cut it out completely so we drilled through it and then cut it with a handheld saw. Once we cut it out we smoothen the edges with sandpaper and a tool that looks like a cheese grater, we are making a blade guard and then we will hydro dip it with red, gray, black, and silver.

the model
Me, august, and Danny worked on a katana sword.
First we saw the other katanas on the wall so we decided to make our own.
Then we found a design and modified it for our liking then we placed the katana in easel inventables and measured it, once we measured it we put a piece of wood on the cnc machine so we clamped it down and imported the katana design to the cnc then we all got our goggles and turned it on and watched it go!. After we cut it it didn’t cut it out completely so we drilled through it then cut it with a hand held saw. Once we cut it out we smoothed the edges with sandpaper and a tool that looks like a cheese grater, now we are making a blade guard and then we will hydro dip it with red, gray black and silver.

Recent Comments