Tri State Area
Makerspace at the Fulton School
SmartBins – Blas
For our World Wide Technology project we created Smart bins that measure the weight of trash, recycling and compost in order to track how much waste is produced, to reduce it.
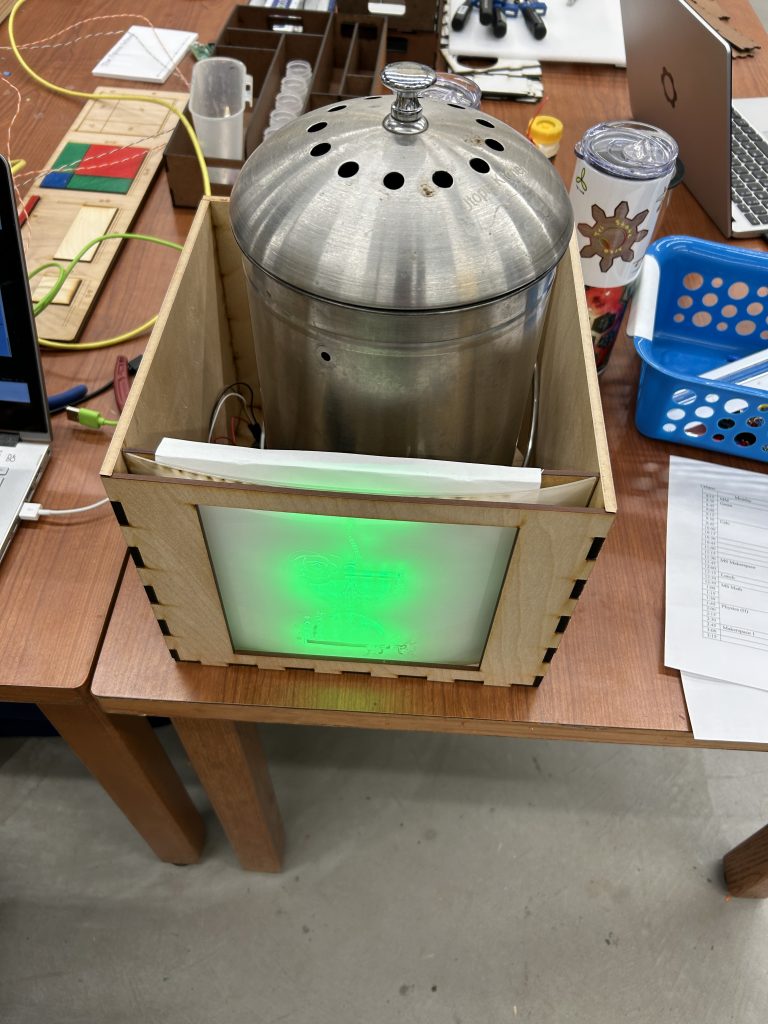
Scale
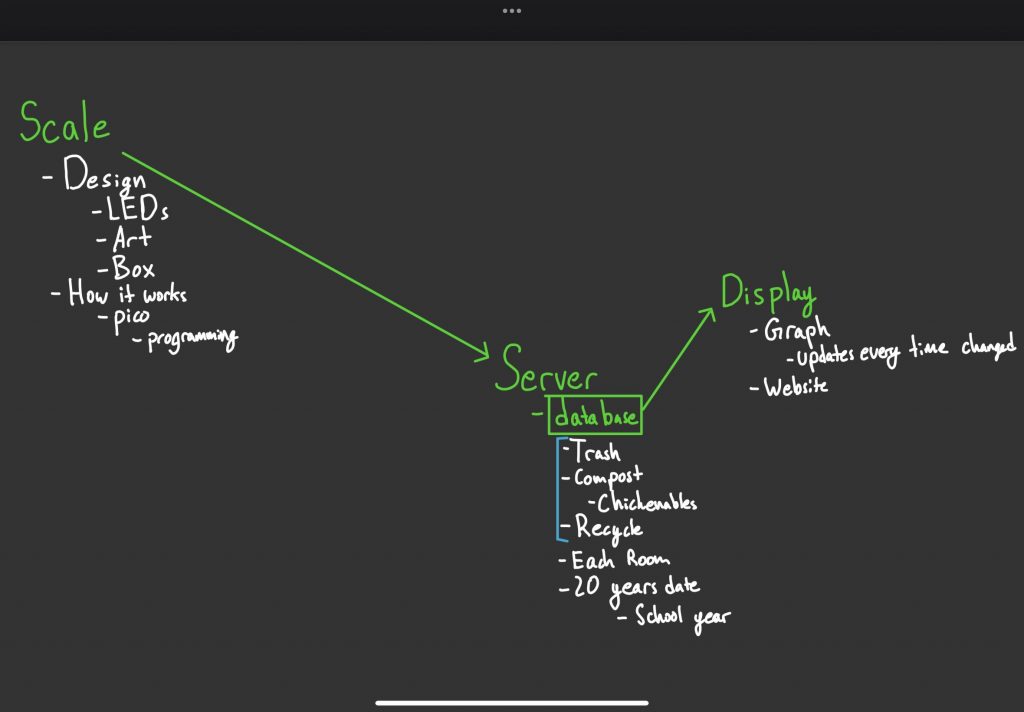
For this, we designed a scale, that measures the amount of weight in the bin. This scale goes under the bin and senses when more weight is added. It sends this data to our server, which will be graphed and analyzed.
Data Analysis
This data will show us what needs to be done to reduce waste. For instance, if the data says that the trash is increasing in weight at some point in time, we would know something unusual is going on and we can do something about it. Through this we can help educate children on how to reduce their waste in order to better our environment. For example, we could talk about how to reduce their waste by putting more things in the recycling. Our data would hold them accountable, showing us if they are learning anything.
Through analyzing the data many things can come of it. This project helps promote the bettering of the environment through education and waste reduction.
Procedure
In order to create our Smart Bin, first we came up with the idea of improving the environment and involving the community we have at school as a whole.
We struggled to figuring out what would be the best project and how to split up the jobs that needed to be done.
In the end, we divided the work and began working.
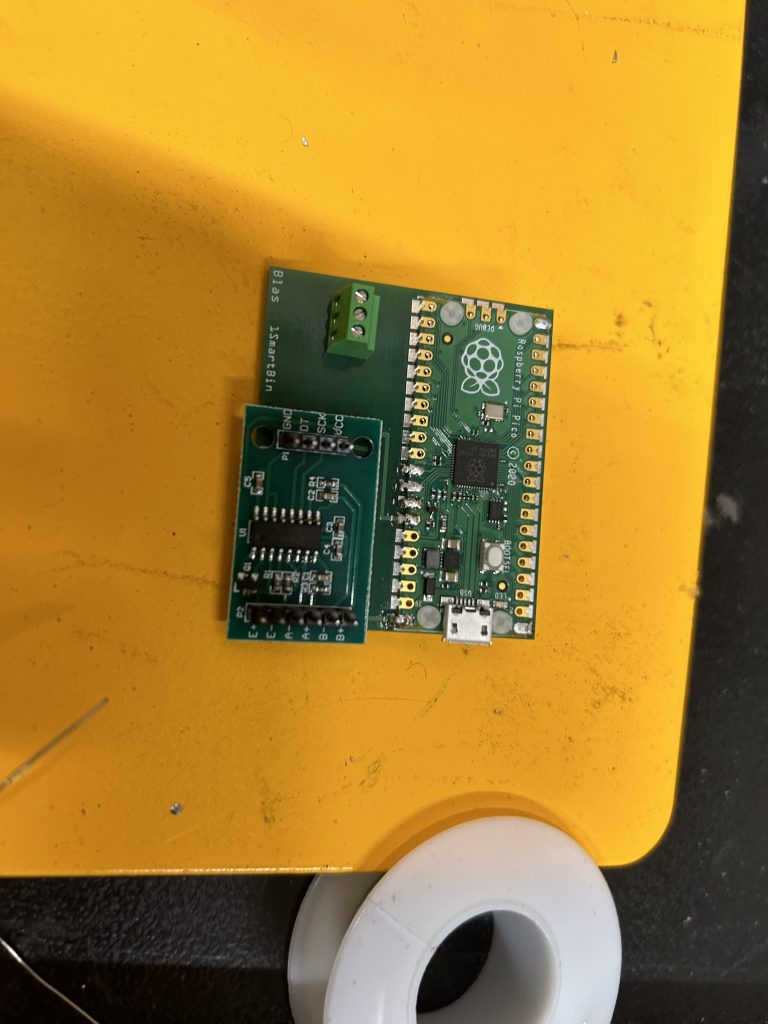
I helped design the Smart Bin using an Hx711 connected to a Raspberry Pi. The Raspberry Pi senses when the weight on the Hx711 is changed and sends that to our server.
I also contributed through the promotion of the project. Coen and I interviewed various members of the community as well as everyone on board to create our video of this project which we presented to the WWT staff that judged us.
I went to the kids at our school and talked to everyone about how to reduce weight and about our idea for our project to make sure they where all with us. I also helped advertising our idea and how it could be implemented in the future.
Closing
Overall it was a great success. I learned many things in terms of how to work with a group and how to divide work. I learned the importance of keeping a schedule and everyone on track. I also learned how to talk to large amounts of people to promote a business idea.
We won 5,000$ for the Makerspace through this project.
Next Steps
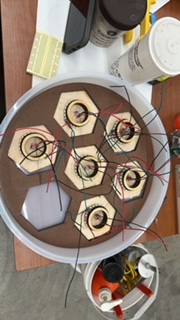
To continue this project I made a PCB that holds our Raspberry Pi and makes connecting the Hx711 sensors and the LEDs easier.
GitHub Repo: https://github.com/Blas-U/SmartBins
Hexagon light
I made a hexagon light with an epoxy lid and a peacock sticker.

There is a Raspberry Pi Pico as the microcontroller. It controls a LED strip with 16 pixels and a touch sensor.

Blas Urbano – Makerspace Portfolio
Click Image to view post:

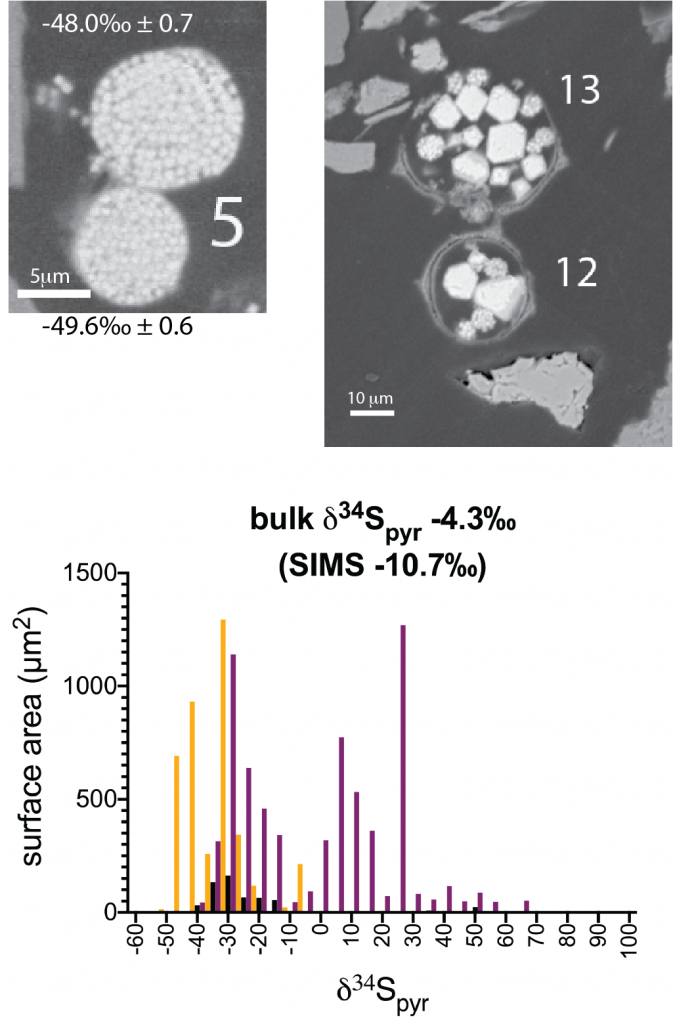


Junior – Science Fair Paper: My Science Fair project turned into a paper
Junior – Smart Bins: For our World Wide Technology Project we created a Smart bin that measures the weight in trash, recycling, and compost in order to reduce waste.
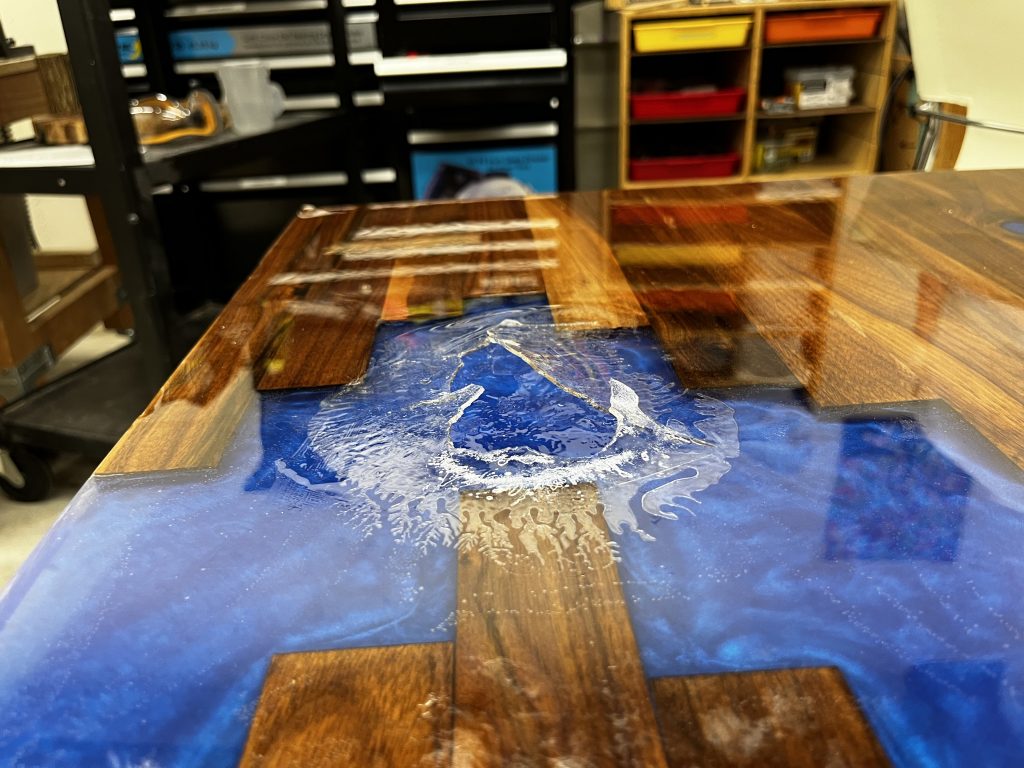
Junior – Hexagon Table: One of the best projects that took a few weeks in computer science. A friend and I created a Hexagon epoxy table with touch sensed LEDs.
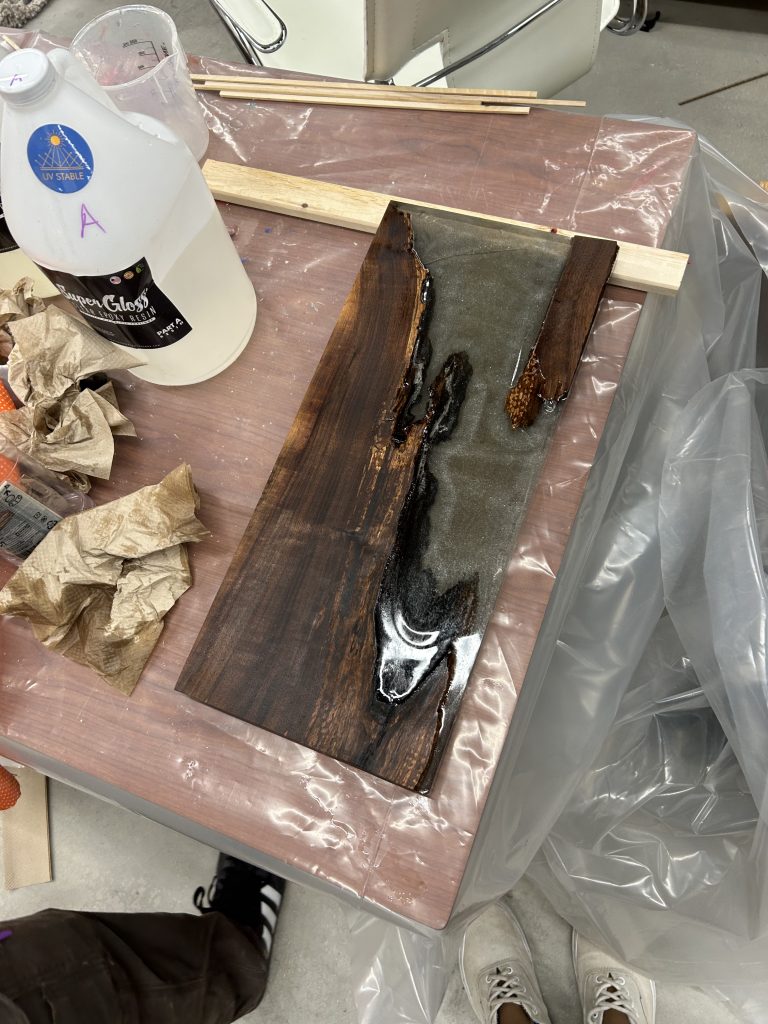
Junior – Board: Cutting board with simulated river with epoxy.
Junior – Epoxy Table Hole: There was a hole in the epoxy table with still uncured epoxy which I had to fix to no prevail.
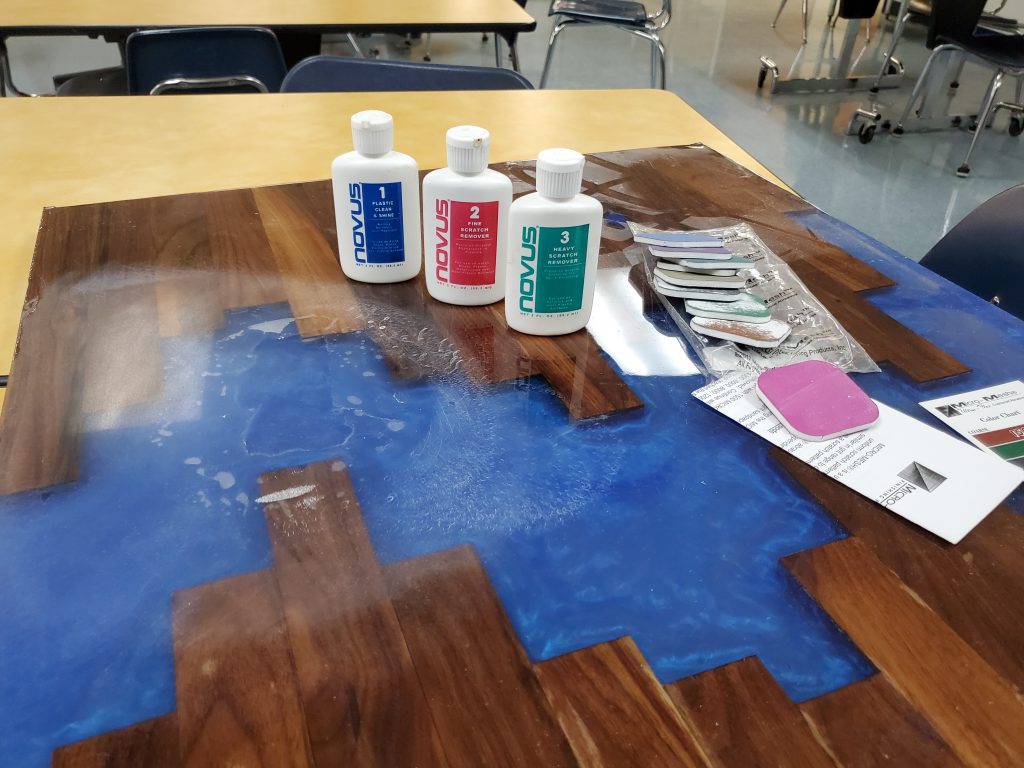
Sophomore – Makerspace Epoxy Table: My friend and I created another epoxy table with sliced wood at different length to create a river like design.
Sophomore – Hexagonal LED tiles: This was a project adding to the World Wide Technology project. I individually wired LEDs to the back of hexagonal tiles and programmed them using python on the Raspberry Pi.
Sophomore – Framework Laptop Review: My first laptop review. This Linux laptop is easily customizable and all the parts can be changed yourself, including the ports.
Sophomore – Resin Table: My friend and I created a epoxy resin table using two separate slabs of wood joined together by epoxy.
Sophomore – Ancient Greek Spear: For my history project I 3D printed the tip and attached it to a stick to create a dory used by the Ancient Greeks.
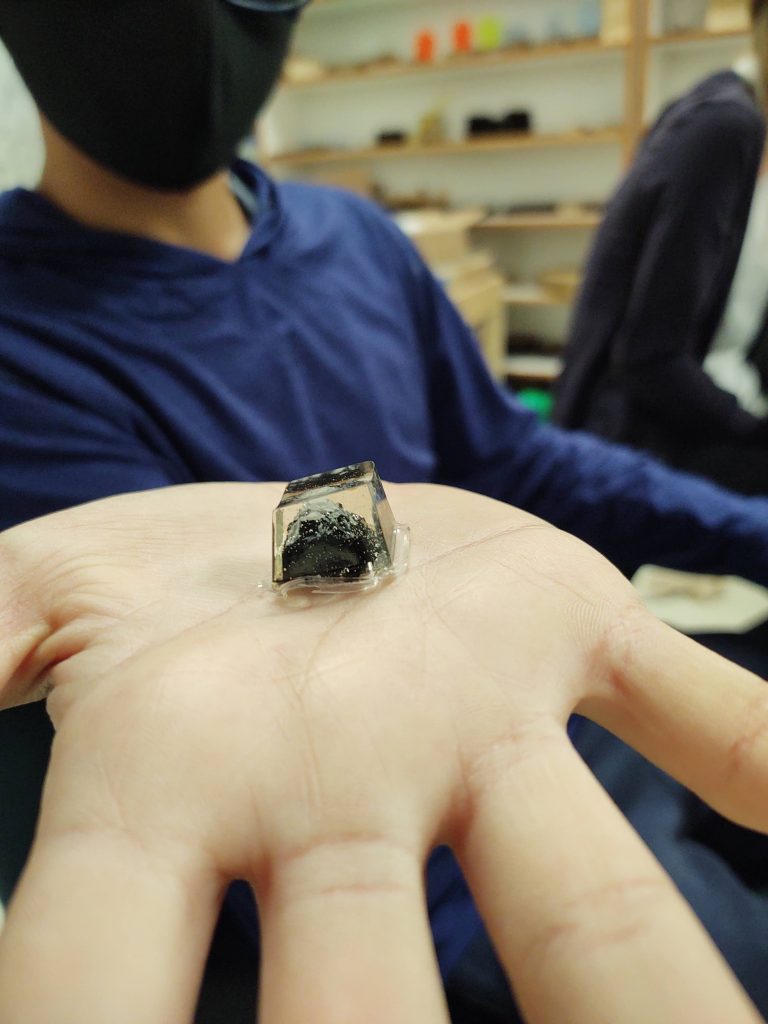
Freshman – KeyCap Project: I worked with epoxy for the first time, creating keycaps for my keyboard.
Freshman – How to Sand epoxy.
Middle School – LED Sword: In this projects I used the Tech Shop’s CNC machine to cut out a wooden sword, attach and code my first LEDs.
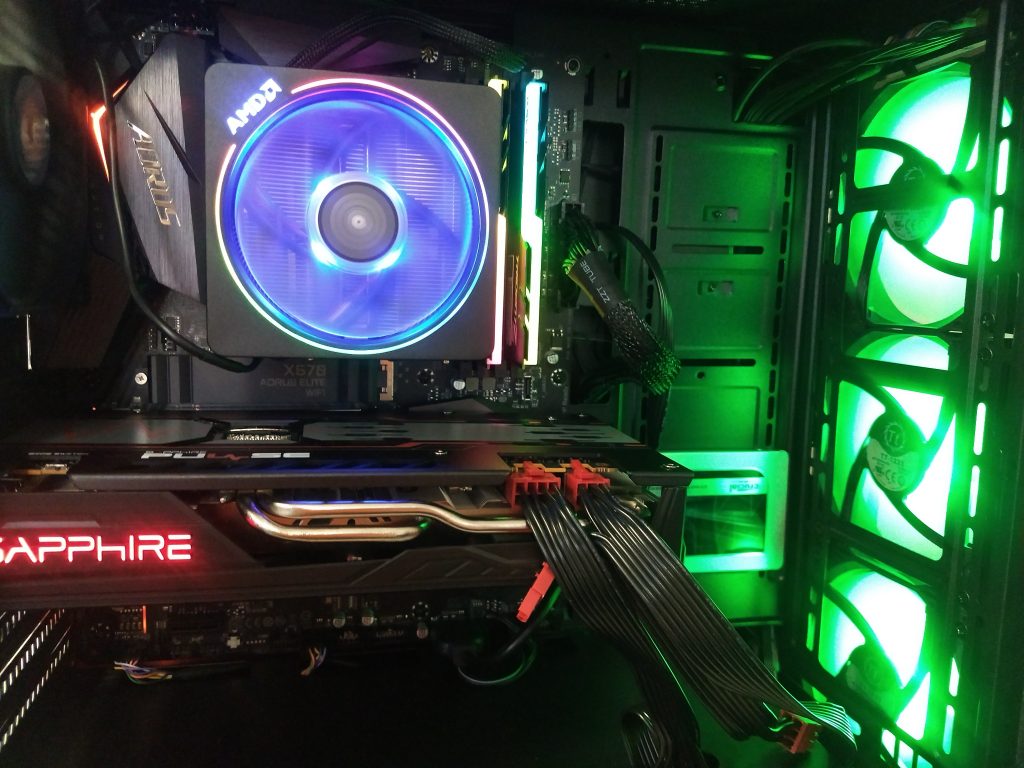
Middle School – Building a PC: Together my friends and I built a PC.
Middle School – Hydroponics: Setting up code for Middle School hydroponics system
Computer Science – Shelve for Plants
Sequel of the other project that I started earlier
The light turns on and off at sunset and sunrise
All of the information in my github readMe file.
GitHub:
https://github.com/Iwannagohom/Plant-LEDs

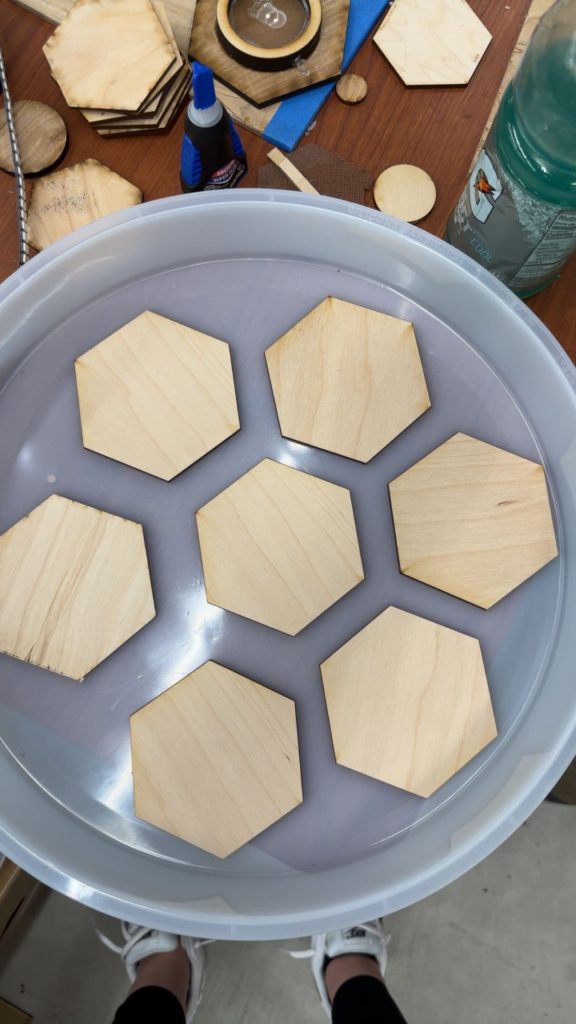
Hexagon Table
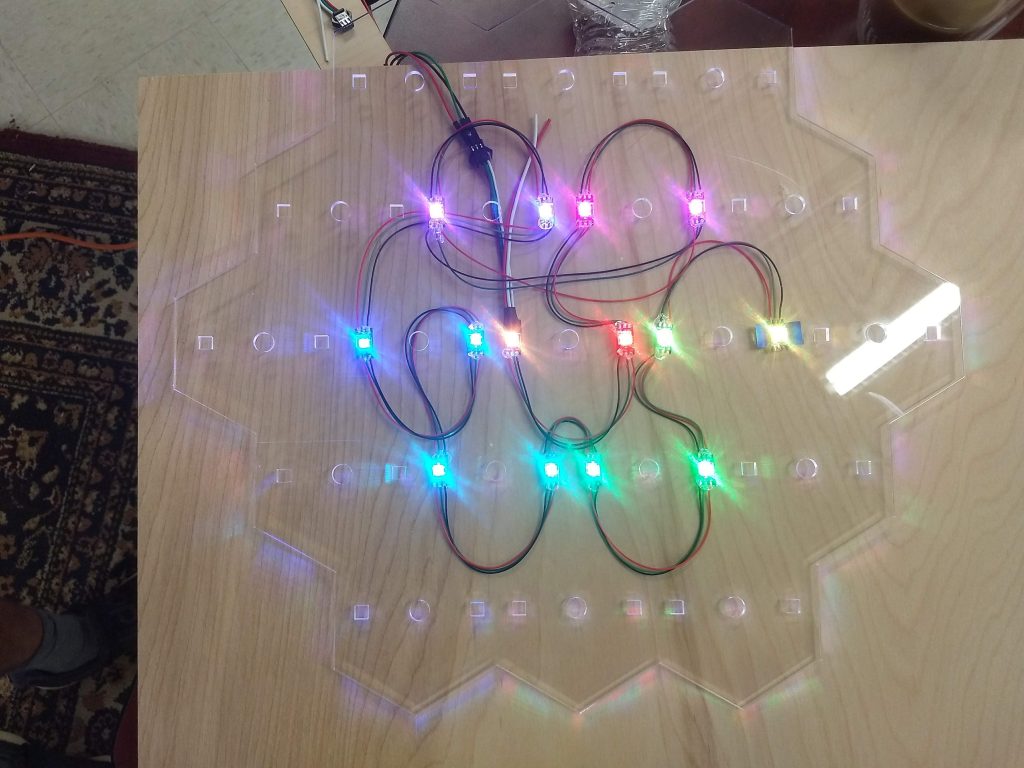
Our goal for this project was to create a table that would detect touch and light up individual hexagons based on the location of the touch.
Our inspiration for this table was a video that made the table using a CNC machine. Because we were short of time, we were unable to use our CNC machine, and as a result we needed to come up with a different idea. This is what led to our multiple prototypes and failures.
We went through multiple prototypes testing what would and wouldn’t work. When we first started the project we tried testing out the sensor in many different ways such as wood and epoxy to see if it would activate. We later learned that it was just that the sensor had to be still and attached to something for it to sense through a material such as wood or epoxy. We tested this by hot gluing it to wood to see if it would sense through it and embedding the sensor in epoxy. They both proved successful.

Secondly, we tried using the laser cutter to cut out and fill in a single tile with epoxy. We ended up printing that wrong because we used wood on the outside of the epoxy we poured so light couldn’t shine through it. We then used a separate mold to hold the wood and the epoxy and created a single hexagon which worked just as we wanted and was a perfect prototype that is still working. We added a touch sensor to activate the LEDs which worked great.
Many of the learning experiences we went through was by learning the hard way.
In the end we didn’t use the CNC machine and we ended up using the laser cutter to cut out three layers of wood and glue them together which gave us more leeway while connecting the wires.
We were able to create a solid prototype of our table in a smaller version correctly wired except one. The touch sensors work and the LEDs are easily programmable. The table doesn’t need a computer anymore.
I was very happy with the way the project turned out!
Overall the project went well and we succeeded in making a product similar to what our original idea was. In the future we want to make the actual table using the CNC machine and we will learn from our struggles in this project.

Repository: https://github.com/Blas-U/HexaThegonTabler

Makerspace Q4: Part 2
After handing these tiles out we waited for the kids to decorate them so we could collect them. After collecting some we glued the decorated tile to a plain tile and prepped them for being put onto the board. We still have more tiles to collect and to get on the board. During this time, we also searched for a place to display the tile project. Alex and I walked around the school looking for a good spot. The two places we are thinking of are either on the wall towards the left of the atrium or outside the 1-2-3 classroom. Unfortunately, Alex and I are not the law makers of the school and we had to officially get permission from Mrs. Douglass before we put it on display anywhere. This task has been quite the process! First Dr. Urbano told us to ask Mrs. Hanh, so we did, but she told us ask Mrs. Douglass. Everytime we tried to go down to talk to Mrs. Douglass she was busy, so then we thought it would be a good idea to email her, but then she was out of town. Once she got back we continued to see if she was free and she wasn’t. Currently we have emailed her with information and have gotten no response. We also asked some of the lower school teachers if they had any ideas for the display. I guess this project will carry over into next year. I am excited to hopefully get the tiles on display and liven up the building with some decoration.
Makerspace Q4: Part 1
During the fourth quarter, Alex and I continued the tile project. The first thing we did was re-sort through all the tiles. This was a painstaking process, but we got through it! After sorting the tiles by grade level into baggies, we printed out the students we missed. We then handed them out to each classroom. We then were informed that we forgot to print tiles for the new faculty members from the merger, so we printed those out as well. In the following post I’ll discuss what we did after passing the tiles out.
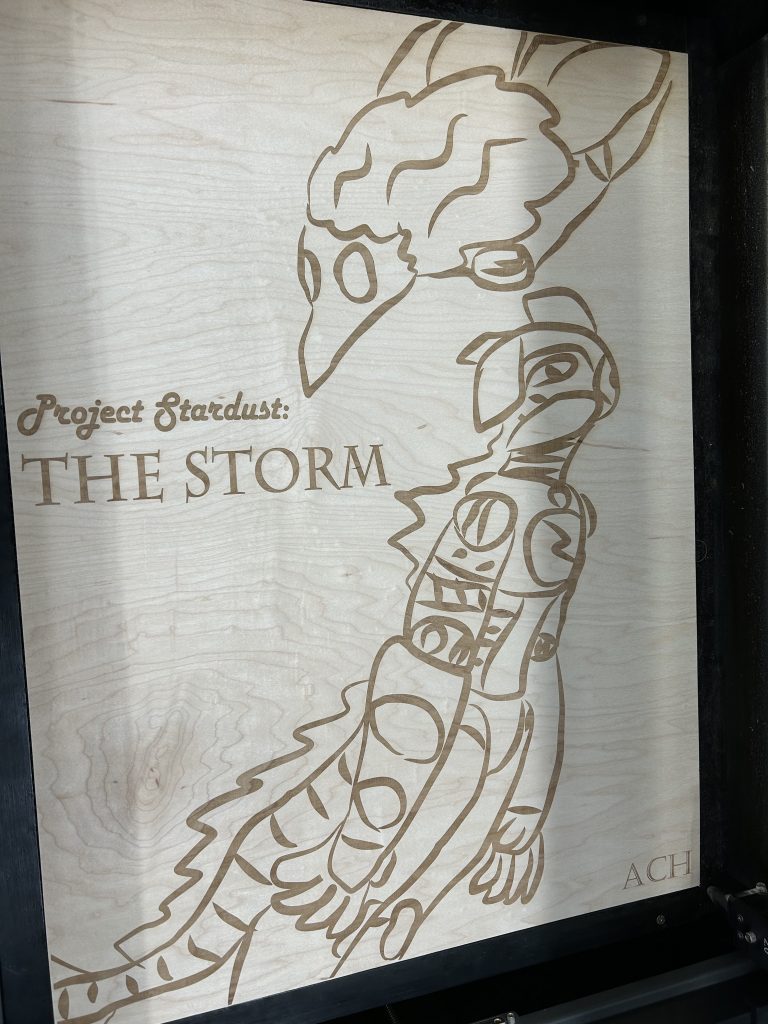
My Senior Project Poster! Project Stardust: The Storm
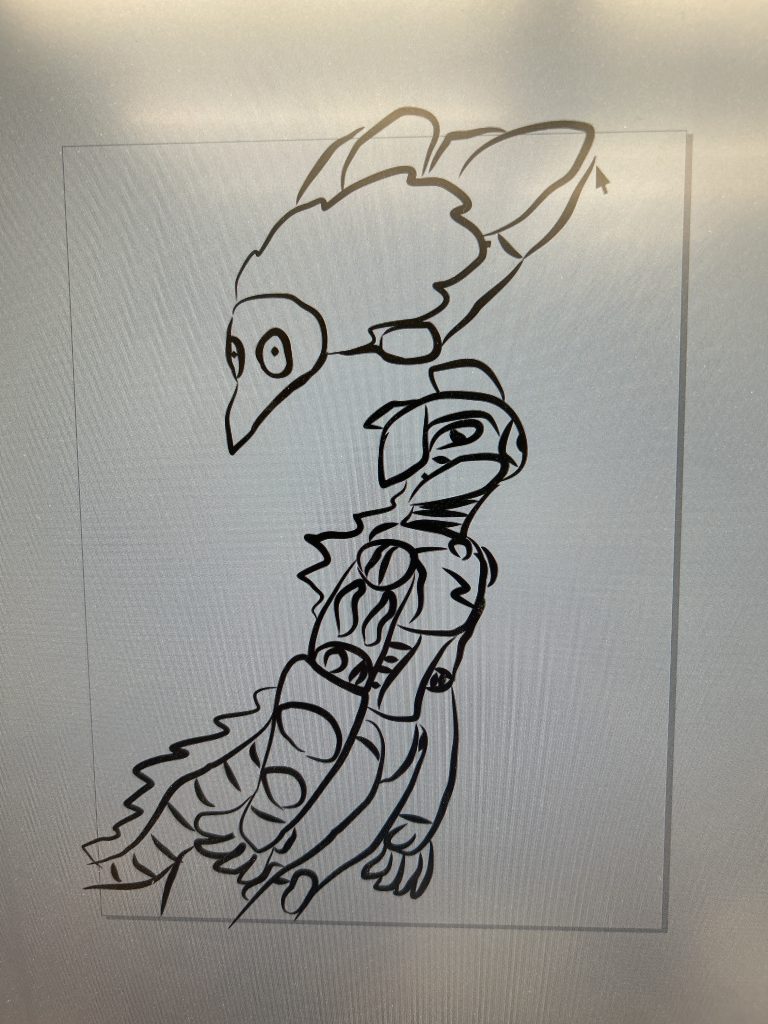
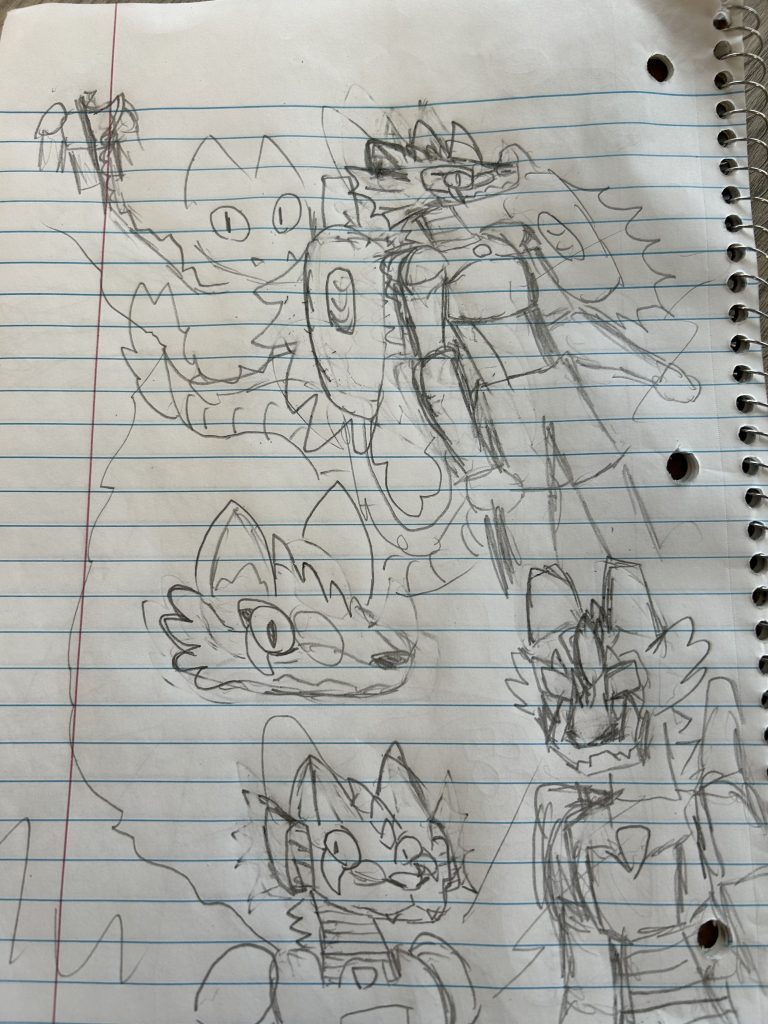
These are the characters who will be the playable protagonists in my game!


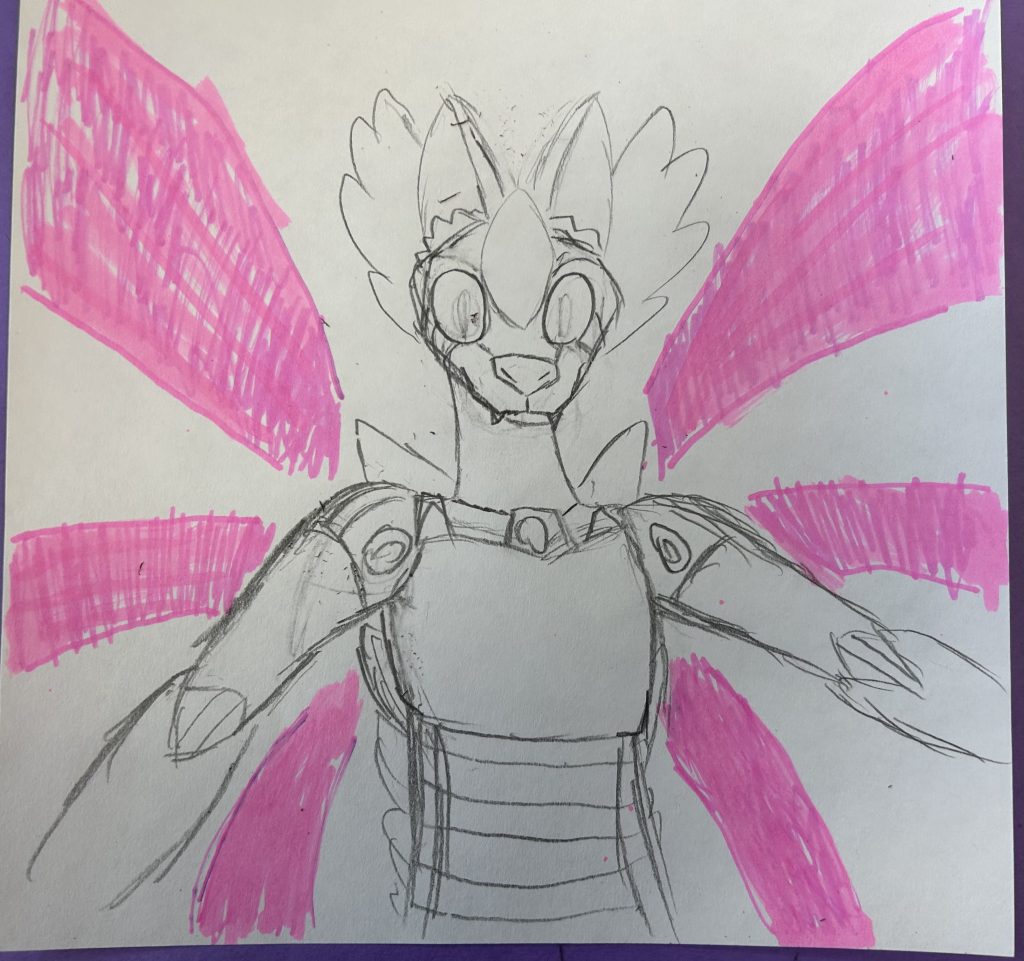
Its some concept art of Reyna and Riptide! I have had some trouble balencing their organic dragon and techno-organic bot features. The designs featured on the poster are a blending of the two extremes.
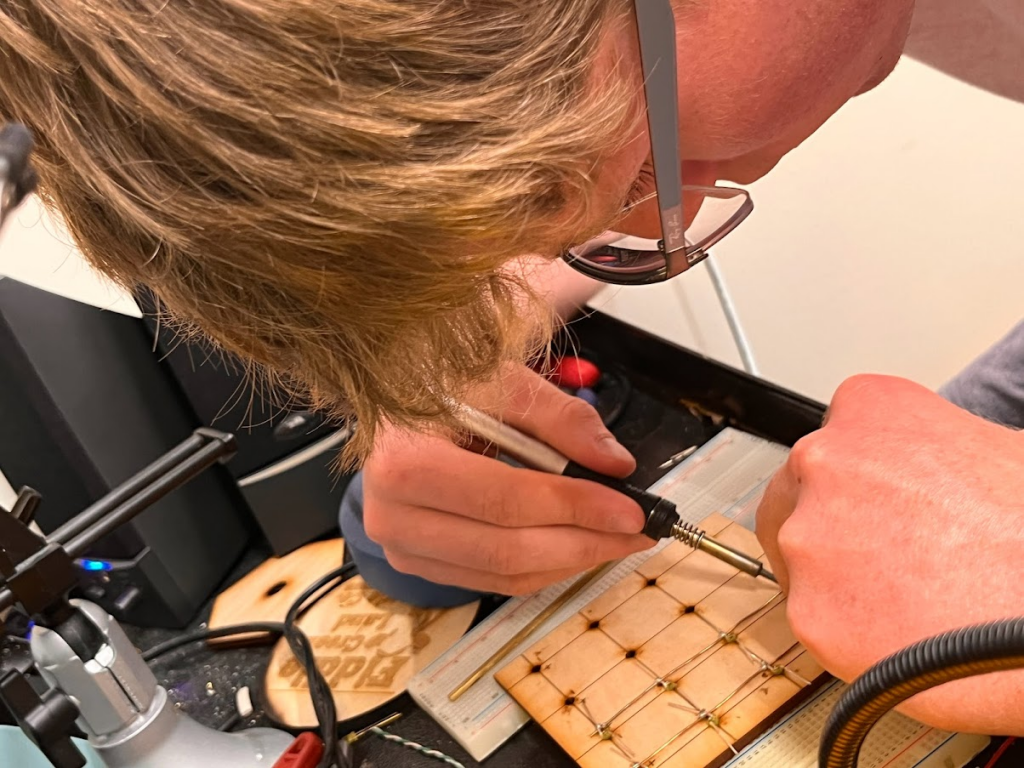
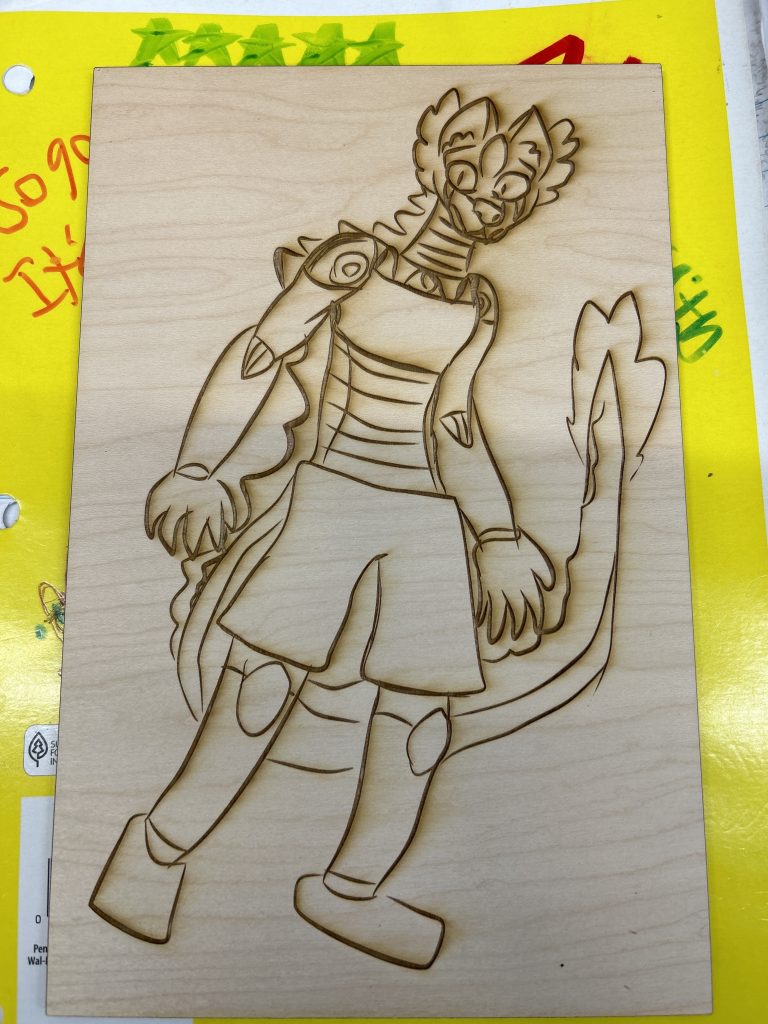
Here is when I cut out the design on a rather large board of wood. The line art turned out pretty god for a program not made specificly for art.


Then I painted it. Mixing and waiting for the paint to dry were the harder parts of this whole operation.

Here is the final poster! added some of their respective elements on their corisponding side of the poster. Riptide gets water and electricity, Reyna gets fire and air. Hope you enjoy!
My Interum Art Peice Project!
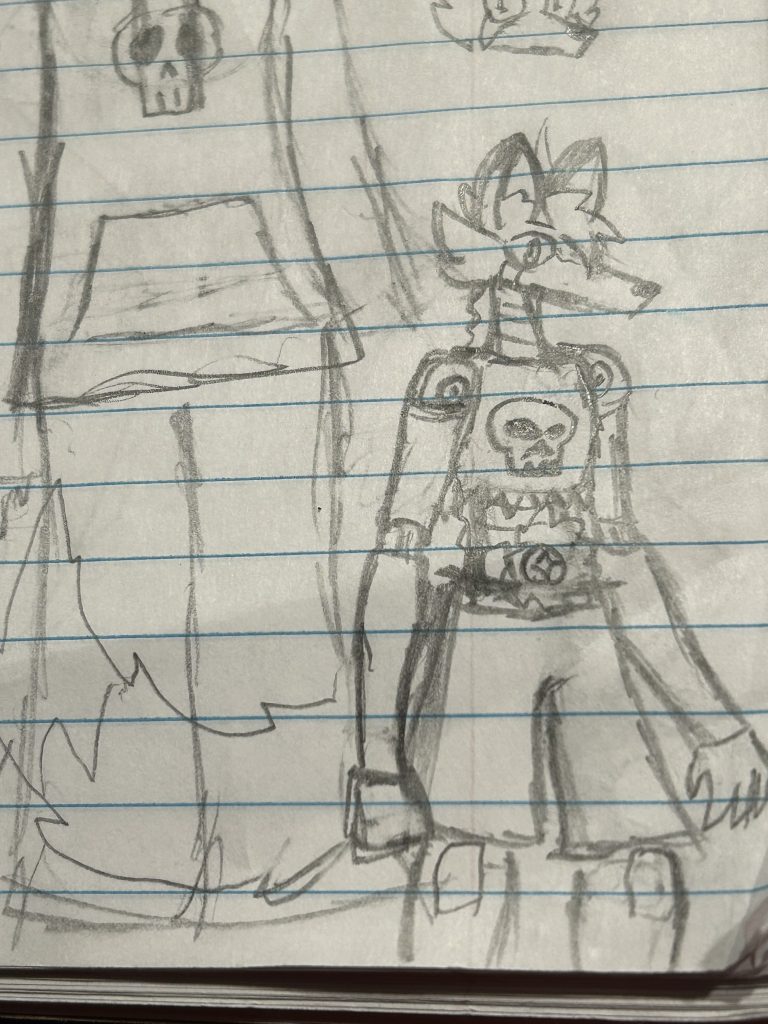
I cut it out with the laser cutter thing! It was for the self portrait project, and I decided I wanted to do a more metephorical selfportrait to represent who I was, am, and see myself becoming. They are also based on one of my characters from the story my Senior Project will take place in! Also made a drawn version as an addition for the art interum!
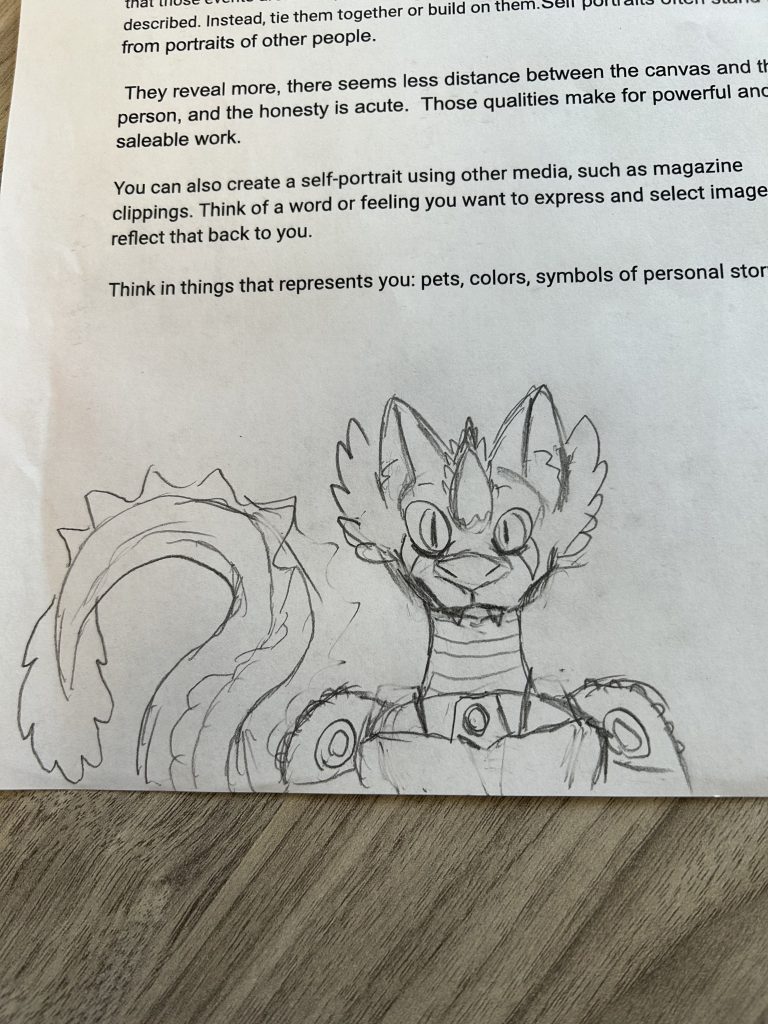

These are the pictures I took of the concept art and the art peices while they were still work in progress. For the laser printer specificly, I wanted to do something in a similar vein to my previous makerspace project (post coming soon) but smaller and more focused on one character. Oasis(or maybe Sandune?) were a representation of certian aspects of my experience in life. Oasis is a fusion of two. These two are rather diffrent from me in quite a few ways and experiences. In a few key ways though, these characters could be seen as reflections of myself. That is to say, my past, my percieved potential future, and the present self.


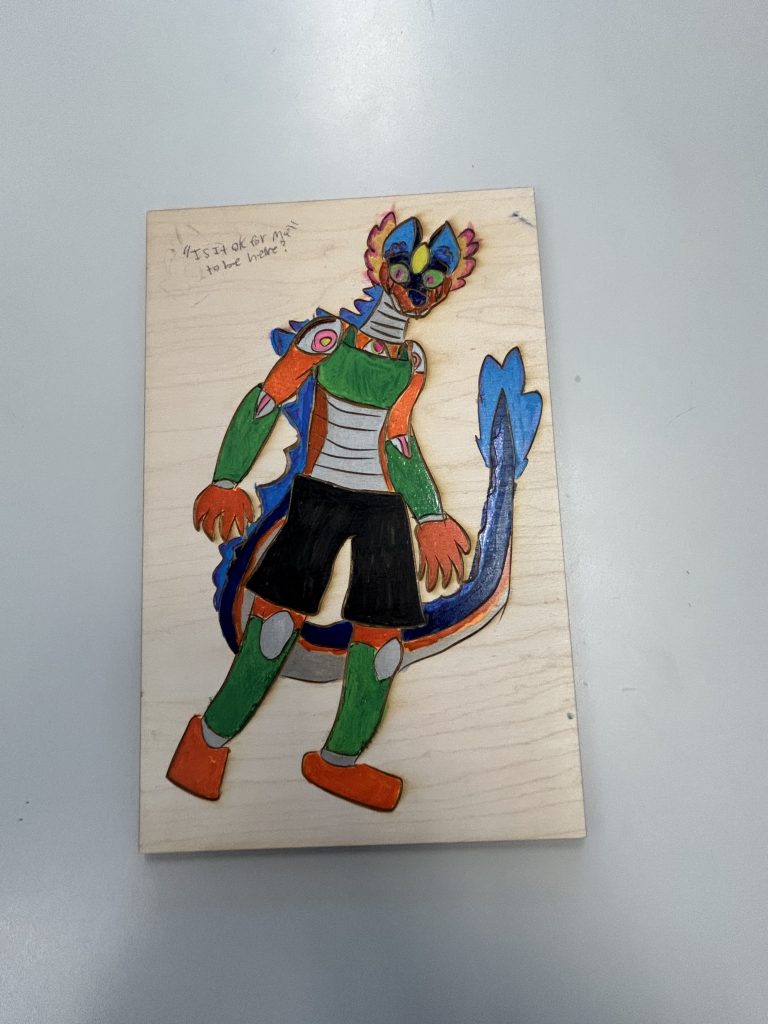
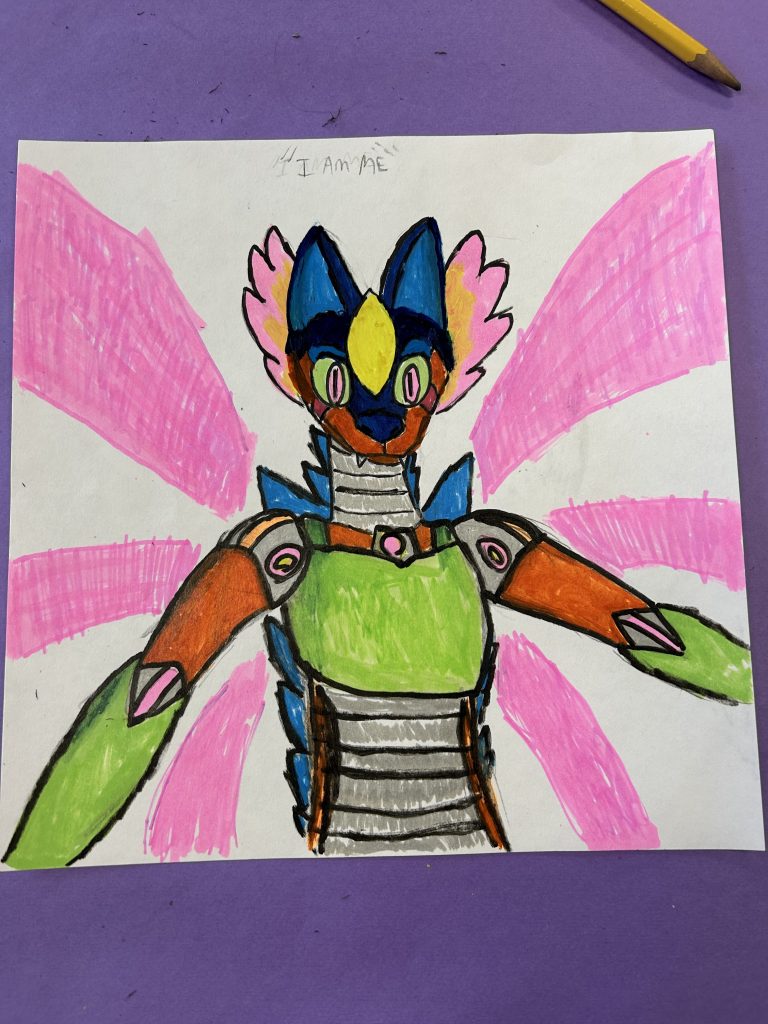
These are the finished peices. The title for the first peice, “Is it ok for me to be here?” is a question I have asked many times over the years ive been alive, for various diffrent reasons and purposes. I think that the very presence of Oasis in this peice is a direct answer, that it is ok for them to be there as themself, with all that comes with that. The drawn peice, “I am me” is a peice about self-acceptance. I think I am still working on that, but I am closer than I was before. When I do come to terms with myself, I hope to be free as a bird. However, I suspect that that will not be happening for many more years.
When Oasis finds themselves from the two for the first time, they dont get to take comfort in themself before having to face the might of the Machine. The machine needs people and their energy to feed on. If people had other options, the machine as it is now would die. And so, it fought to steal, kill, and destroy in the name of power, all for the sake of sustaining itself. I still dont fully know what happens next for Alex, Robin, and Oasis yet, but there is still plenty of hope. They will not be alone in their struggles, as there are people out there who care. I can hope as much for myself. I finaly am starting to have hope, acceptance, and understanding to match the fear, anger, and confusion. That is what Oasis represents to me as of right now. (Hope I can do them justice in the story I am writing!)
Hope you enjoyed!
Recent Comments