Tri State Area
Makerspace at the Fulton School
Interm
Me and Bryce are going to be making weapons for the worldwide themed interm. First we are making a african tribe spear Hadzabe, Tanzania. Then making a gladiator sword from rome. Then after that make a sheild from medevil Euorpe.
Plants Around the World
For this interim I want to make a plant stand out of a peg board. My plan is to design plants holders and laser it out. Also it is that I will scale it up and will do the plant shelf for a big wall. A world map will be as a background so the plans and plant pots with be located according to a country the plant came from.
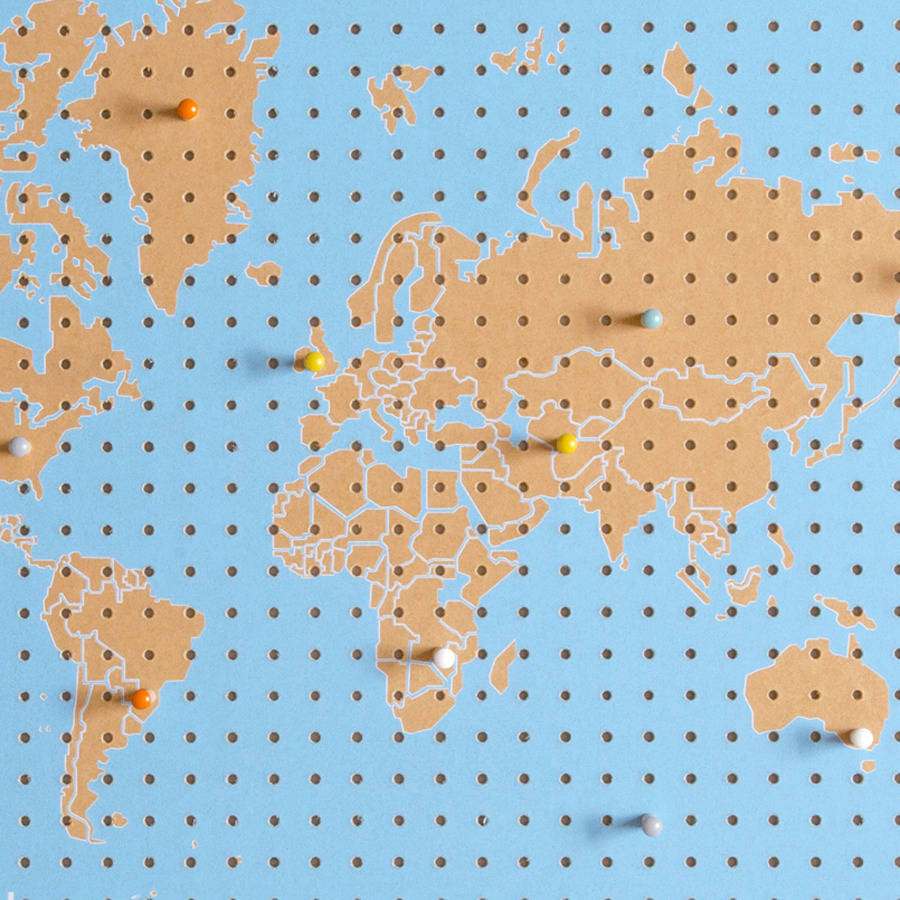
These are the examples that I will use to help with my project.
Monday
- Design a box
- Research about the plants that I already have and where they came from.
- Figure out how I am going to combine a map of the world and a peg board.
Tuesday
- I don’t have the plan for the rest of the week because I have to see what I have done in the first day and figure out the next steps.
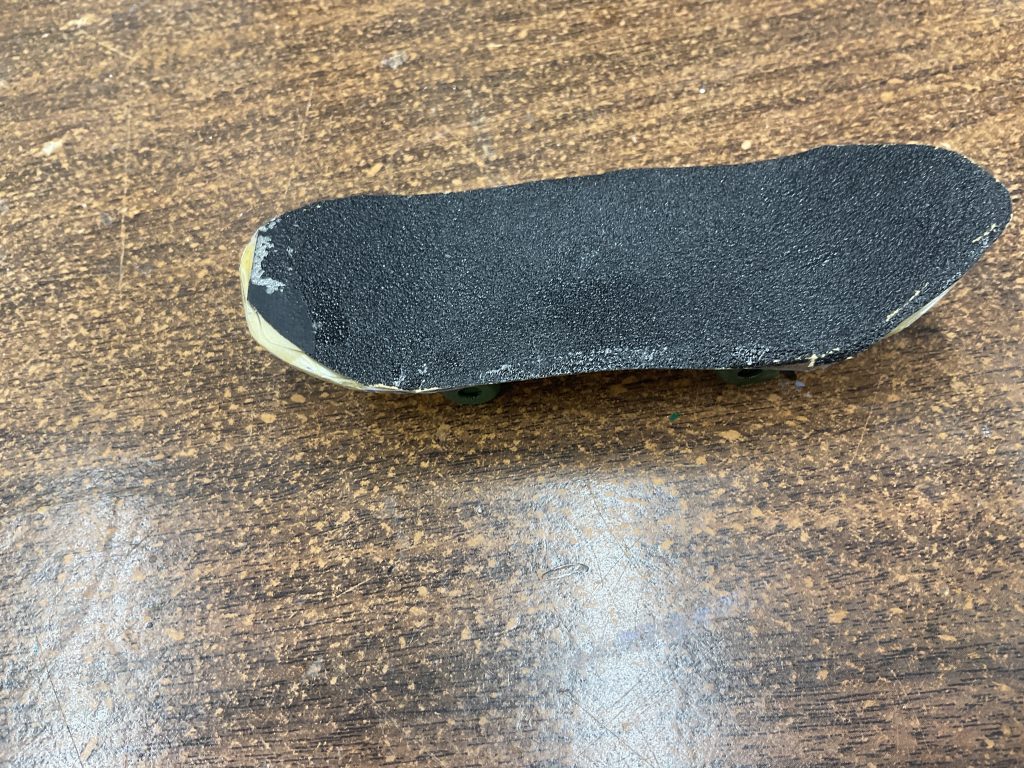
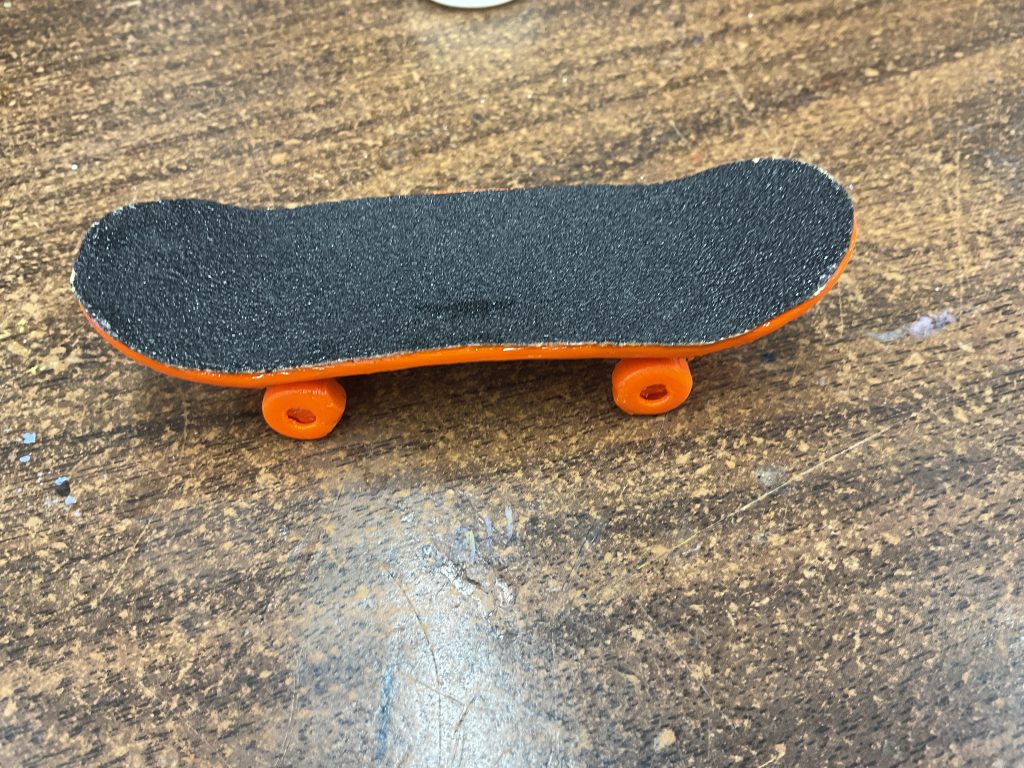
Finger skateboard
- Glue many sheets of paper together with wood glue
- 3d printing finger board press
- Press the paper into the finger board press and take it out after the shape is fixed
- After the paper is fixed, trim and punch holes
Plant shelf
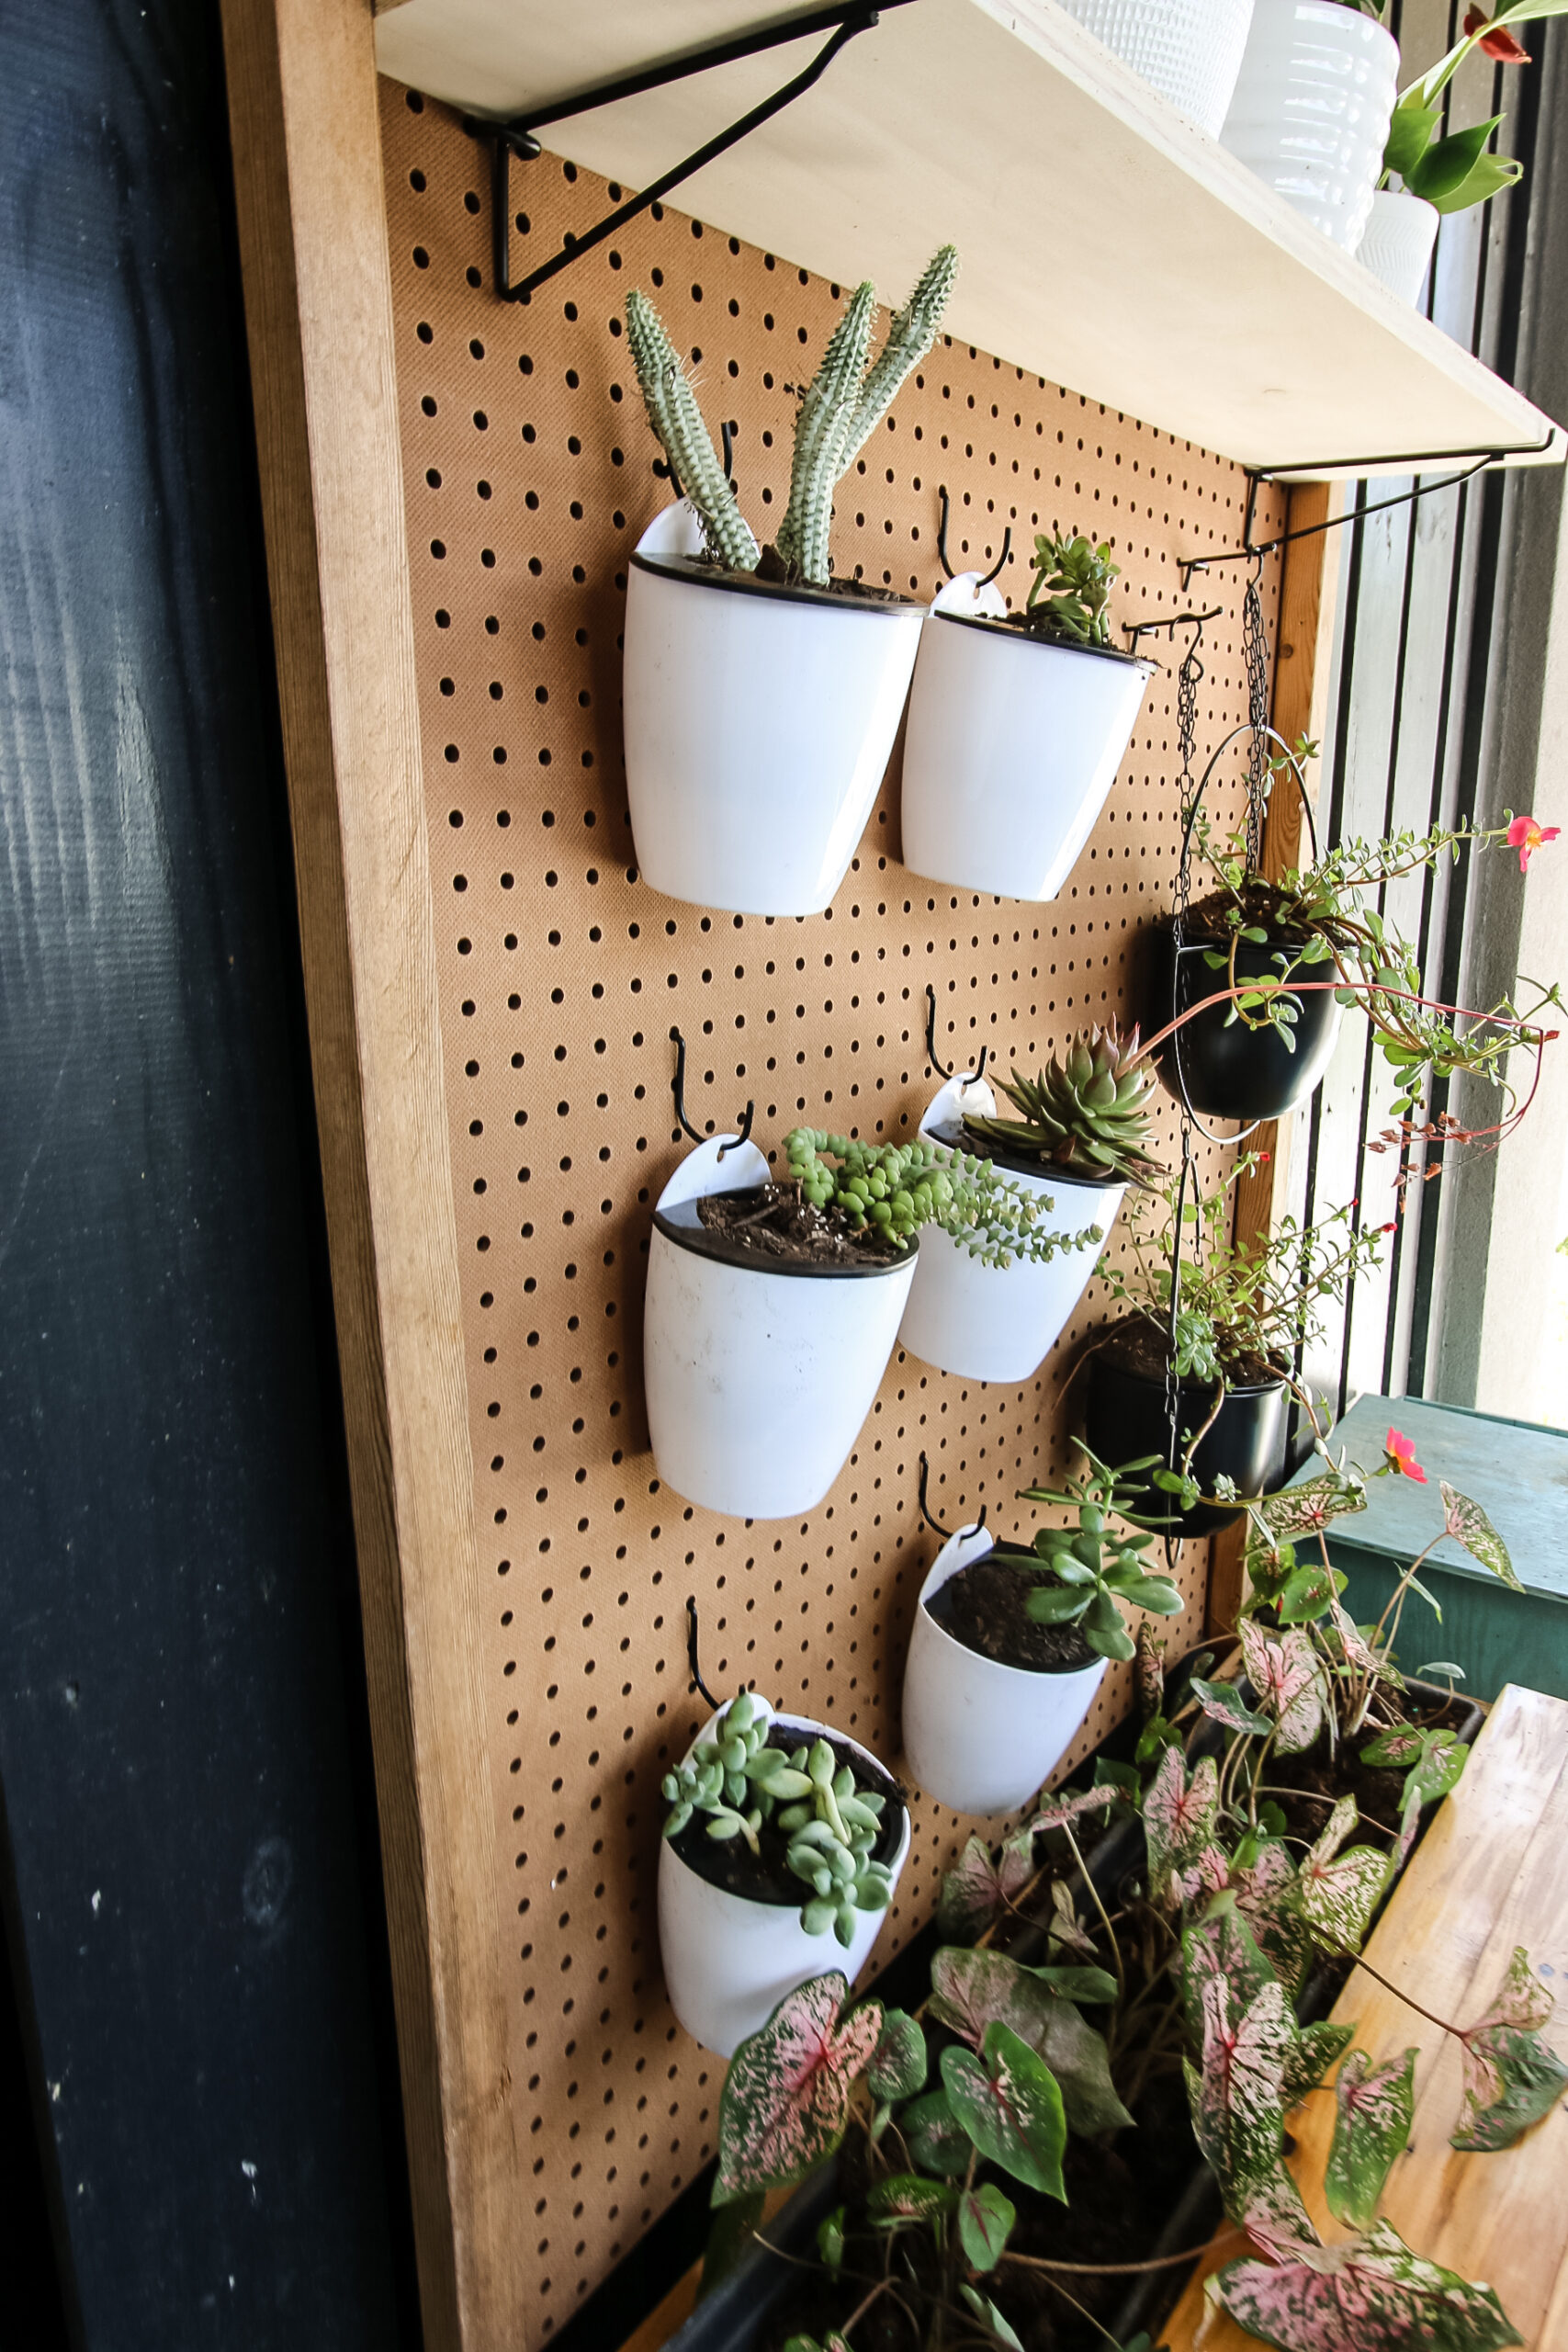
During interim this week I had planned with Doc about making a plant shelf. Originally I was going to just buy it off of amazon for a different personal project but I was not satisfied of the price to buy it so I decided to make it myself. Albeit it wont be cheaper in any way to make it, but I think the experience alone will make me feel better about spending money to build it. I’ll take today to plan/ sketch of what I’m building and how much wood I’m going to need.
Global Warming Earth Using image AI’s
For the week I am going to use different image AI’s to generate a globe that’s going to represent the earth in 50 years. It’s going to display what the earth is going to look like in the near future and how it’s going to change due to global warming.
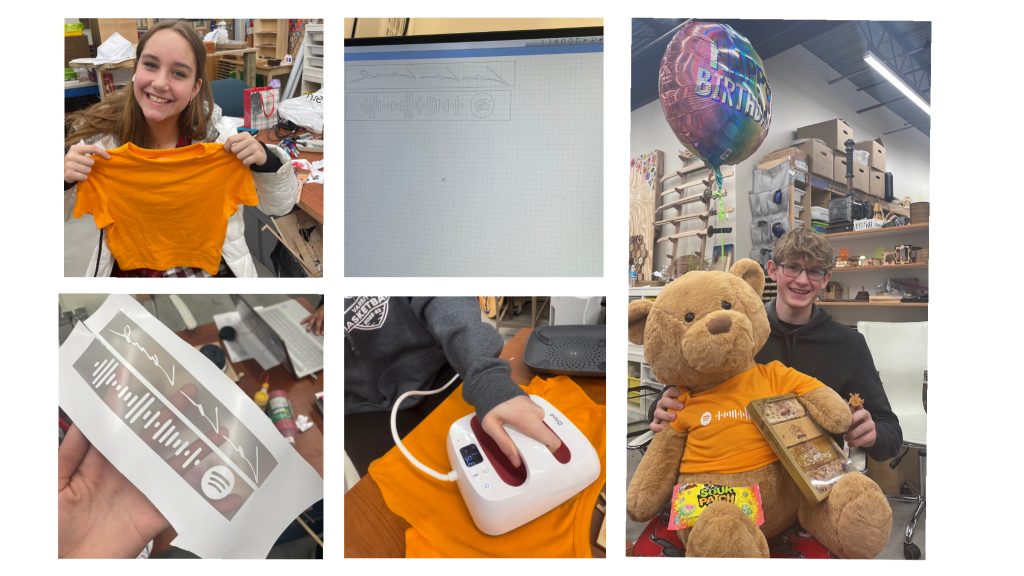
Fred k. IV’ s t-shirt


Recent Comments