Tri State Area
Makerspace at the Fulton School


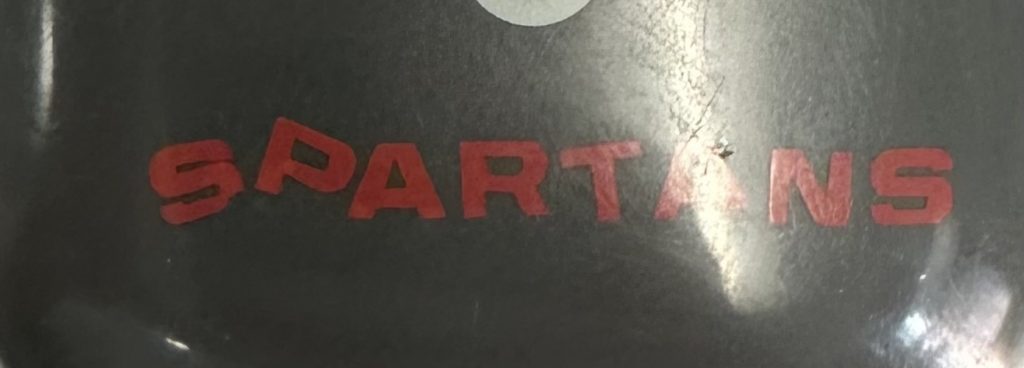
Jordan’s second decal
this is the second decal I made. this one was a bit harder because the words are tiny and I hand-placed the black border
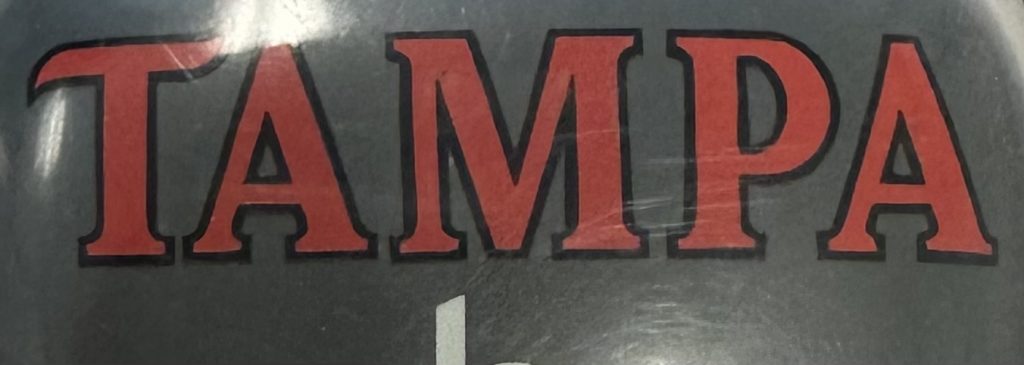
Jordan’s first decal
I made a decal for the Tampa spartans
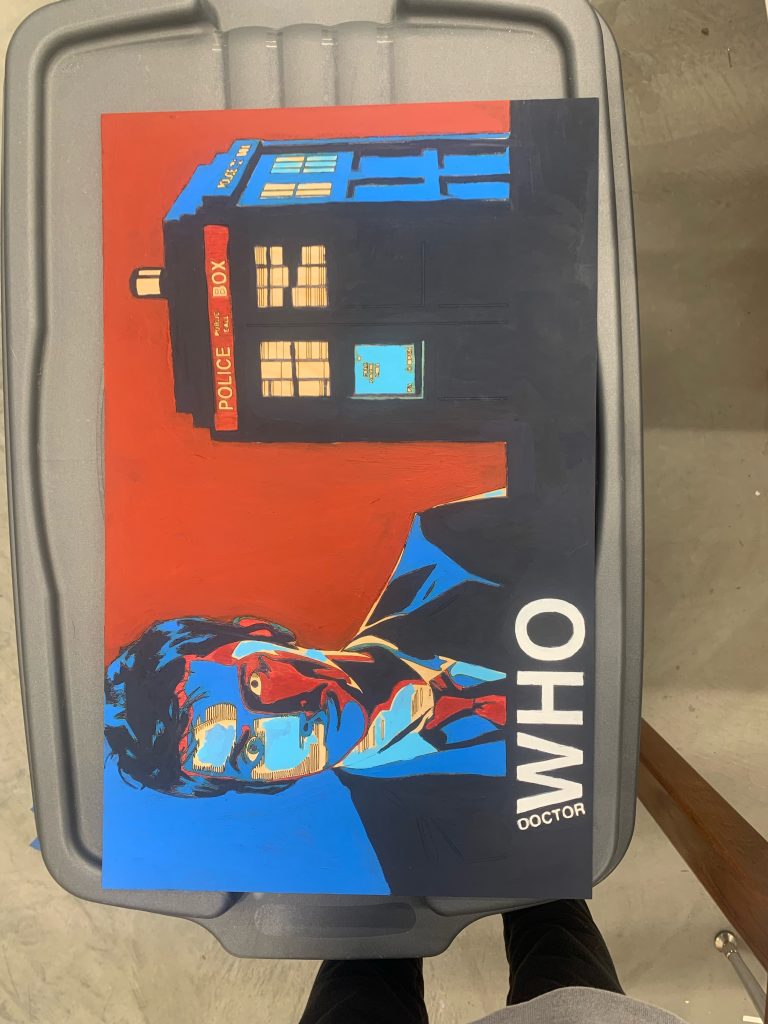
Starley Project
I helped Starley paint a board.
Recent Comments