Tri State Area
Makerspace at the Fulton School
Coffee Table
During makerspace I worked on my resin coffee table. I honestly haven’t done much because I kept forgetting to bring in the resin I ordered. But I have ordered the table legs and am waiting for those to be shipped to me. Hopefully I’ll be able to finish this table during interim next semester because I will have more time to work on it.
Makerspace project
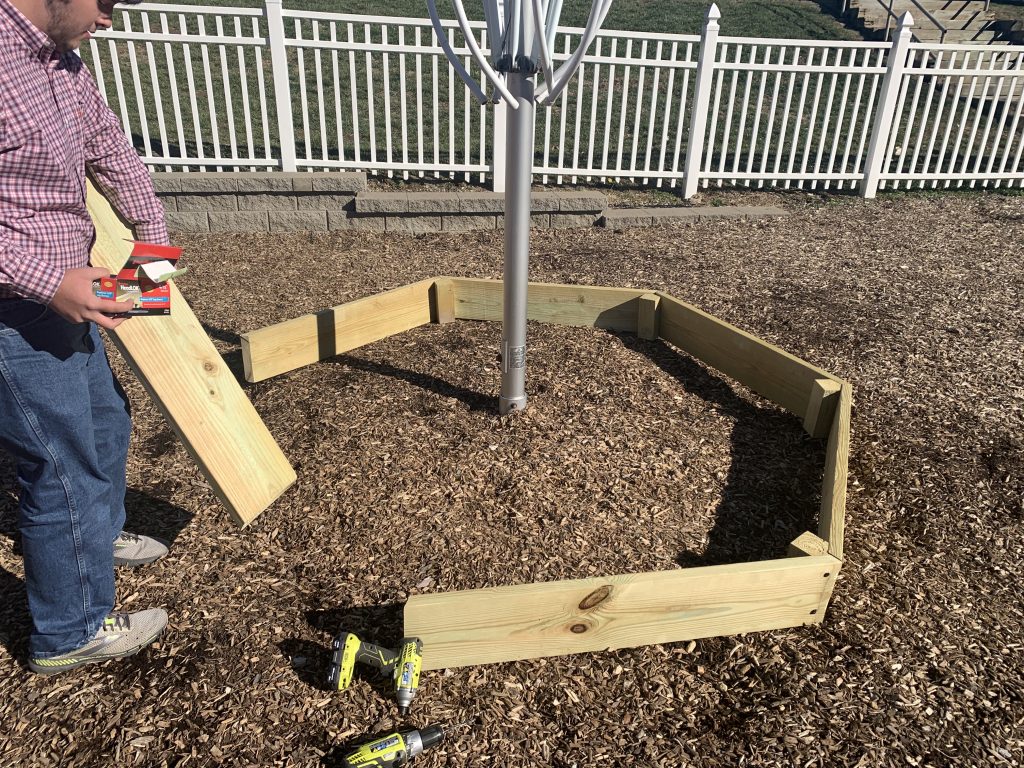
For my makerspace project I help John with rock pit he was building for lower school. First we got help from doc to cut the wood. We had a blueprint already made so that made cutting the wood easier. Then we dugout the area where we were going to put it. Then we brought all the wood outside and started the building the frame for the rock pit. We ran into one problem while putting the frame together. That was one of corner pieces was cut to short so the screw would just go right through the piece wood. So we had to recut that piece of wood which slowed us down a little bit. Then we continued building it the next day. We finished building all the sides but one so we put it place because there was umbrella in the middle of the pit. Then we put the other side to together. Now the lower school is working on putting the gravel rock in the pit. Here is a Picture.
Meaning thing
Toosii
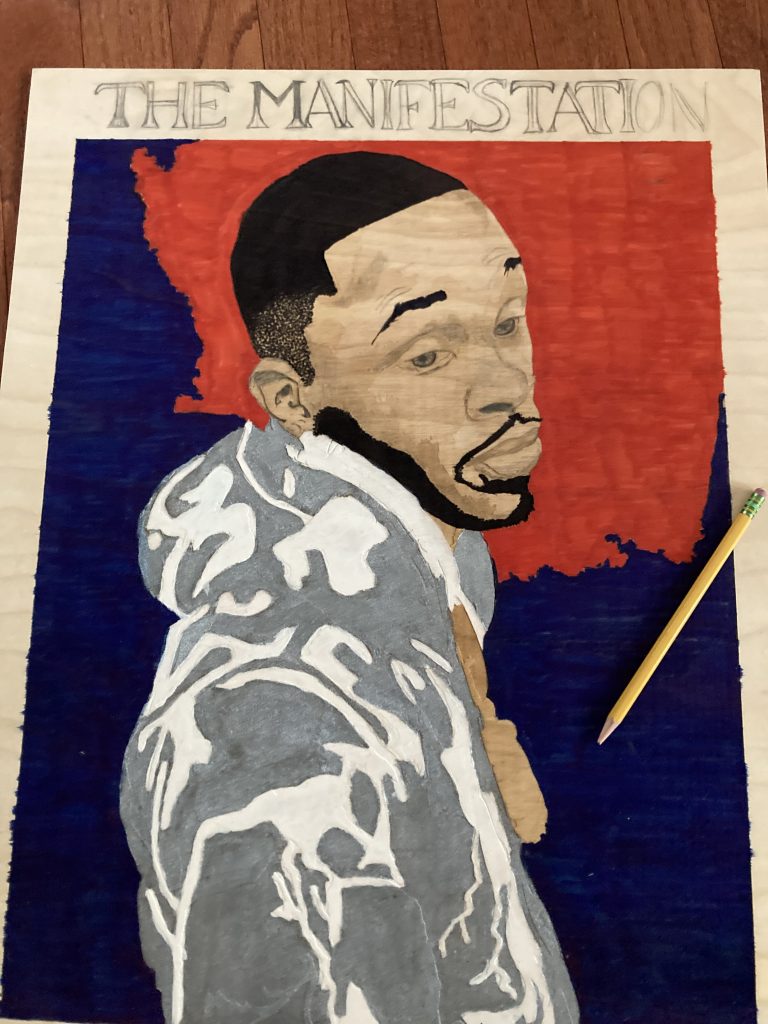
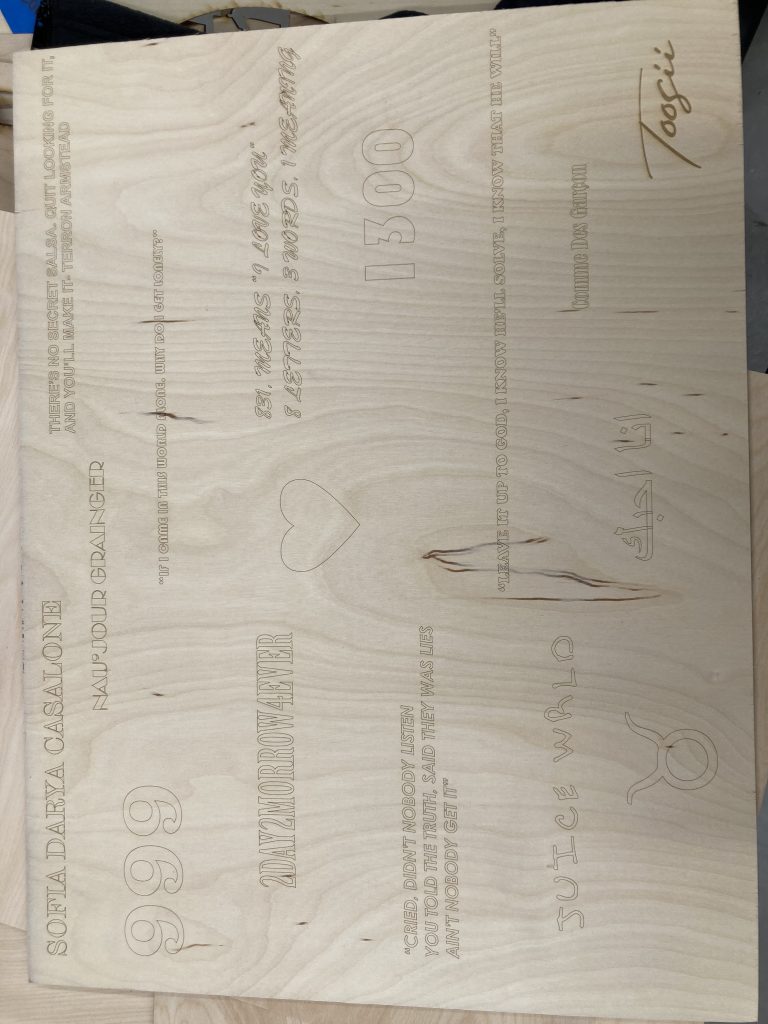
I decided to do A project based on a real picture of the best rapper in the whole world, whose name is Toosii. This project practically took me about two weeks because I was so exited about it. Inspiration from Maya. Also credit to Lucia and lily for helping me with the background.
Sweatshirt sticker
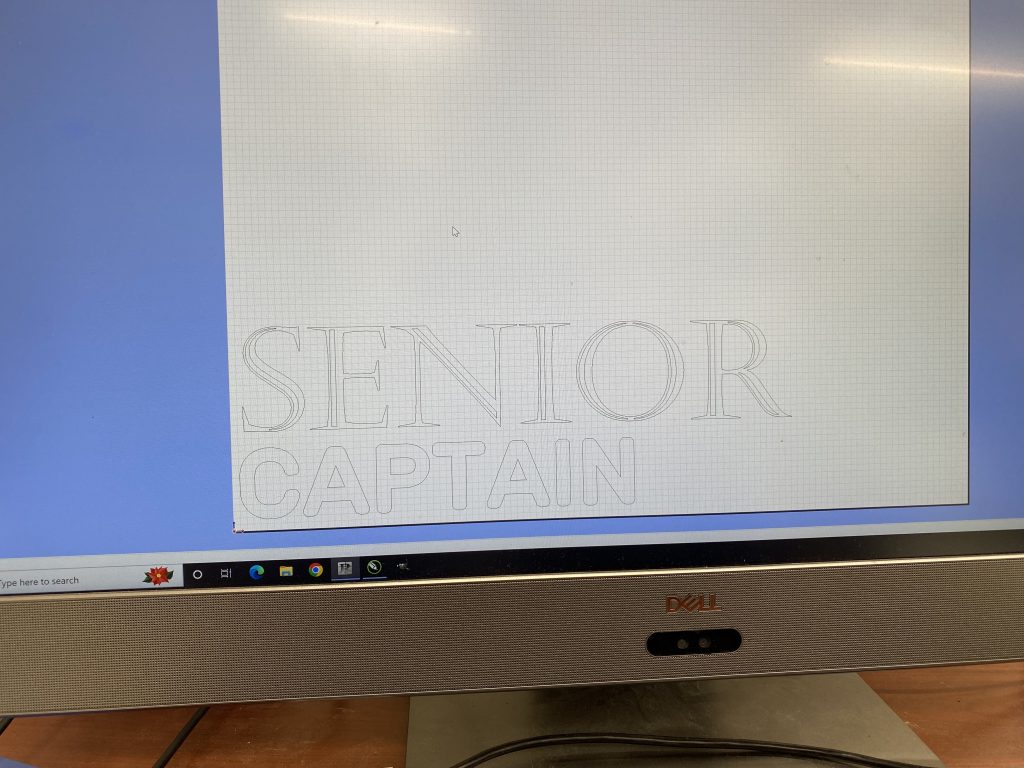
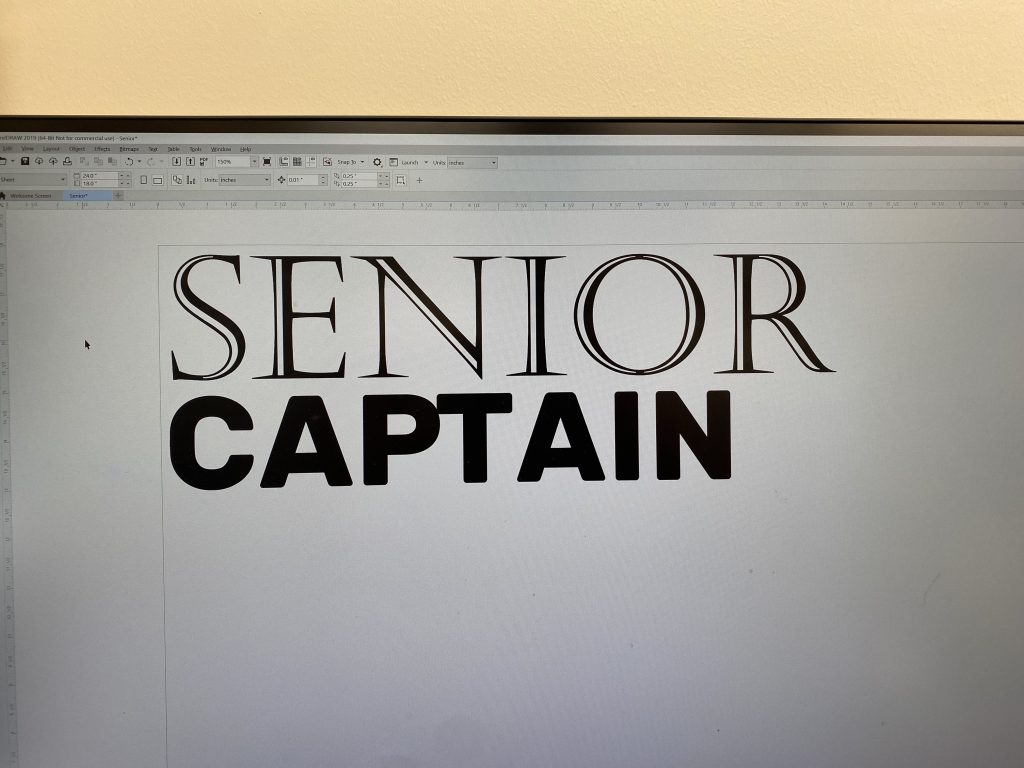
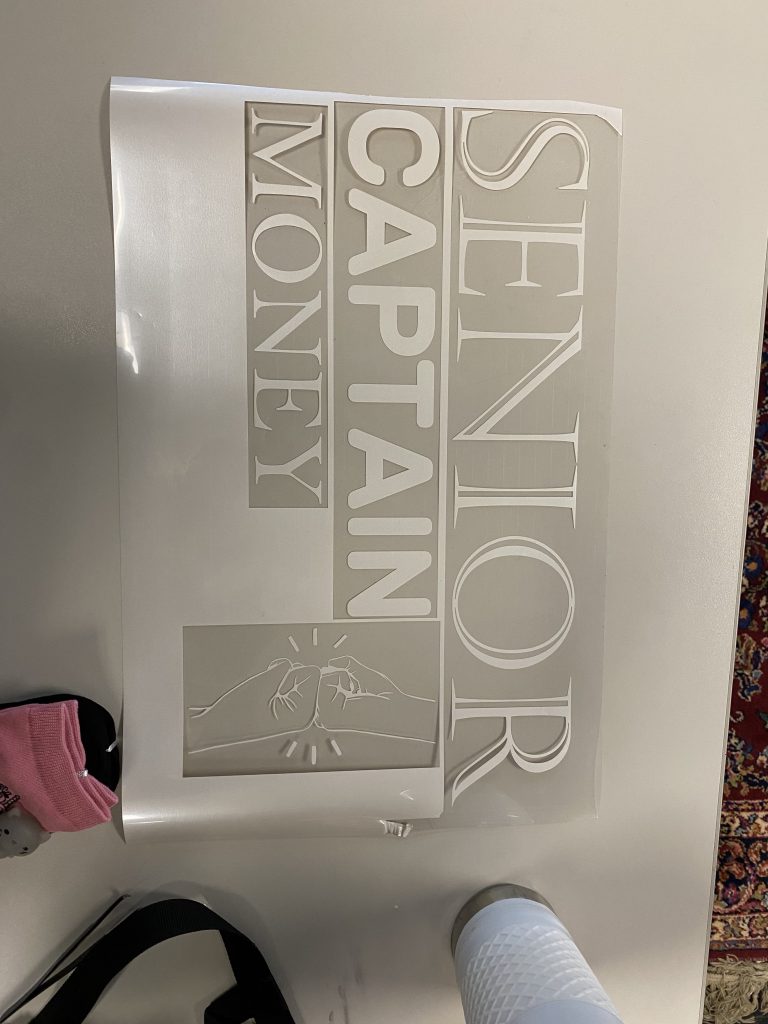
Since this is my senior year, I wanted to commemorate my final basketball season. We received a varsity basketball sweatshirt this year with our last name and number on the back. I decided to add “Senior Captain” on the back of mine as well. Below are pictures of the design on the computer and printed out, but not yet on the sweatshirt.

Money!
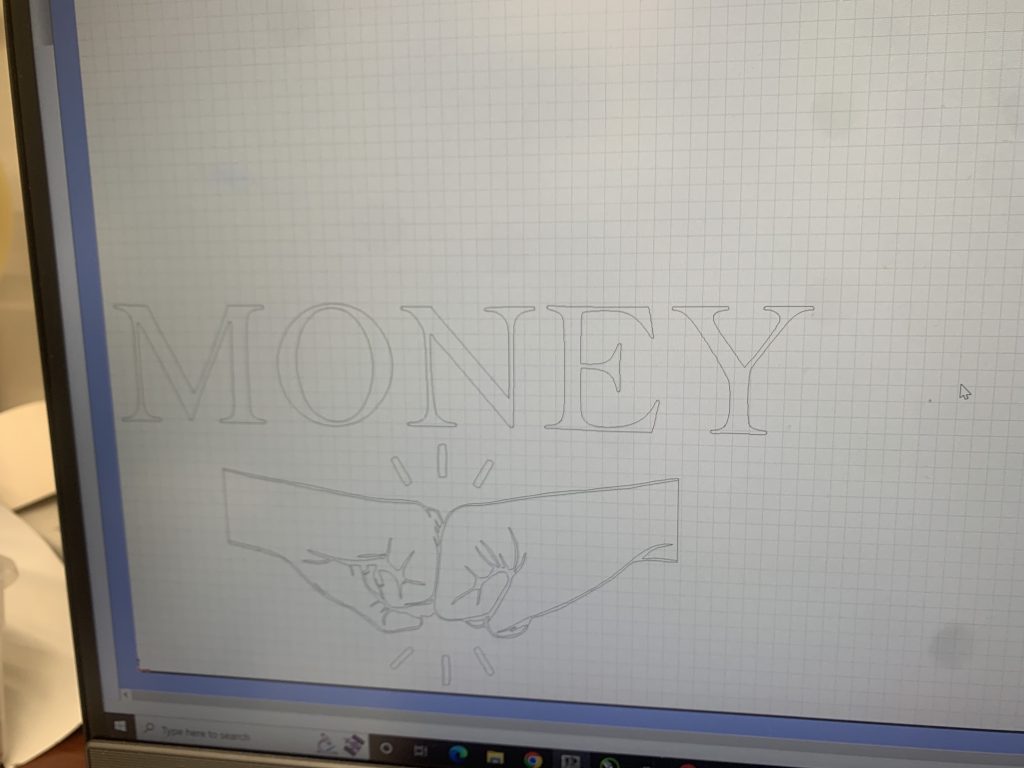
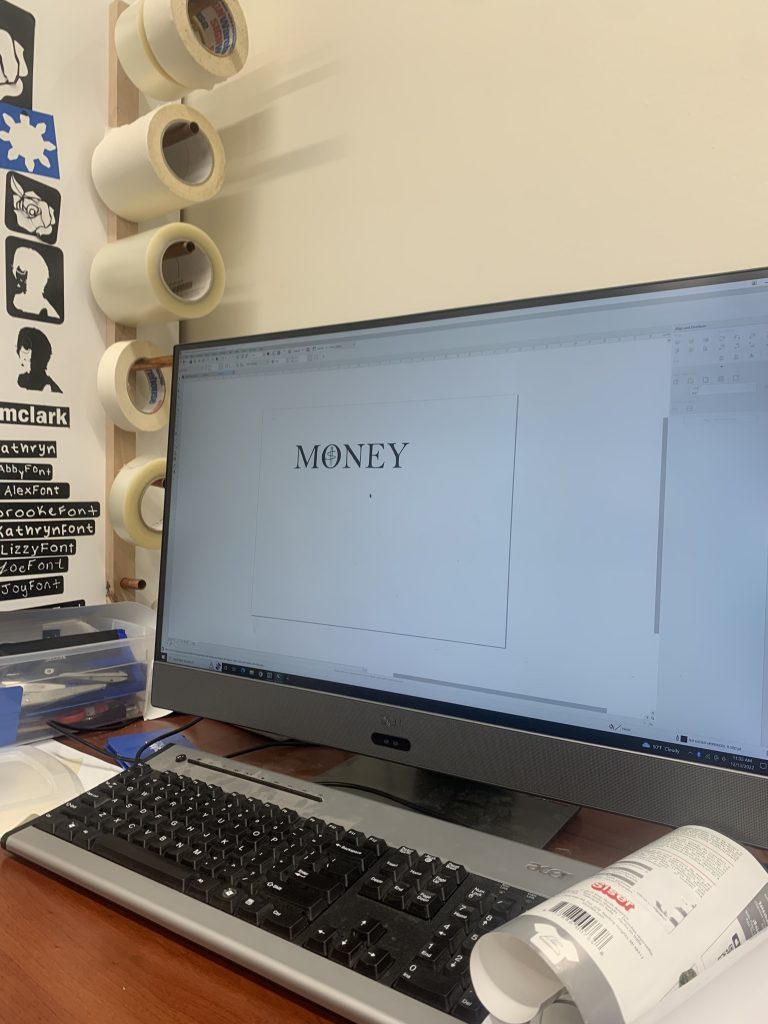
Starley and I have played volleyball together for three years. Through the years we developed an inside joke of dabbing each other up and shouting “Money!” right before a play. Sometimes it was discreet and at others, we yelled it out across the gym. This was our final year playing together and left it all out on the court. During our final game, we smiled at each other with tears in our eyes as we said our final “Money”. To remember the memory we decided to but our own design of “Money!” on the back of this year’s volleyball shirts. Below are pictures from the designing phase.
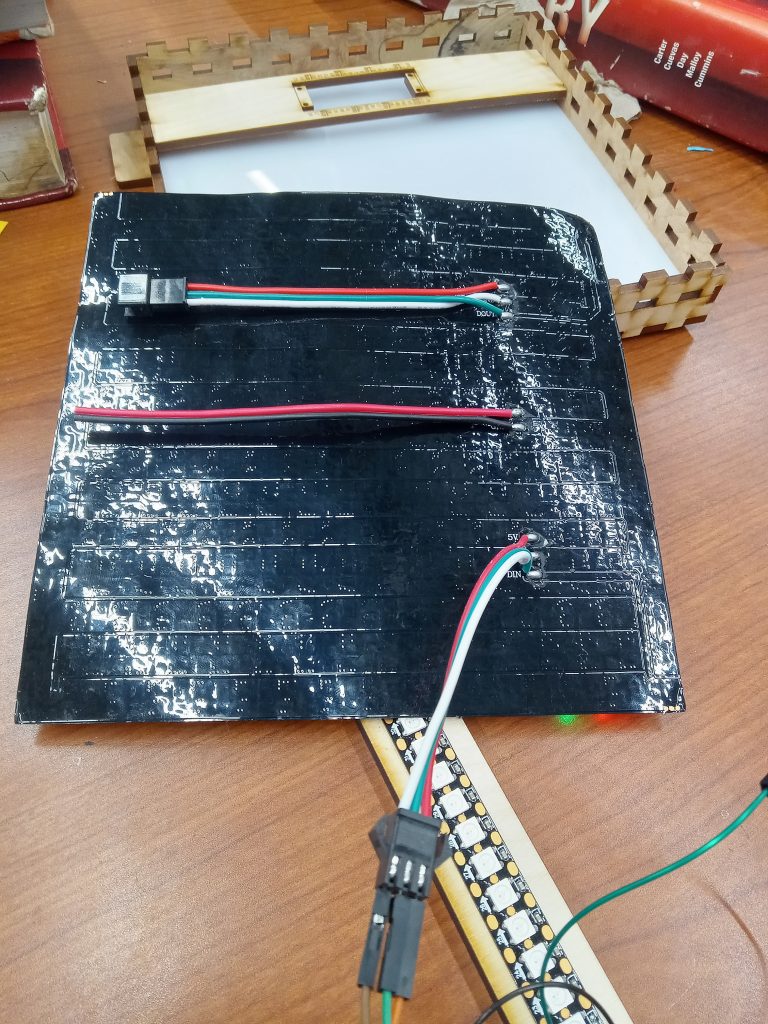
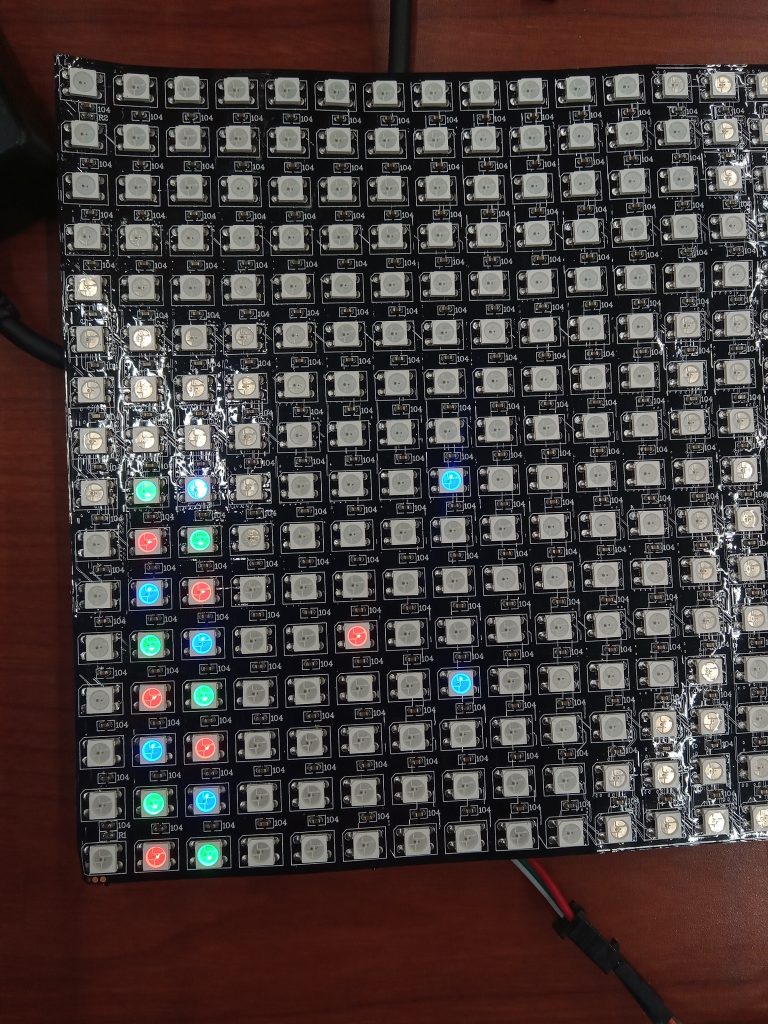
LED Grid
In the past week of Geometry, I have been learning/experimenting with a LED grid. I have created a few codes that are open for use. Here is a GitHub link with what I have done so far.
https://github.com/l4589/ledGrid


Part of the process:

Decal Future Project
For the next semester, my goal is to make a car decal for my mom and her business. I would make it big enough so that on the road, it can be read, and that it is obvious enough for everyone to see as she drives by. I’ll use the same process I used for the previous decal project I did with Brooke and Joy, but the actual content will differ. This will likely take me multiple tries to make sure it’s the size and format my mom wants for her truck. A problem I predict I will run into is whether or not the actual decal is durable enough to stay on her truck. After I finish this project, I’ll see if she wants any further decals for any other purpose.
Soap Box
Due to our new morning meeting presentations, Doc and I created a soapbox for the more enthusiastic topics. 24in*14in*10in


Recent Comments