Tri State Area
Makerspace at the Fulton School
Crown and Wooden Designs
During the week that I was in the makersspace, I made a number of wooden circles as well as a crown.
On the first day, I knew I wanted to imprint one of my drawings onto something but I didn’t know what or onto what. I decided to use the laser cutter. I drew a mushroom onto a piece of paper took a picture of it, sent it to a computer, designed and cropped it, then my edited image to another computer to send it to the laser cutter and hence cut it out. This somehow took me all day and I burnt the side of it a little but it was pretty okay for my first time using the laser cuter.
For the second day, I wanted to make a wooden circle for my sister and it took forever to get right, I had to re-print her Luna Lovegood wooden circle multiple times. After my 4th print, it finally worked and she was so happy.
The next couple of days I was 3D designing my crowns on open SCAD. After I had finished my design I forgot to save it and had to completely re-design it. After making a few changes to my re-design I sent it to the 3D printer and it didn’t work so we had to wipe down the surface and re-print, after 8 hours I had a crown, and after a week of having my crown, I have neerly broken the entire thing. But it was so fun to make it, next time I will definitely make it stronger.
abri fleischli resin and 3d prints
What i did in my time in the makerspace interim was i did some resin and 3-d printing. I 3d printed two things! An articulated lizard and and falkor the dragon from never ending story. For the falkor print we had to pay 1 dollar for the design for the download and then i had to download it then send it to two different apps and then i had to print it and it took about 5 hours. And for the lizard i basically di the exact same thing but we didnt have to buy it, the lizard took around 5 hours also. For my resin projects i did a few keyboard keys, and some resin in shells! Heres a pic of the dragon and lizard. I dontt have pics of the resin tho… thx for reading!!!

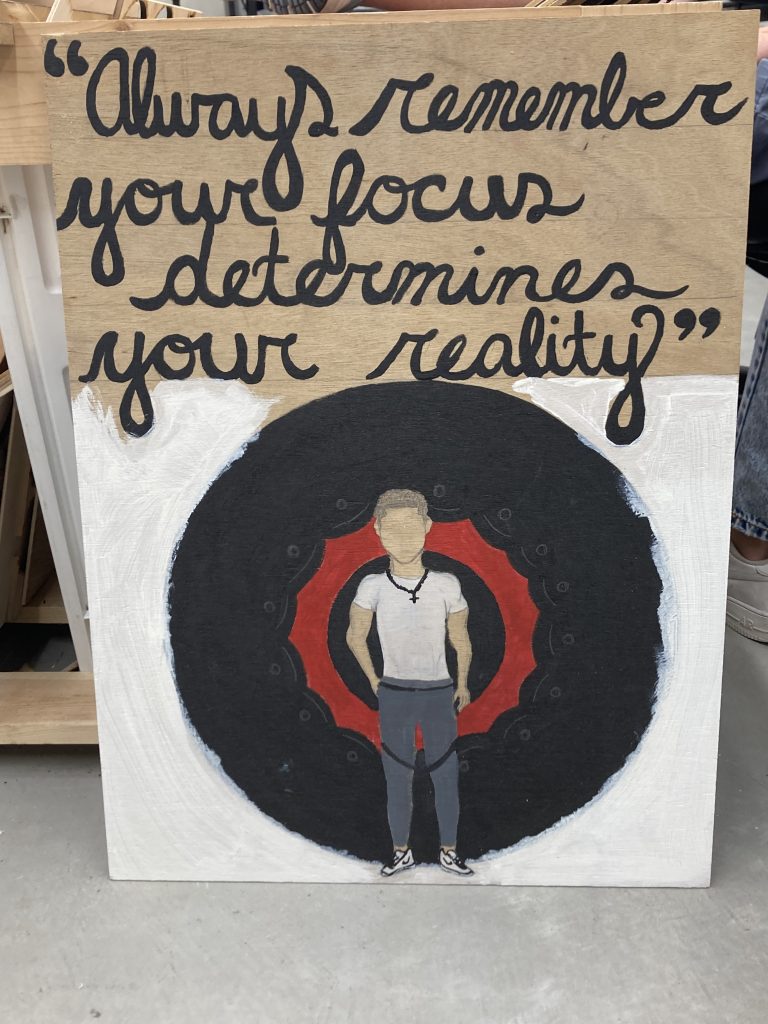
Painting
Small table
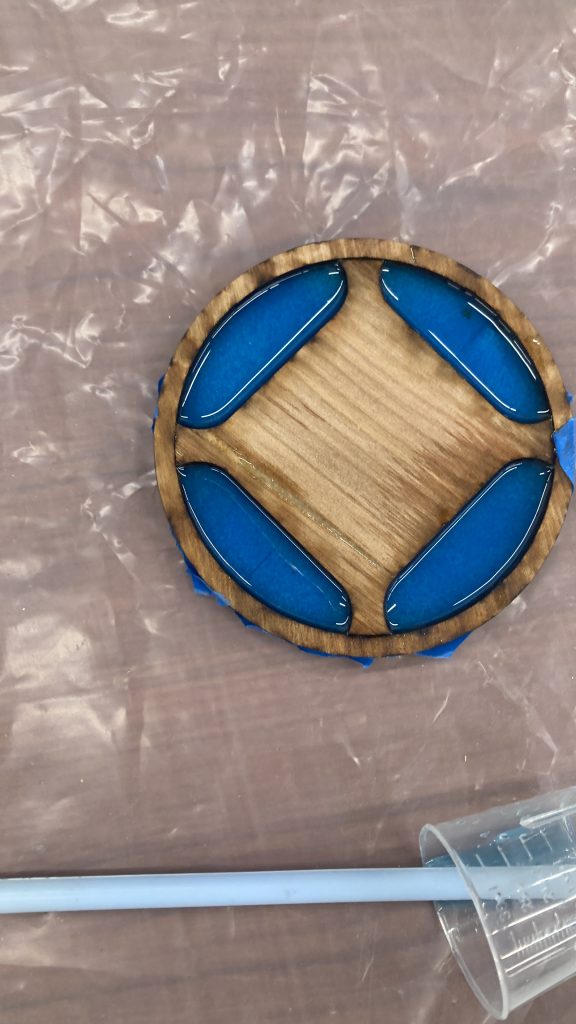
Basically Josh and I wanted to make a table but decided to make a practice one before hand. We had to pick out a design and had to figure out how we were going apply the epoxy, how to mix it and so on. We decided this was the best shape, plus it looked very neat.
Makerspace Wrap up
During the quarter I learned many things. Some of the things I learned was my time management and how the smaller space effected my makerspace experience. With the smaller space it effected my learning flow. My actual makerspace projects included helping Harley with her skeleton and making a sticker. I do not have a picture of my sticker but it was a simple phrase “Smile ;)”. I decided to do that quote because I need to smile more.
During the quarter I’ve brainstormed what I’ve wanted to do for the future. And that includes: Fishing and Doctor Who merch. Which will most likely be stickers. I also want to expand my knowledge of the wood cutting machine.
Fixing the epoxy table
The epoxy table we started had a small hole where the epoxy was uncured.

Our solution to this problem was to cover the hole with a small layer of new epoxy. I used the heat gun to smooth the epoxy out in the area and get the air bubbles out of it, but this was not a good idea. After a minute of using the heat gun, a large air bubble was made. This is because the air was going into the small hole and the area expanded with nowhere else for the air to go.

Blas and I decided that we were going to cut the bubble off and fill the area with new epoxy, but not use the heat gun this time.

We then sanded the new epoxy to get it level with the rest of the table.
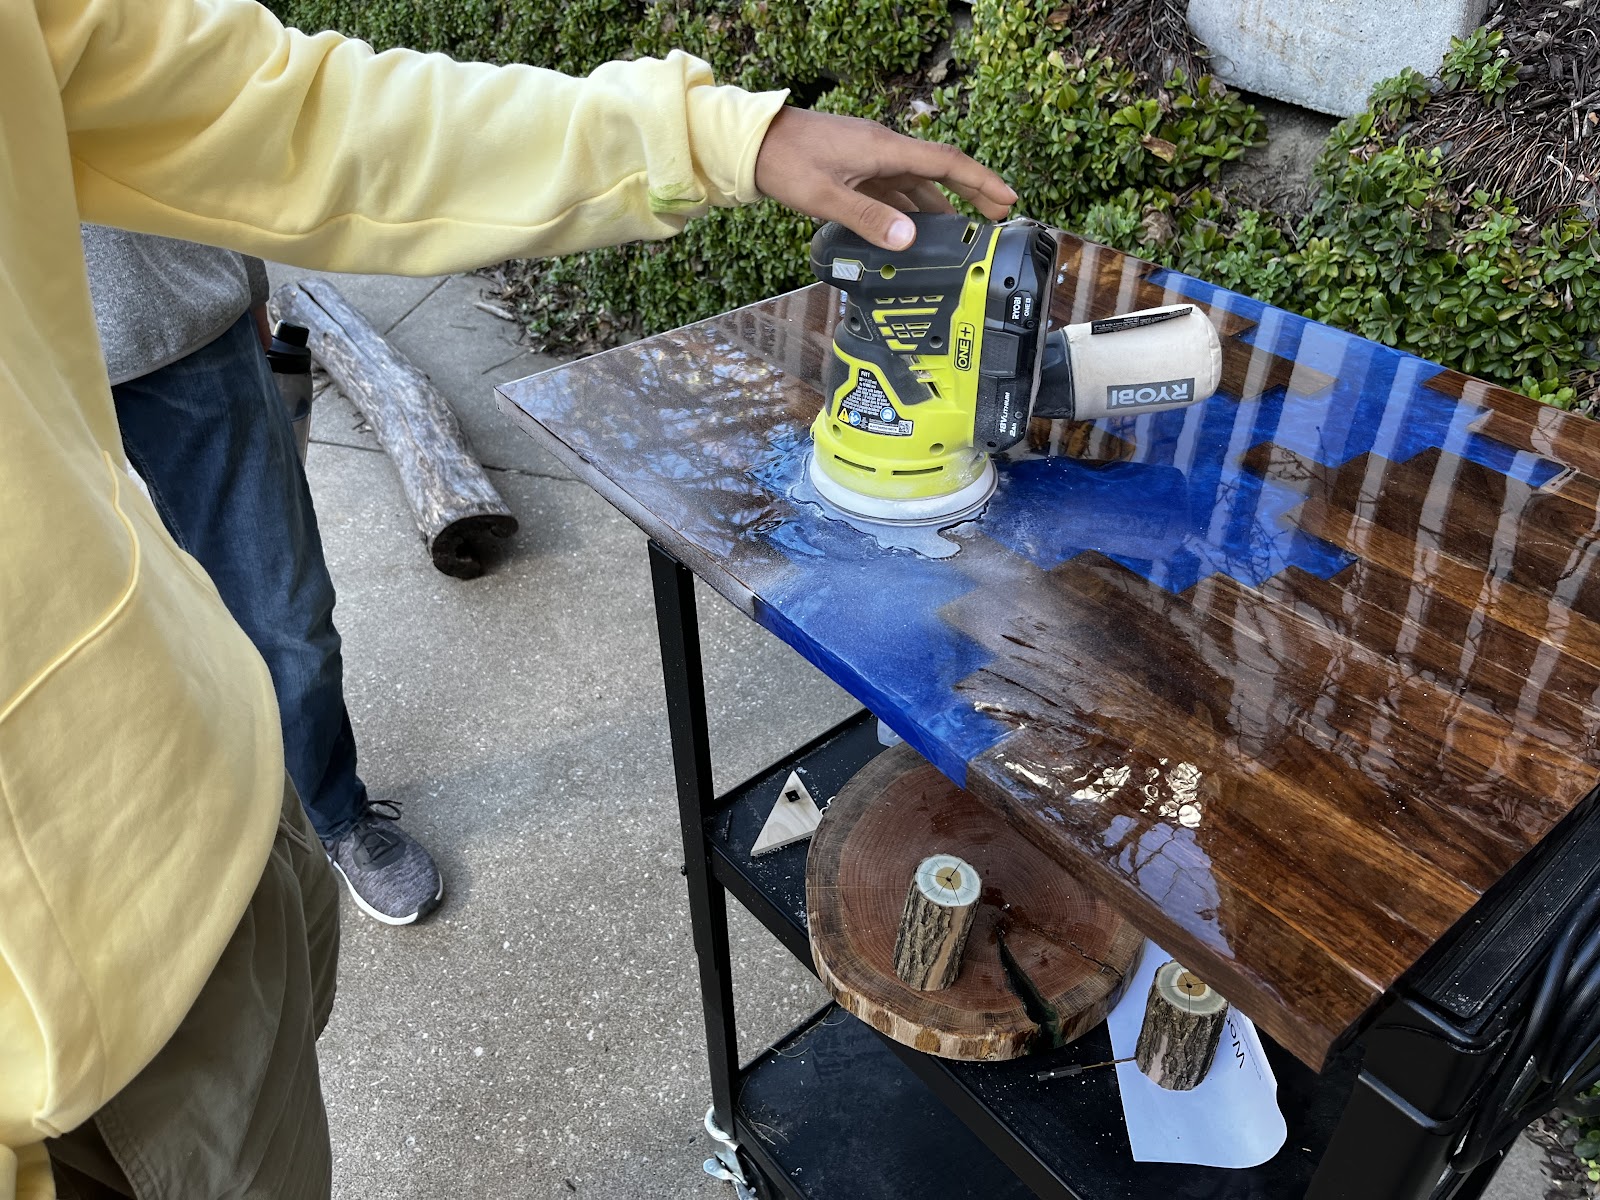
Once the new epoxy was almost level with the other part of the table we use finer and finer grit sandpaper to polish the table in the hopes that it would look as shiny as the rest of the table. After this, we used the three mixtures in the picture to polish the table further.

In the end, the table looked like this.
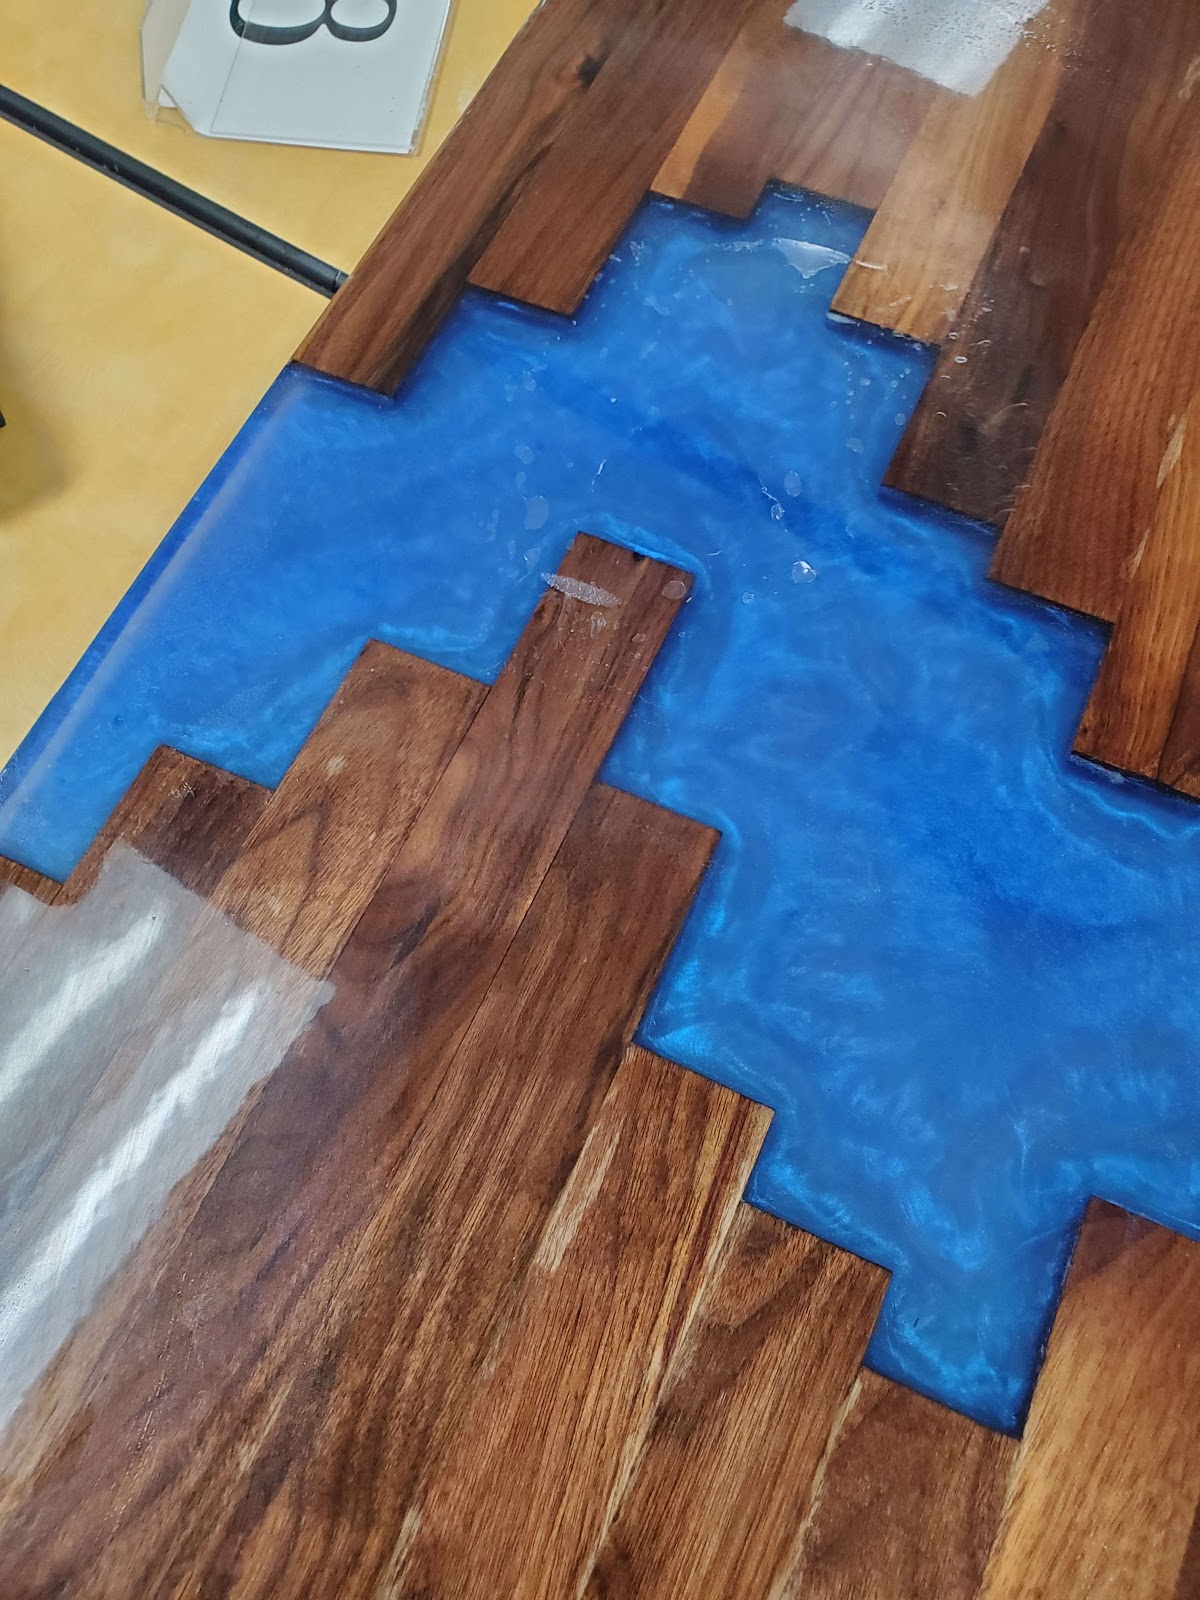
Epoxy Table Hole

This was what we thought would be the end of our table.

There was a tiny hole in the table originally that would be indefinitely sticky so my friend, Coen, thought it was a good idea to cover the whole with more epoxy. So I figured that wouldn’t be very challenging to pour a little drop of epoxy into this hole. Coen ended up using the heat gun. Everything was going well until a bubble formed and blew up the table. I don’t know the exact details but that’s what happened. I came down to the makerspace to see this devastating result. The reason this happened was because a layer on the bottom of this other layer wasn’t curing so it was still sticky and thanks to that hole it connected to the sticky layer and air bubbles would get in and it was bad for the table. This could have been avoided a multitude of ways with not trying to fix the hole, not using the air gun, or just using the right ratio of epoxy the pouring the layer. All in all, we learned from this and I had to correct it.


First we had to cut off all the extra epoxy that was bending to the best of our ability. Then we poured a new layer over the hole. When this cured I sanded it down to the same level of the original layer.

Once it was at the same level I had to sand it down multiple times each time with a finer and finer grit to eventually polish it to see if that would make it more clear.

Then I used the 3 different mixtures in the picture to try and make it more polished.
In the end it looked like this.

Makerspace Interim
For the makerspace interim I helped build a work bench with Luke. To make the work bench very stable we drew out where each leg was going to be screwed in. We then added support beams underneath the table to minimize how much the table would shake when force is applied on it.
I started a second project which was building a gravel pit for the playground. The first thing I did was dig out a hexagon with sides that measured 4 feet long, and 5 inches deep. Then I started to cut out the sides for the hexagon. Since the box was going to be in a hexagon shape I needed to cut the ends of the wood at a 30 degree angle so the wood be nice and flush up against the wood poles at each corner.
Makerspace Expoxy Table
After selling our first table, Coen and I set off on another mission to create a new table. We started with finding the idea. Once we did, we began to saw the wood into the pieces necessary. We glued the pieces together which ended up being warped. “In order to work with the bent wood, we needed a lot of clamps to keep in in a stable position while pouring the epoxy. Once enough layers were there, the clamps were unnecessary. Once all the pouring was finished a problem happened.
I learned about gluing small pieces of wood together and how they warp. As well as how to get each individual piece of wood to be the correct length to create the correct design.
Overall the project went well with a few minute flaws.

Minecraft flower
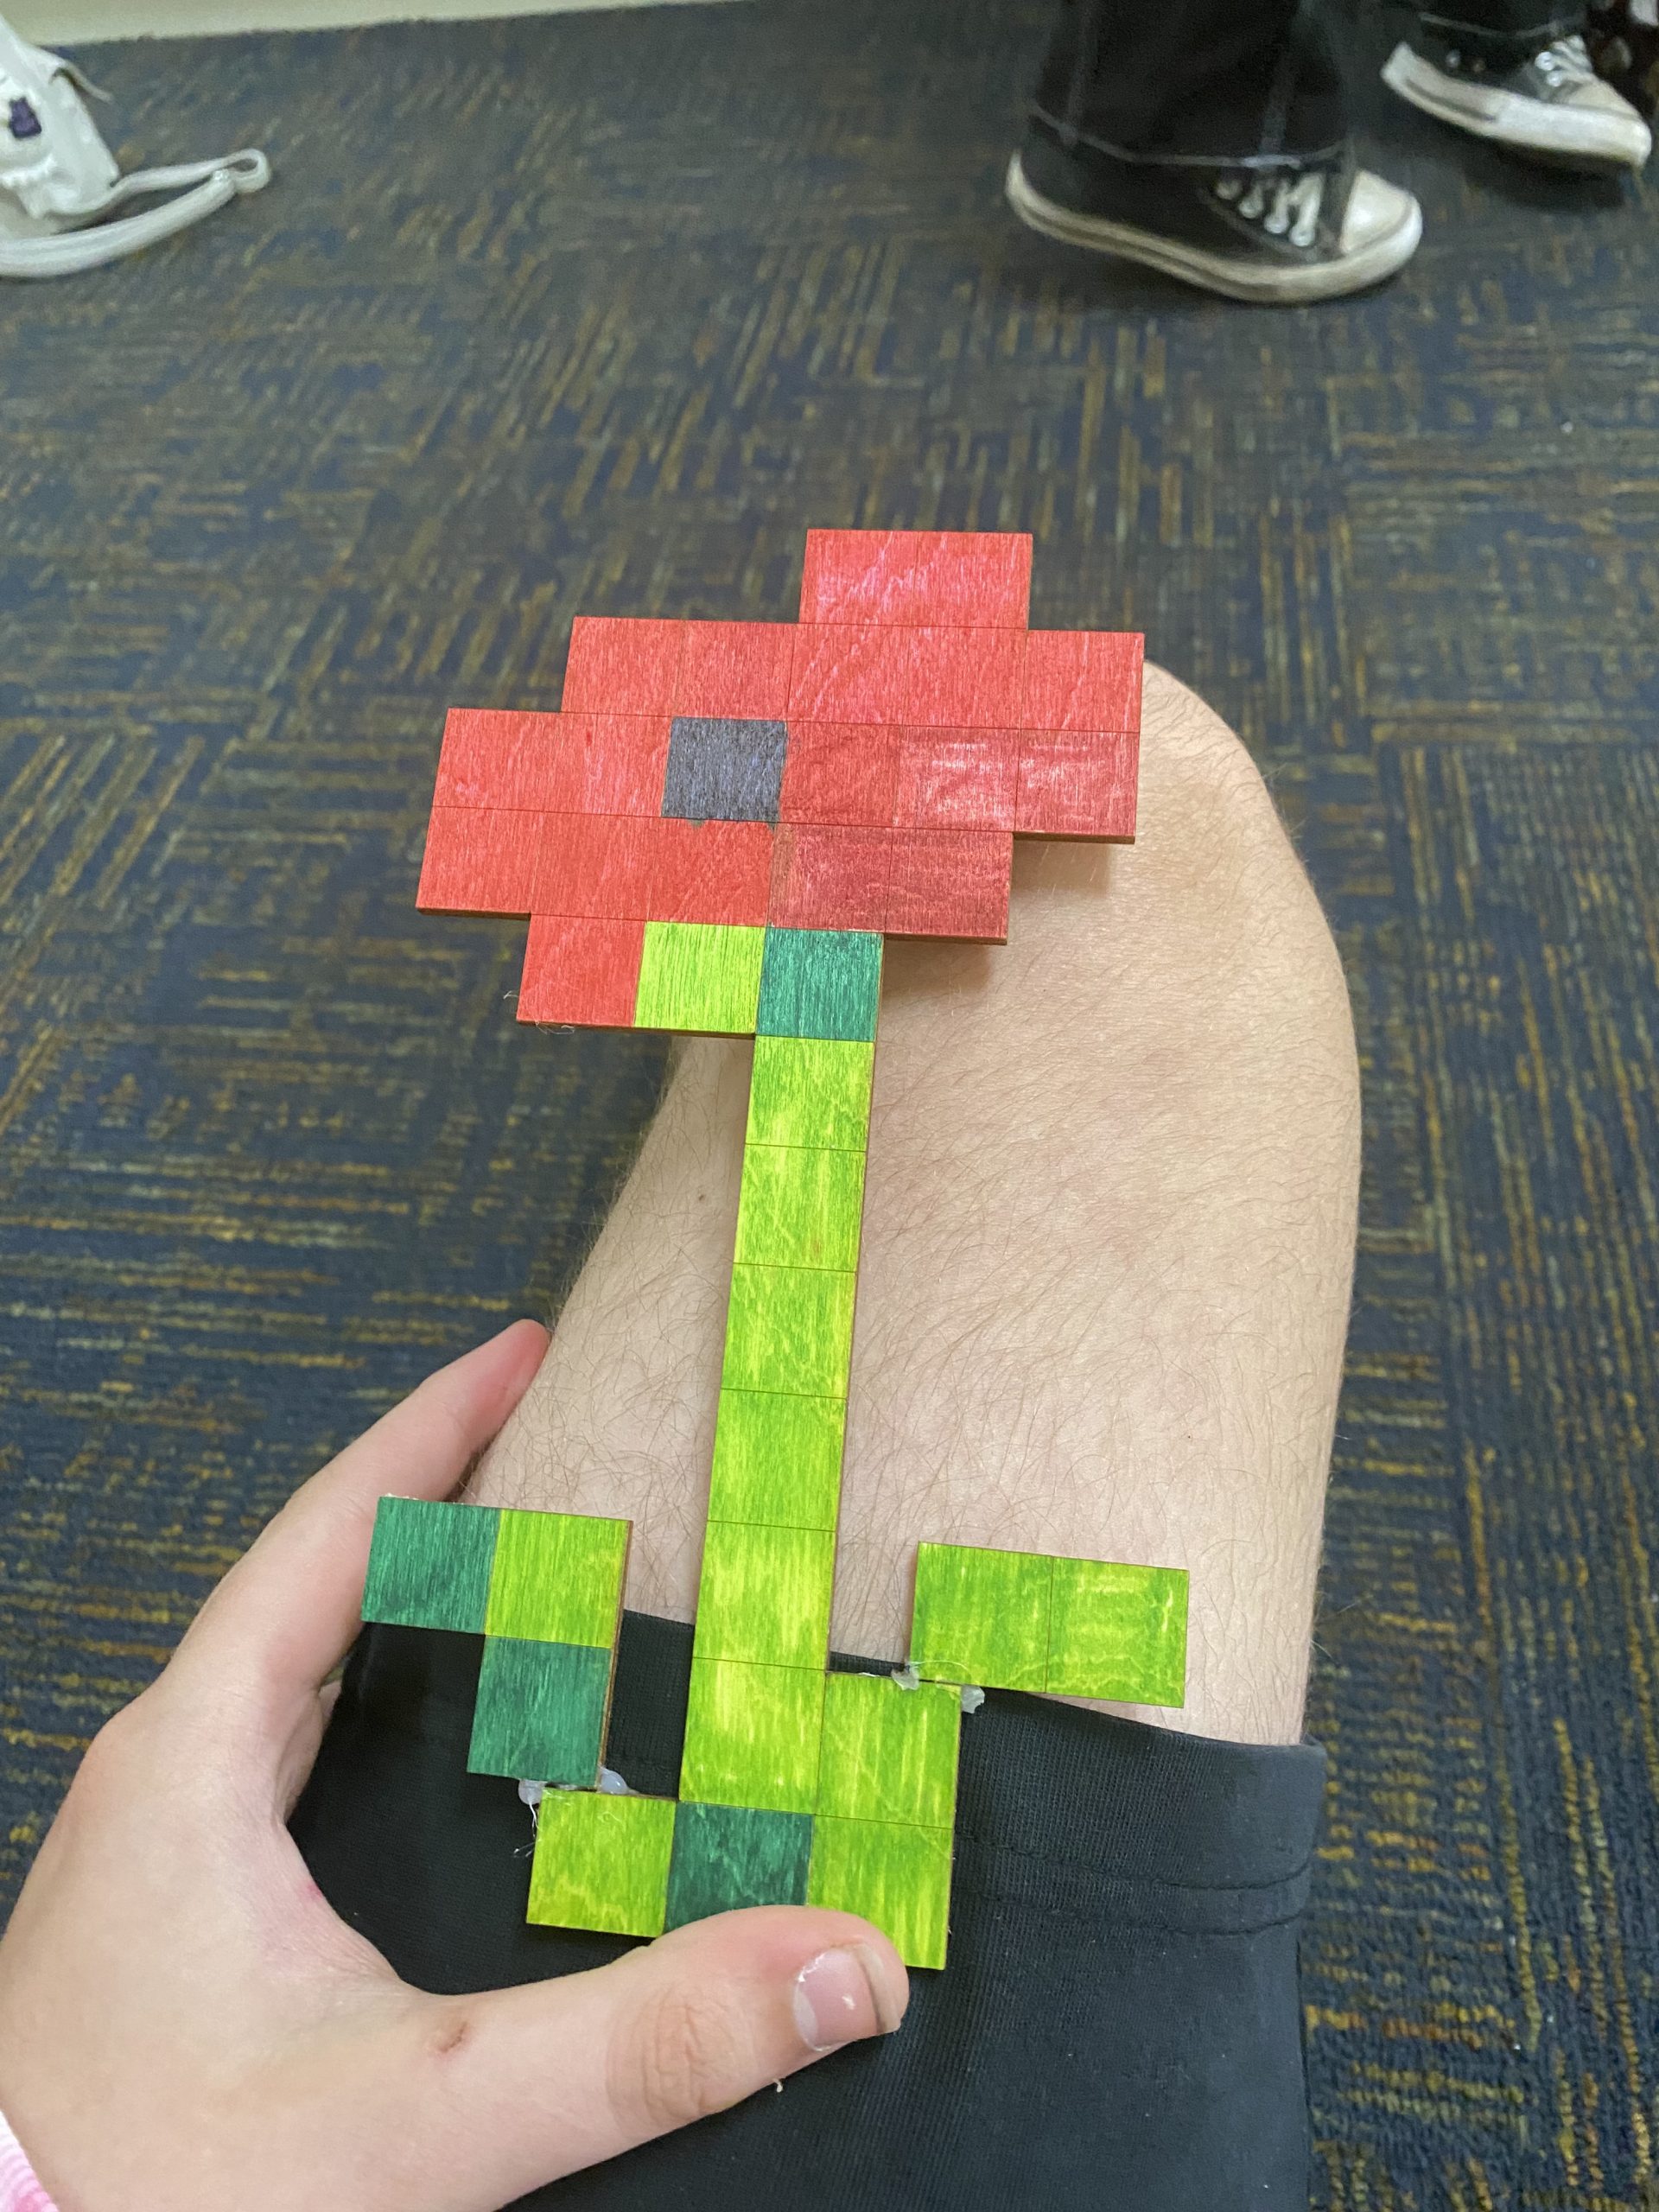
I made this flower by looking up a template of a flower from Minecraft. Then after that I pasted it and locked the image and made an outline of the squares. Then I laser cut and and Engraved the lines. Then I colored the squares with the color they had on it. Then glued some together with hot glue and finished.
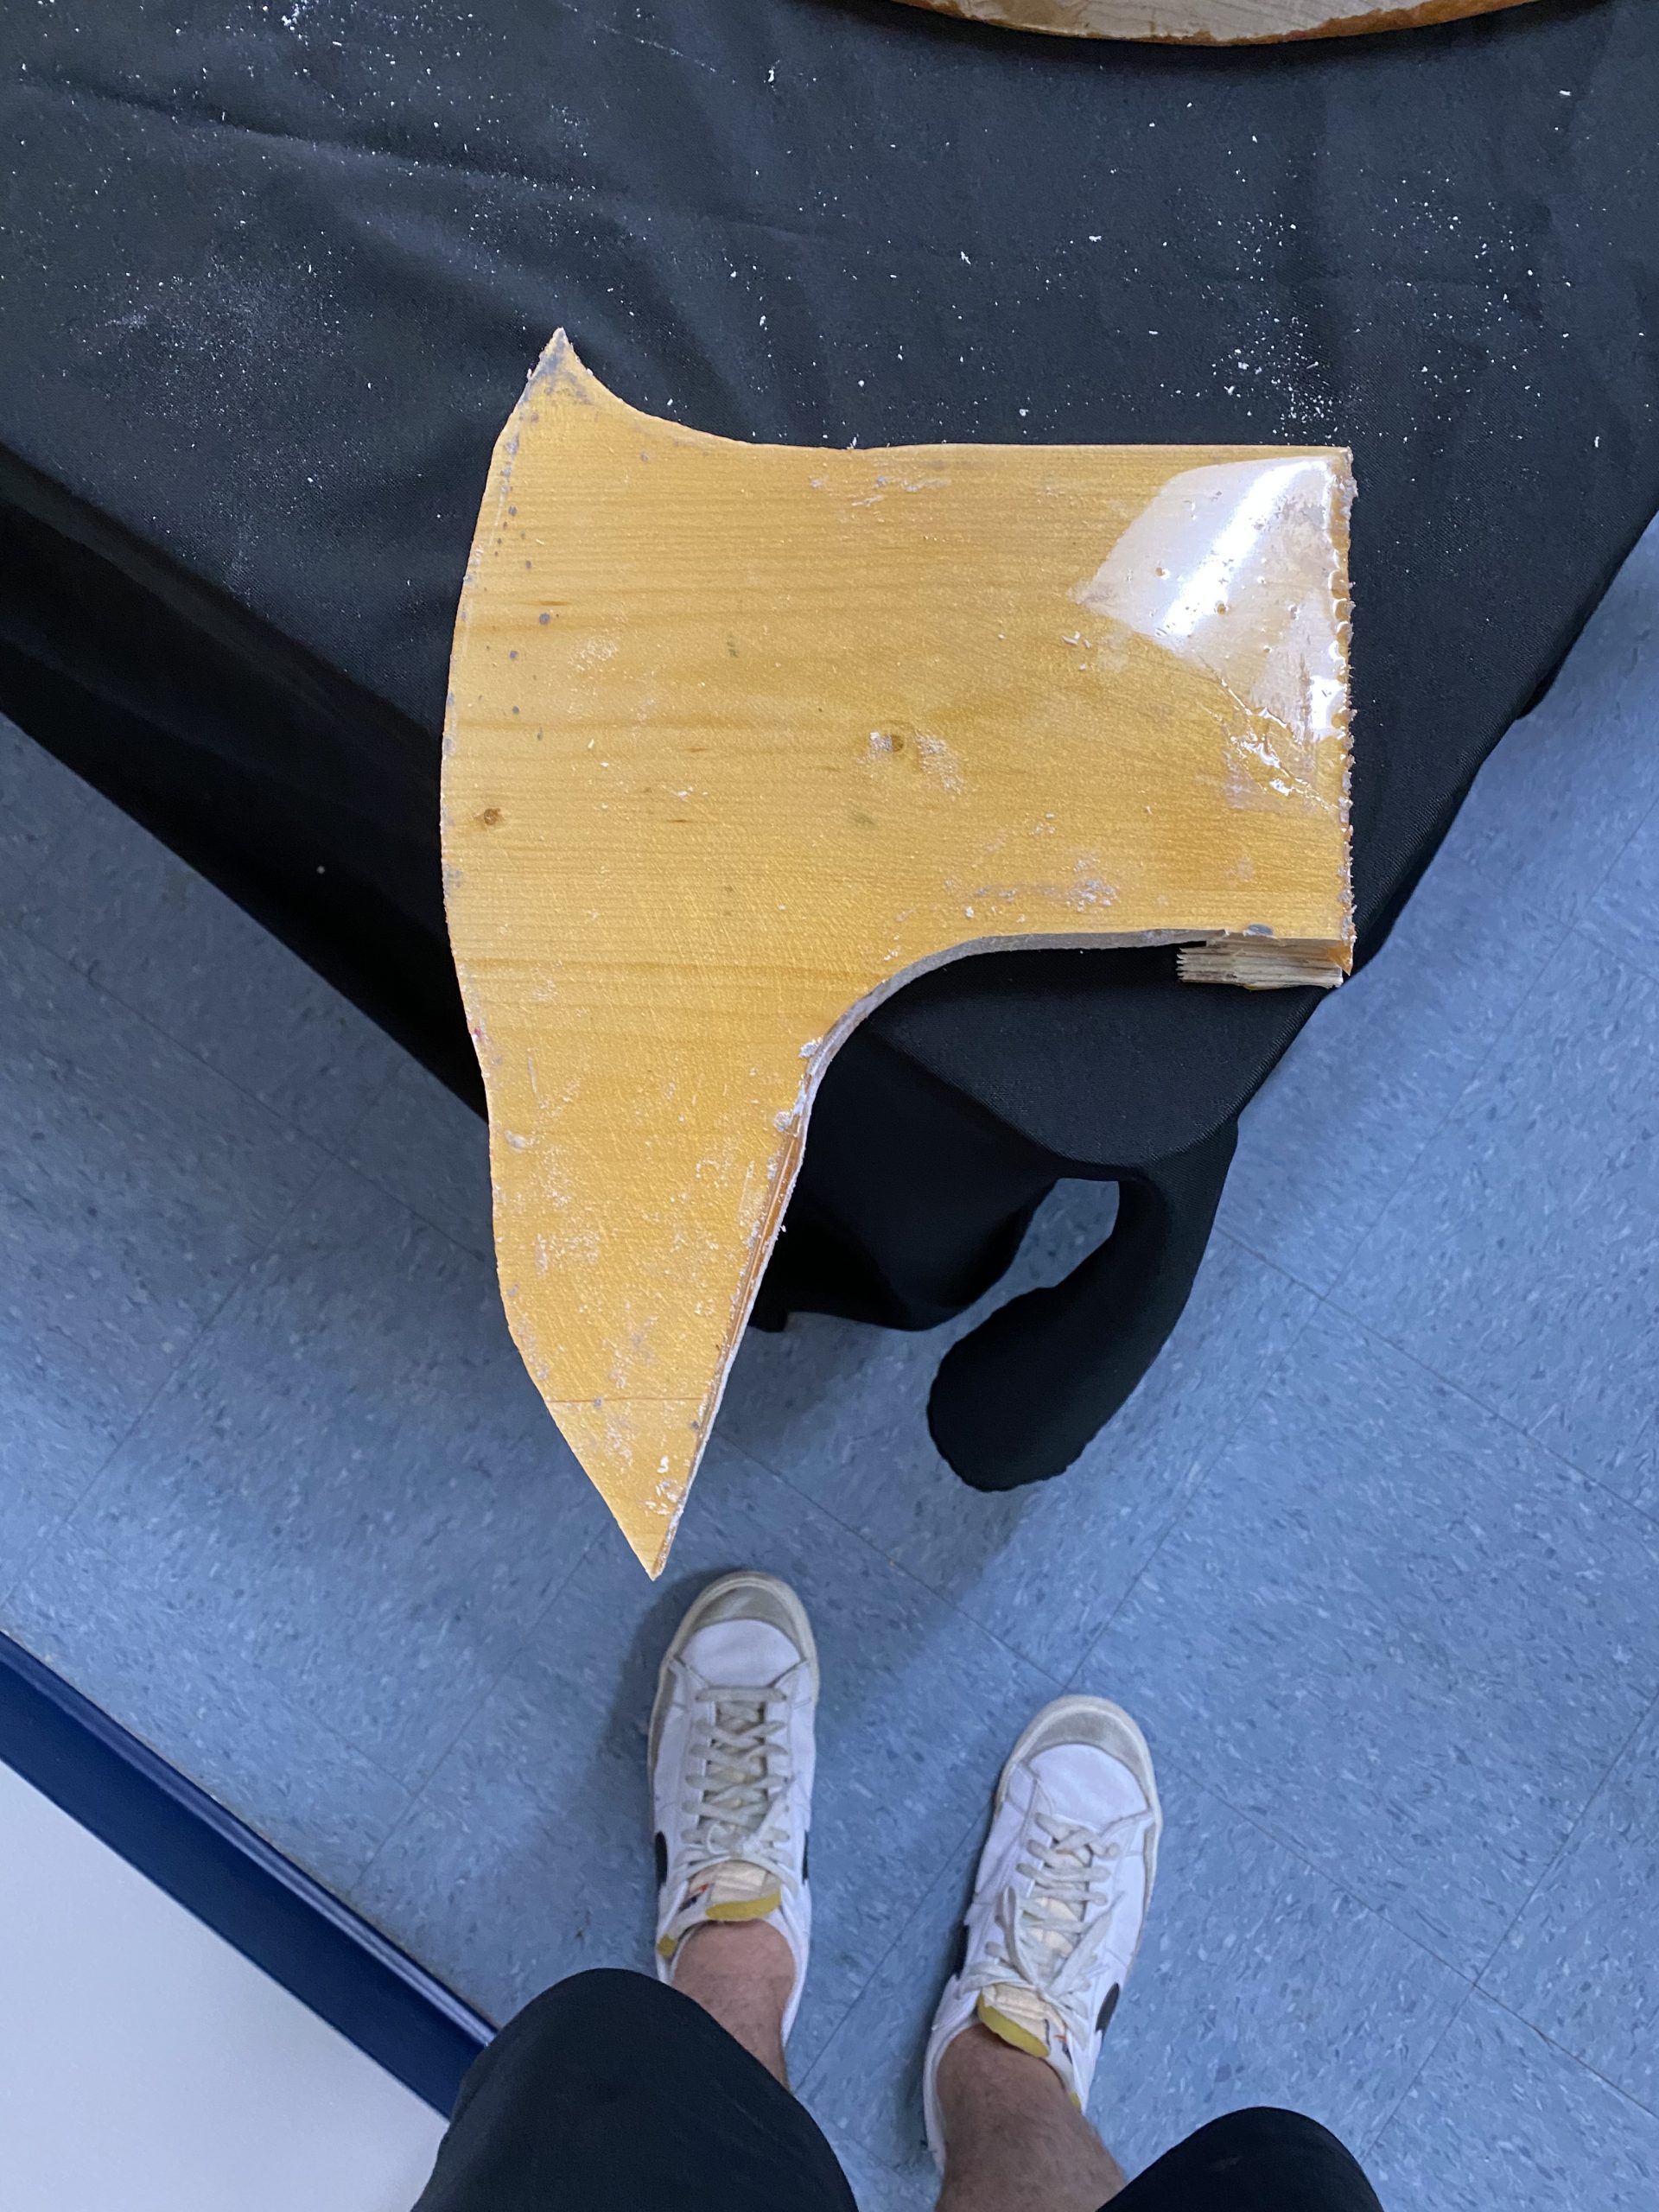
This is my Viking axe I am making. I started by looking up an image of one then locking the image and free traced it and fixed it afterwards. Then stretched a little of it to make it go down more. Then I used the cnc machine to cut my design into the wood. After that I filled the holes I made with and and wanted to fill the lines with a gold epoxy to make it look good and add a cool vibe to it. Then it started leaking so I just put epoxy on the top of it and it turned out amazing. I just got rid of the epoxy on the side and left the top. I just have to sand it and get a pile to attach the axe to.
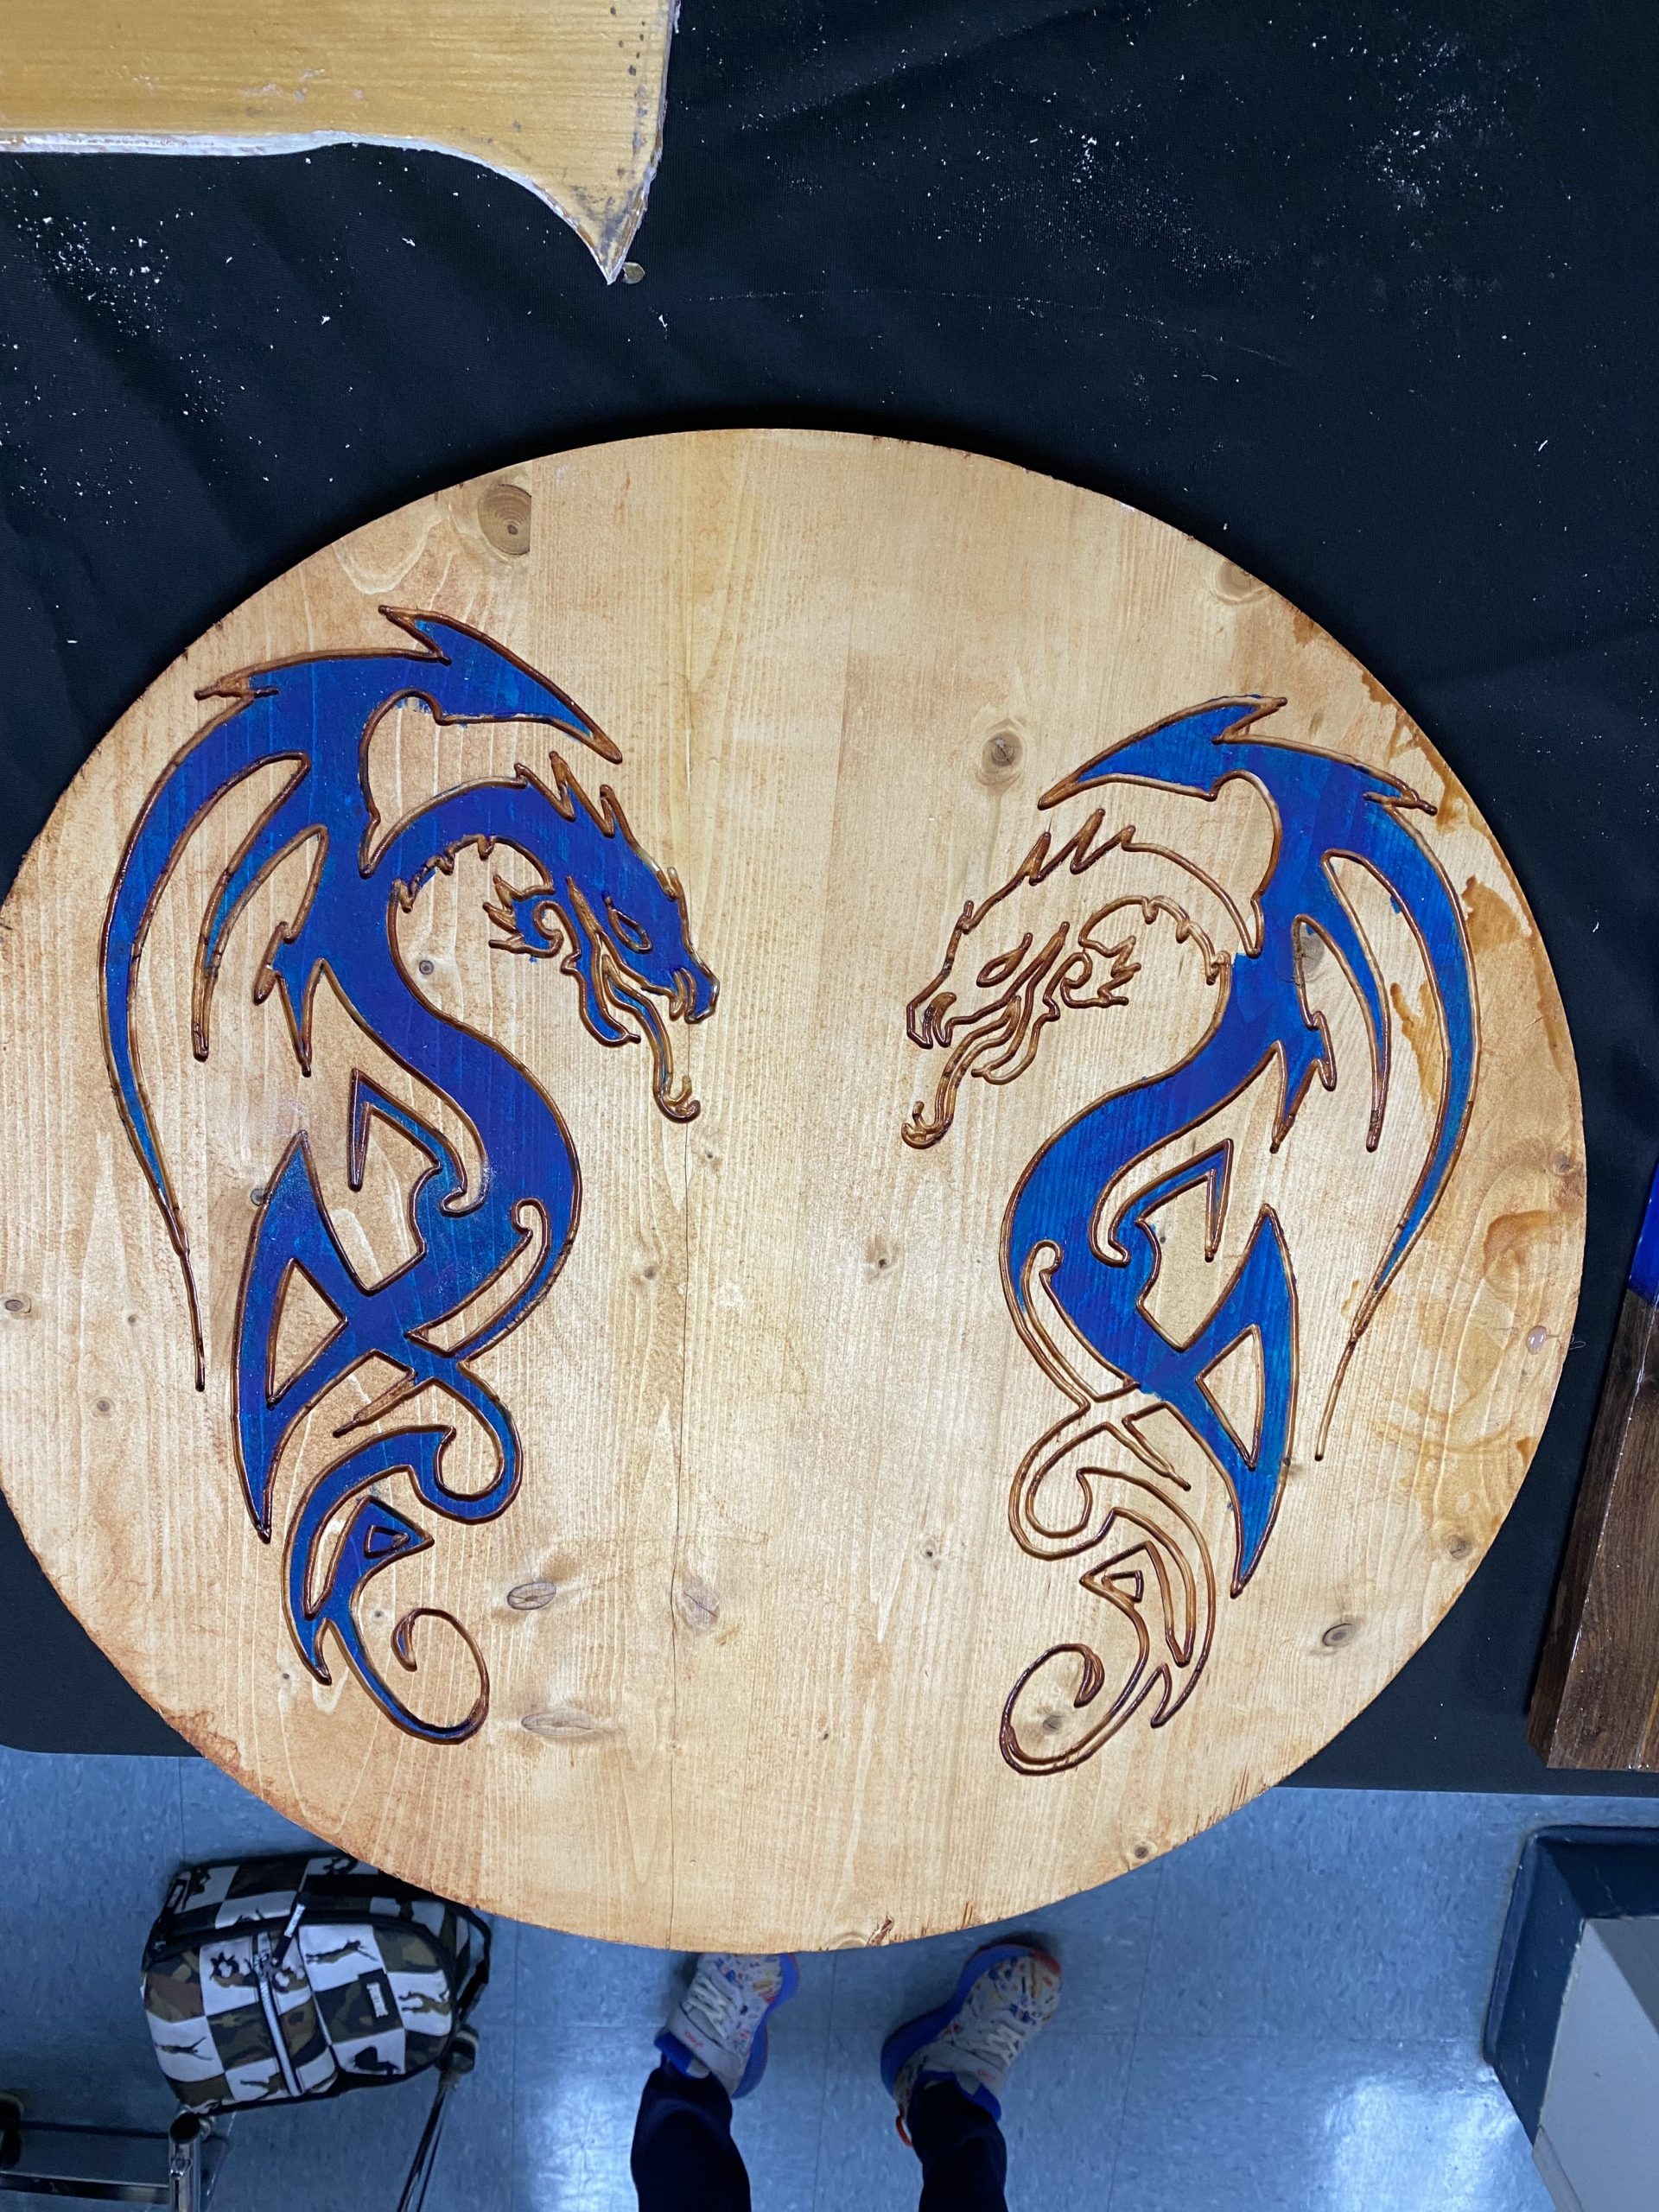
This is my shield I started awhile ago and I took two images of dragons and just put them on both sides and engraved it on the wood. I sanded it and put a stain on it to make it look a little bit darker. Now I am painting the dragons and have to add something in the middle that I 3d printed and make a thing to hold the shield on the back.
Recent Comments