Tri State Area
Makerspace at the Fulton School
Rings
Zoe and I completed our rings. We used a photo editing software to size our pictures. Once we printed them out on card stock paper with an inkjet printer. We glued them to the rings using super glue and put a clear epoxy protective coat.

Cell Project
Coen and Blas’s cell project for their science class. It’s a pinball machine. Currently, a cell pinball machine is being built. On 3/12/19 Coen and Blas started to laser cut the parts of the cell so that they could start to assemble the cell. The parts of the cell were going to be the obstacles for the ball. They needed to cut two pieces for each part of the cell in order for the pieces to be able to bounce the ball off of. On 3/13/19 they finished the laser cutting the cell parts and they organized all of the pieces for the cell and set up table for the assembly of the project. On 3/14/19 Coen was absent and Blas started to assemble the project. The cell has sides that are at a slant. Blas could not attach the one side of the cell. He sanded one of the edges of the side piece so that he could attach one side to the other. Next he glued pieces of wood that he had sawed to the edge of the of each. On 3/15/19 Coen and Blas started to glue the parts of the cell together. They also attached the side pieces to the body of the cell.

Finished project: Name in Languages

I had a few problems with this. At first, when I was trying to design it the first time, it wouldn’t come out correct. The words would be mashed together and the actual languages would be added with different things. I had to re-save it about three times before it actually came out correctly. I had to save it as a PDF file, had to convert text to curves, and then I had to transfer the file to the laser cutter.
Speaker Process Images


My name in multiple languages
For my second project, I am going to have my name written in multiple languages.the first one is ダニエル. This is Daniel in Japanese. The literal translation is Danieru. The second one is دانيال. This translates to Danial. This is Arabic. Next, we have डैनियल. This is Hindi. Translation: Dainiyal. Also, there is 丹尼爾. This is traditional Chinese. Translate: Dānní’ěr. These are just a few names that have been written in multiple languages. I also plan to make a plaque with all of the translations on there. I will have to double check some of these with people who go here to make sure that I have it correct.
Treehouse
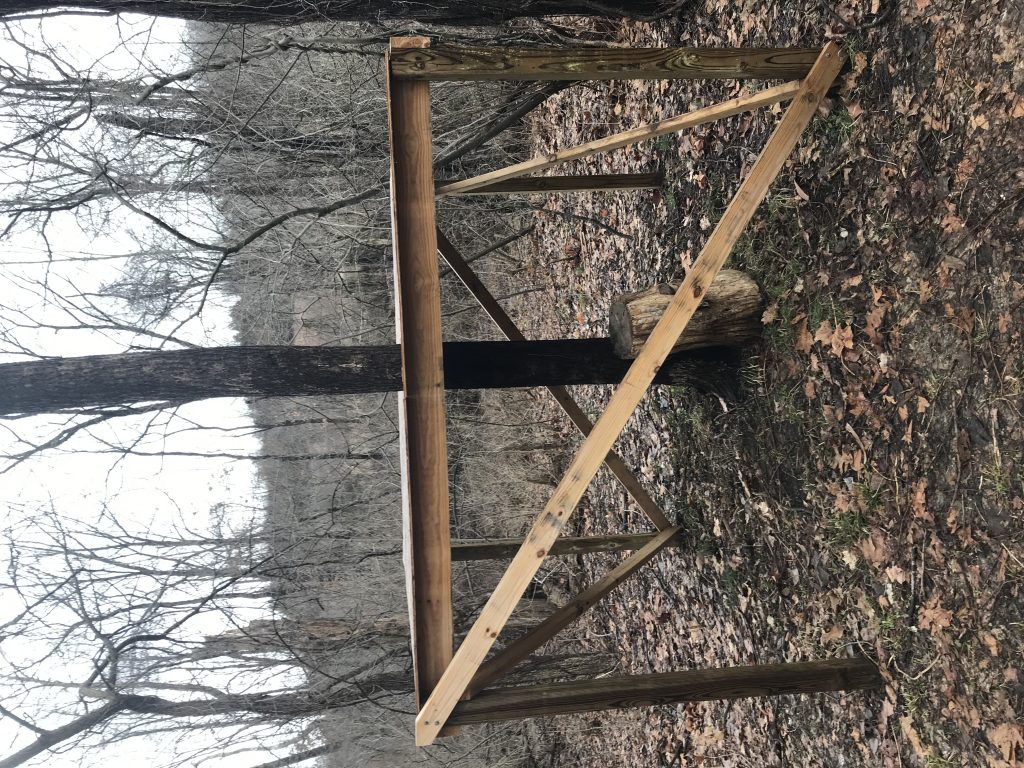
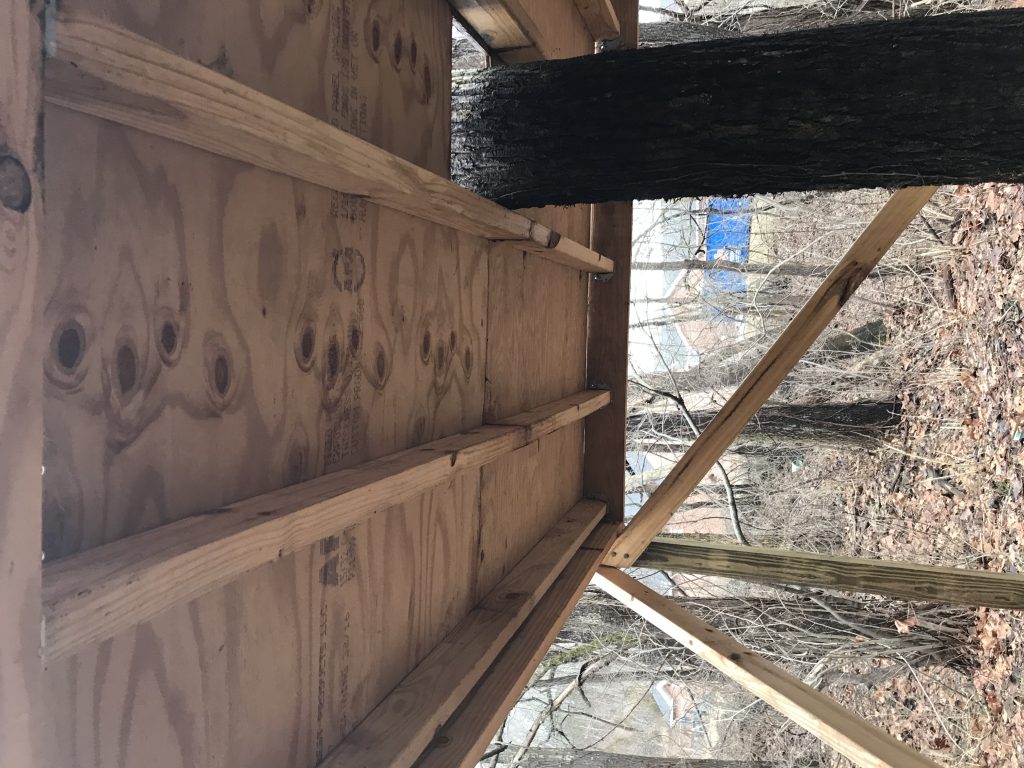

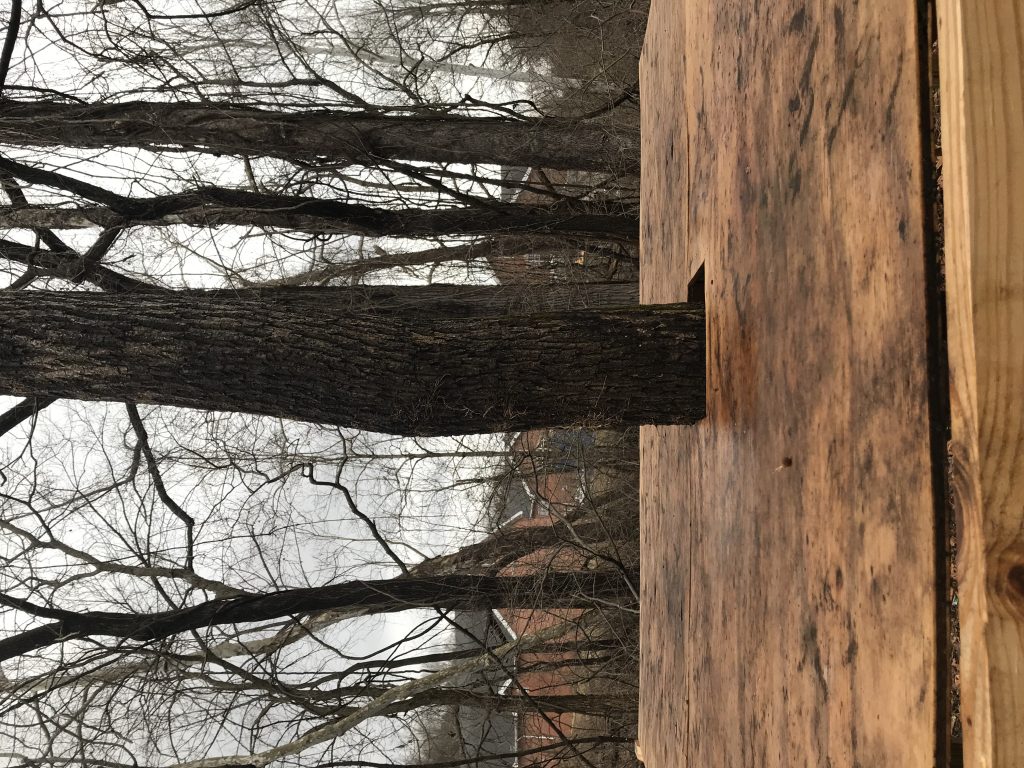
Top of platform
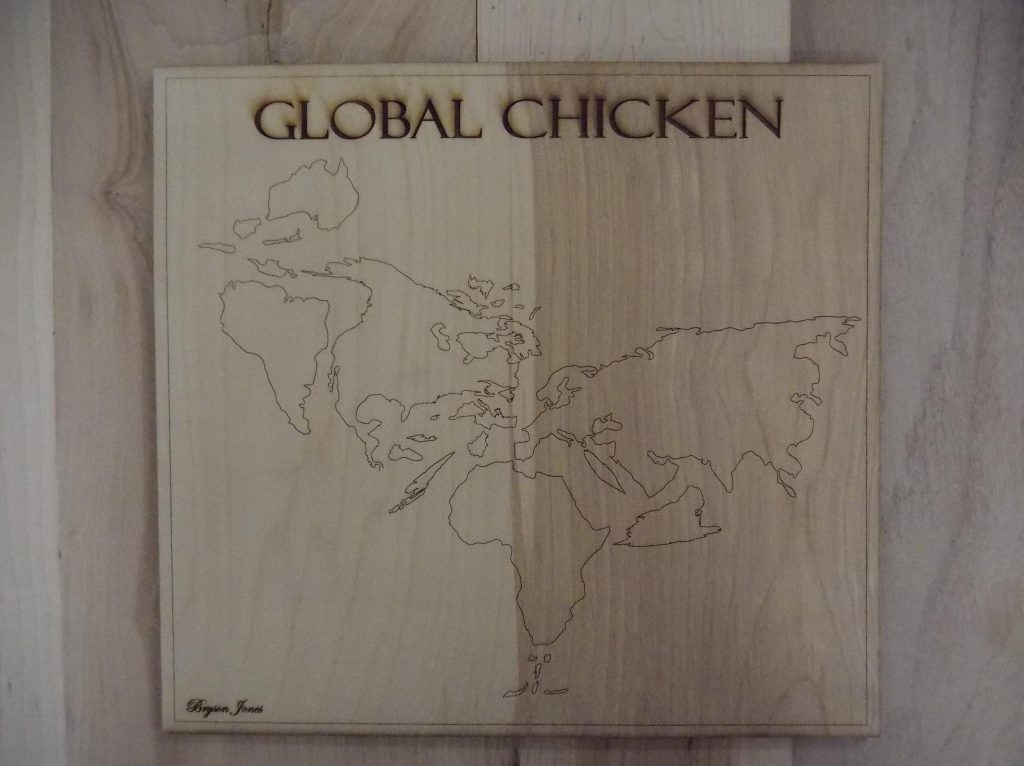
Global Chicken
I made a chicken using almost all outlines of the continents and some islands. It turned out better than I had though. I though it wouldn’t look like a chicken what so ever. I learned how to use Corel properly and how to break curves and lines apart which were the continents to then place them in the right place.
Finished Project: Boomerang
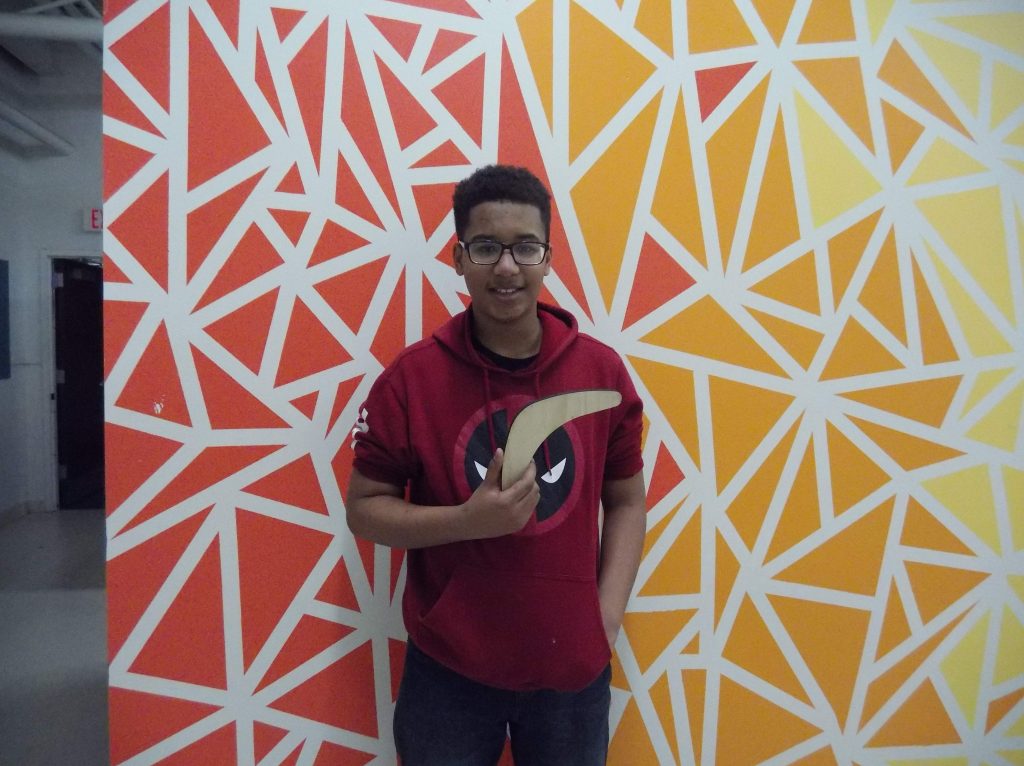

I did as I planned, but what I could do better is to make sure that the measurements are right before cutting, because it could mess up the whole project. The reason I say that is because I thought that, at first, I had messed up the boomerang because it didn’t feel right. I did end up having to change the design because the first design wasn’t working. The reason that it wasn’t working is because the design was too big to be able to draw and it was a raster file. I needed to have a vector format like an SVG file, which is easier to create an outline from. The first design had too many designs on the boomerang for the extraction to be easy. The design above is easier to use, and will fly better because it is smaller. I havn’t tested it yet though. For those who don’t know what raster and vector files are, raster is pixalated, and vector is more lines.
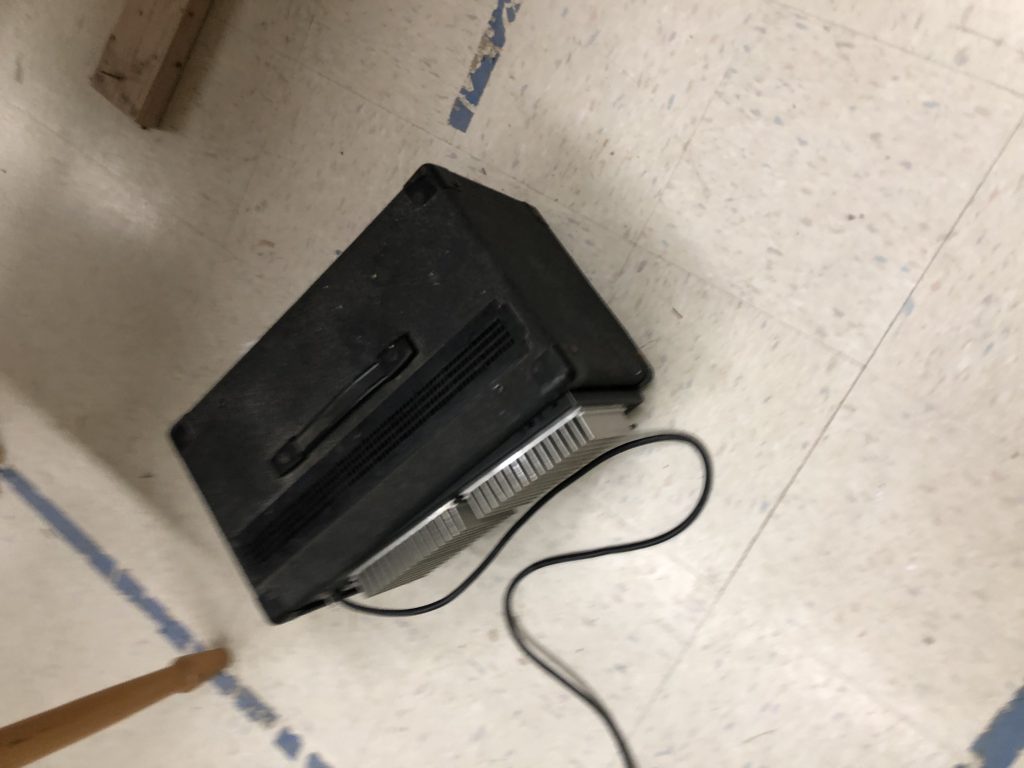
Speaker Project
Matt Duff, Brennan, and I are building a speaker from the raw components. We will be using a stationary magnet, wire to form a coil around the magnet, and a plate attached to the wire as the vibrating component. We will then experiment with various changes and how they affect speaker volume and quality such as the structure of the enclosure and the coiling of the wire.

Speaker Project
For my makerspace project I am going to be making a speaker that can be used with an aux cord. I will be working with Nick and Brennan, and I will be working on coiling the wires and part of the construction of the speaker.
Recent Comments