Tri State Area
Makerspace at the Fulton School
wooden Christmas trees
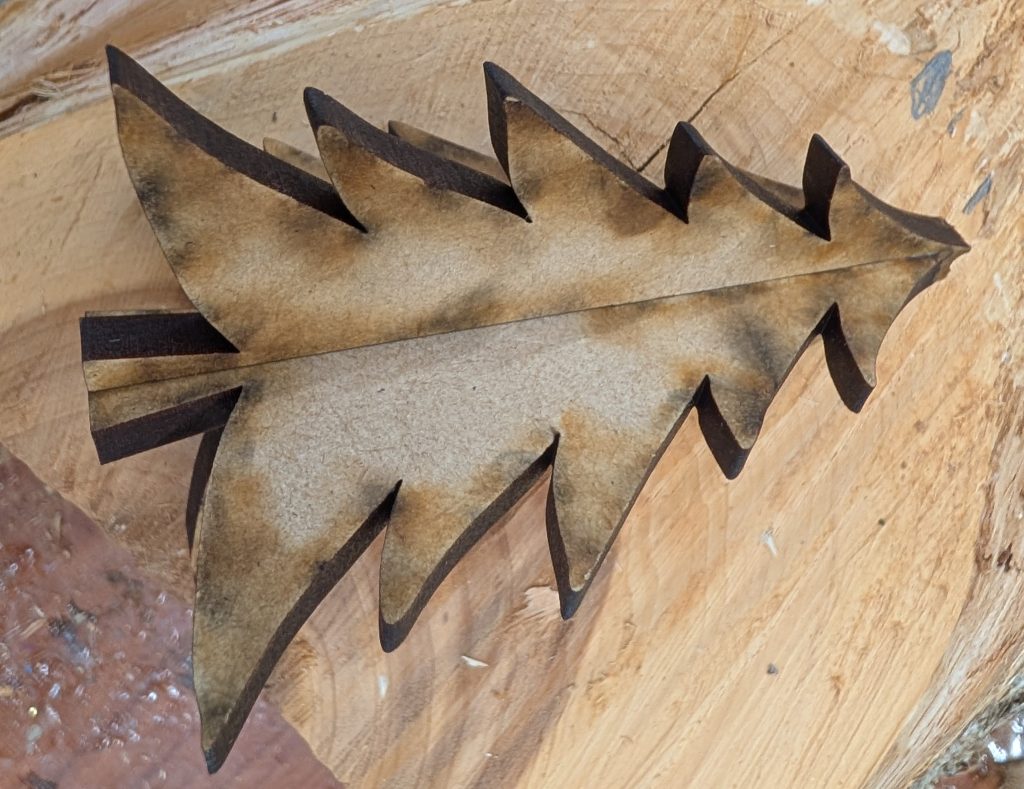
one thing that chicken middle made for the craft fair was small wooden Christmas trees around nine and a halve centimeters tall which were painted Green and decorated with different color markers to look like ornaments after we colored them we drilled a hole at the tip of each tree so we could, either with string or ribbon, make a little loop so they could be hung. although these did not really sell really well they were fun and easy to make and was worth the effort.
Nigerian Stick part like 3 or something,
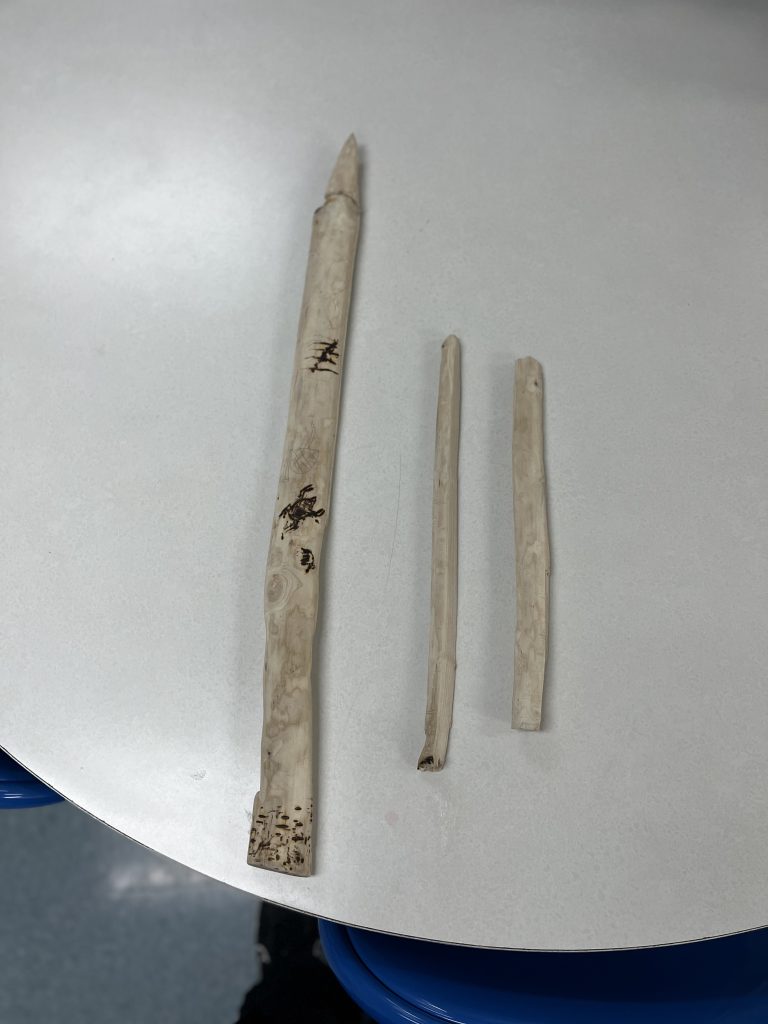
As you all know, I’ve been making (attempting) a spear. Here’s a quick recap of what happened.
First, I found a stick and started making a spear. Then came interims and I was forced to make it international, I decided to do it based on South Africa, but that was ugly and I didn’t like it, so I continued to do more research till I discovered Nigeria!!! They have some very beautiful carvings, anyway once I started etching animals into it, I dropped it and the spear snapped in half. Now I am left with a half-Nigerian and half-wird pointy stick. BUT when it dropped two small pieces came off, and soon enough I will make them into knives, then I shall be able to dual-wield knives.
I also worked on helping @hope-g with making a crown and Uber-Eats backpack for her snake.
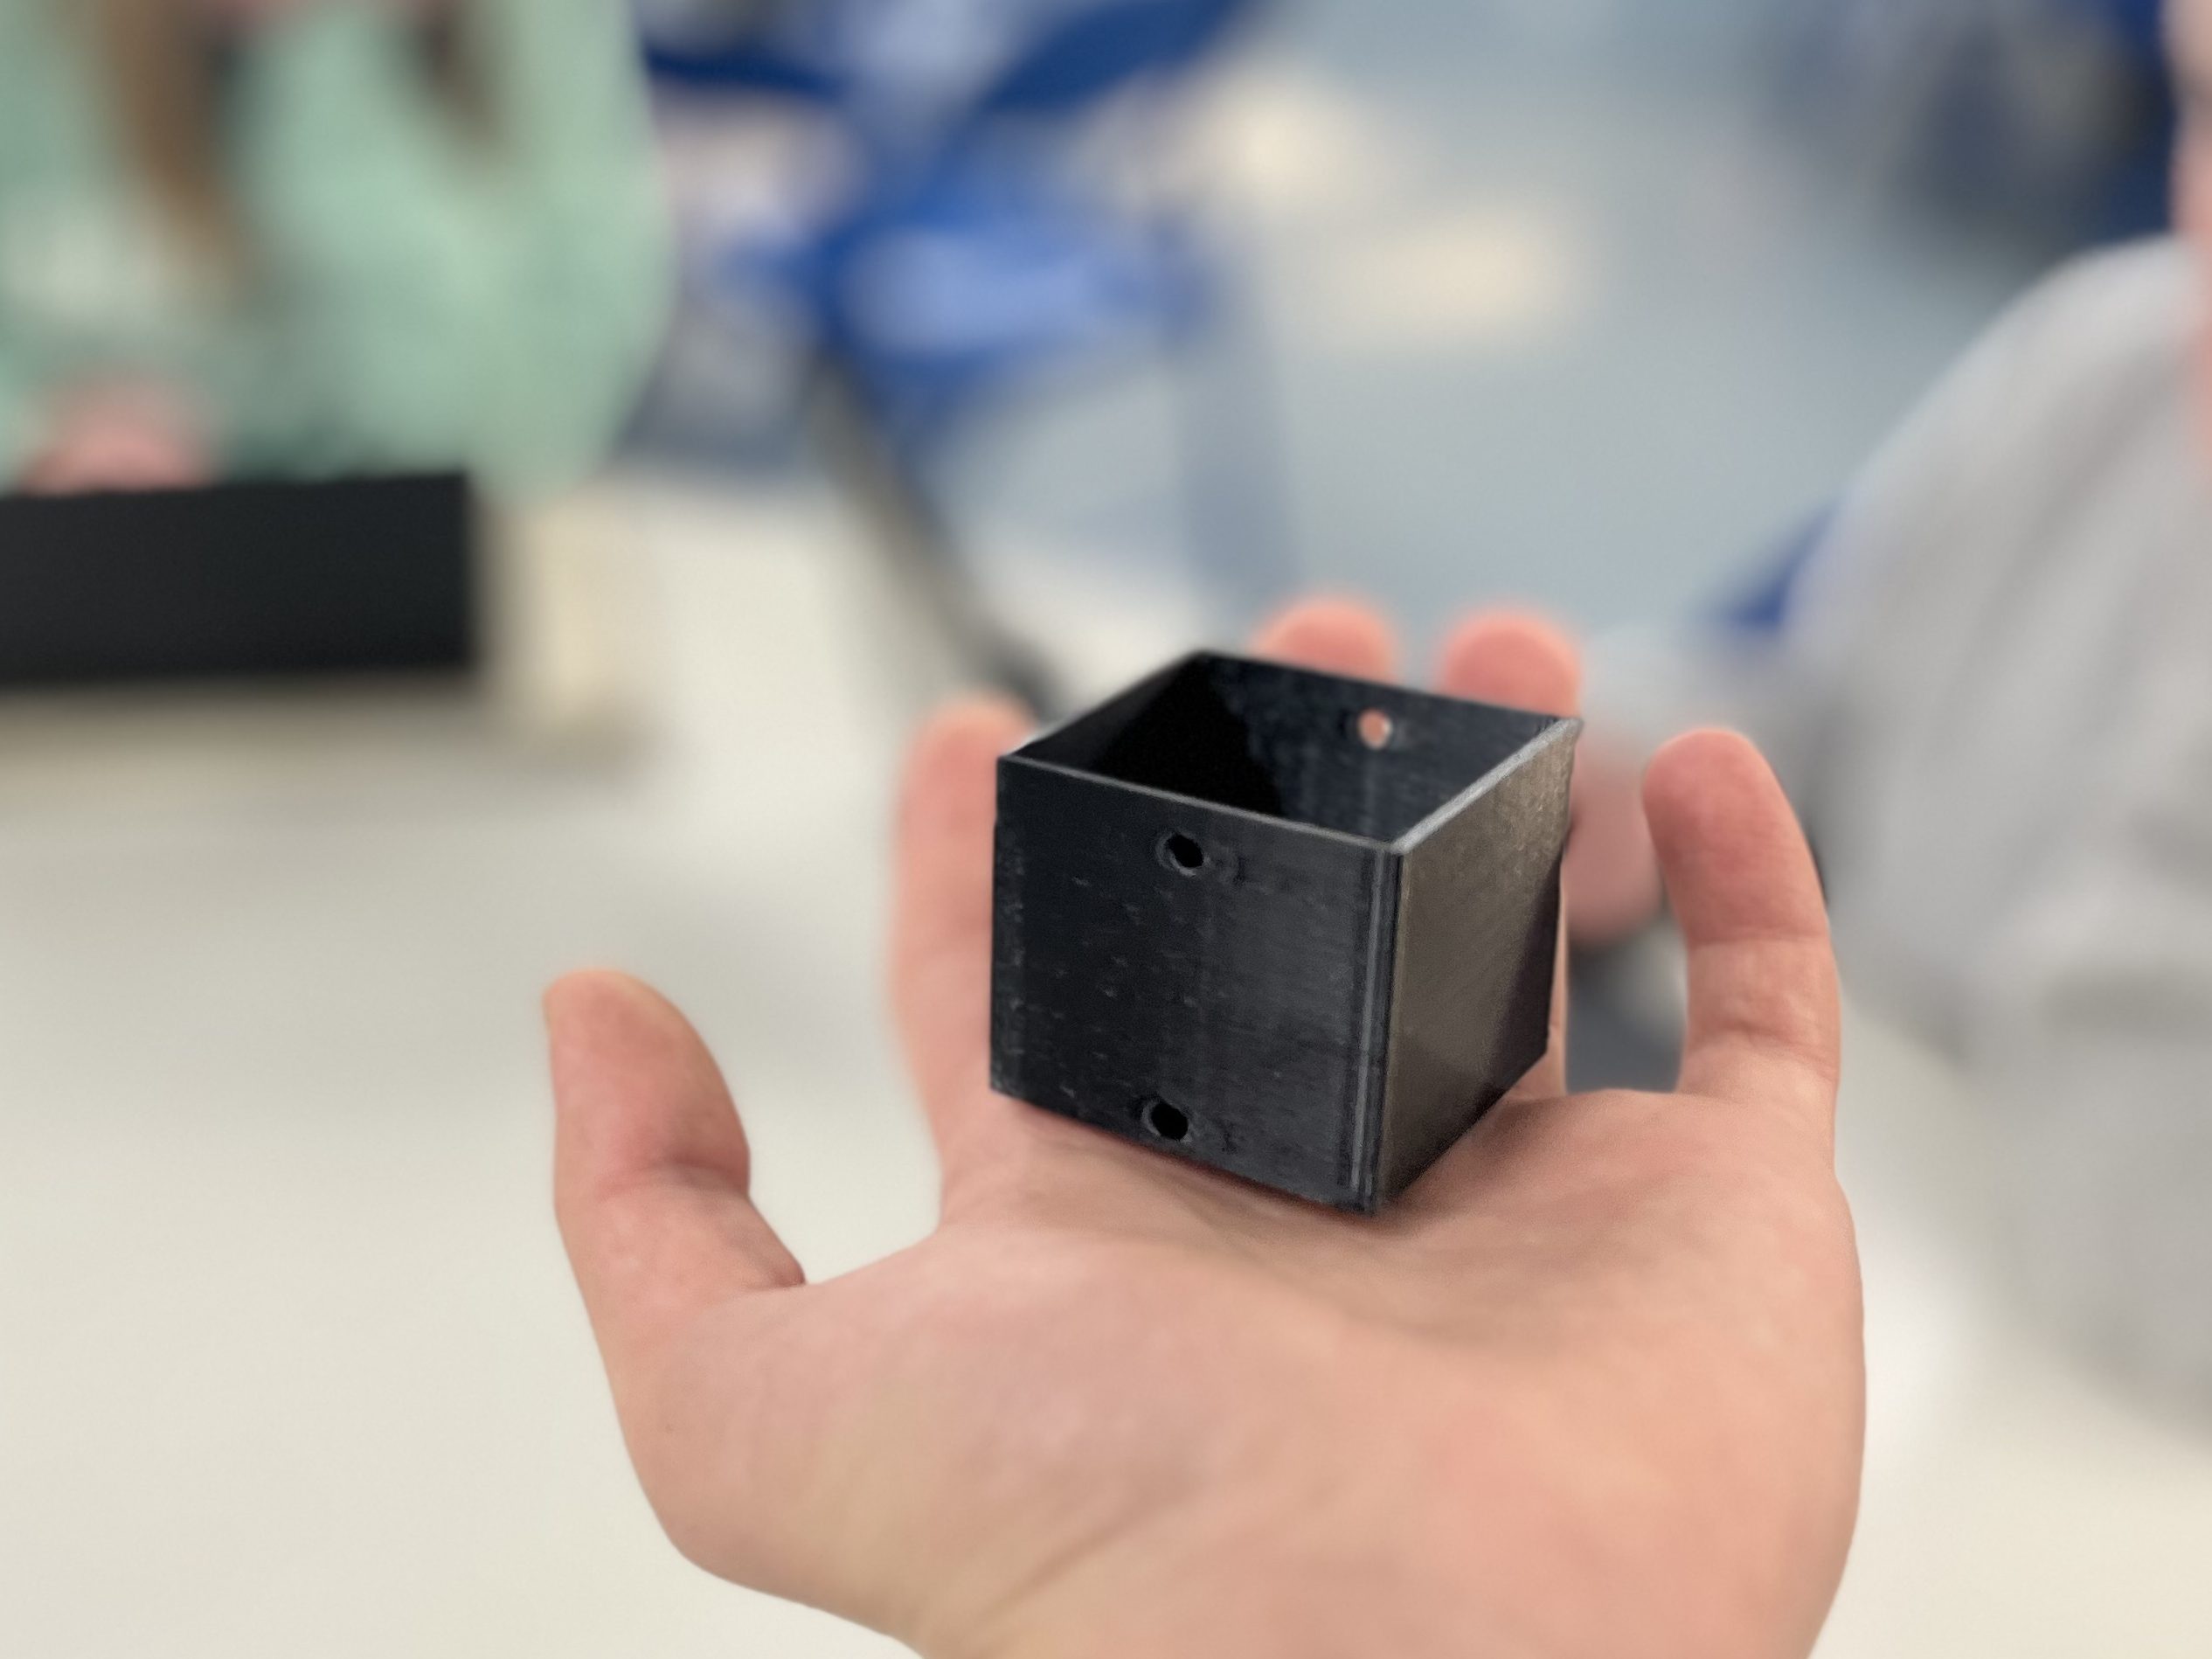
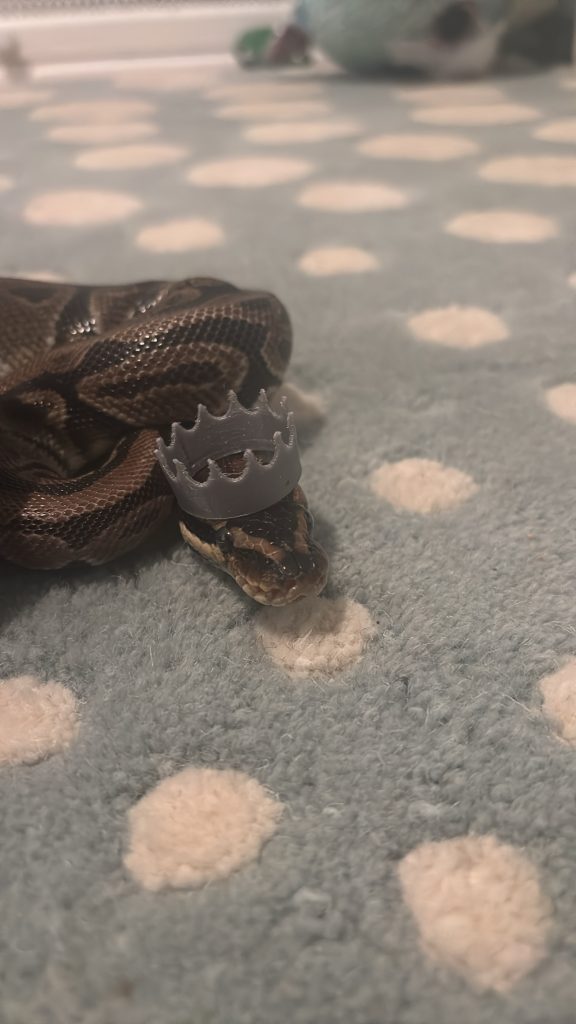
A crown for Ocean (my snake!)
This is a 3d printed crown. The first time I tried to print it, it was wayyy to big , so I scaled it down and reprinted it.The second time it was the perfect size which is 45mm.
Artemis the Antweight Robot (Part 1 Motors)
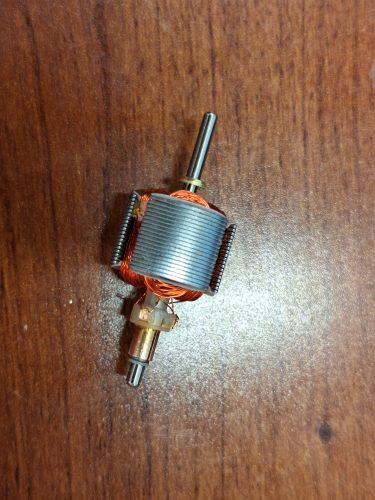
For my makerspace project I am building an Antweight Robot ( like BattleBots but smaller) called November Ajax ( after my favorite movie pacific rim). so in march I am going to be working on motors (propulsion system) for my robot, what I decided to do is to make my own hub motor, a hub motor is an type of motor that sits in the actual wheel/tire.
drawing practice.
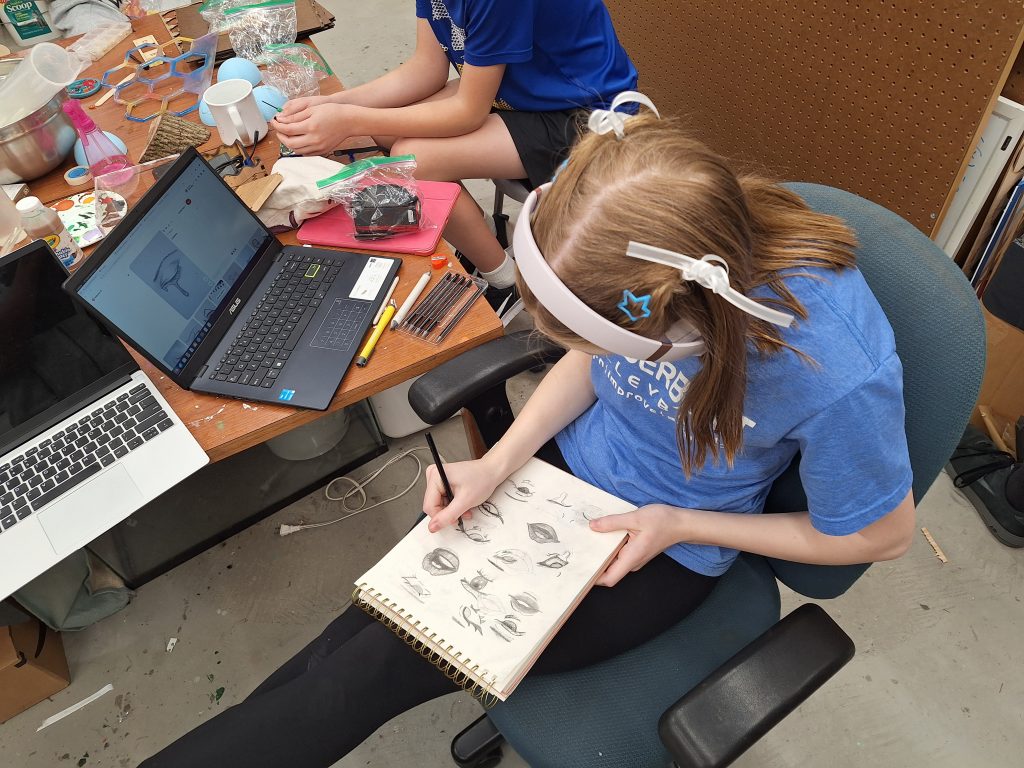
for the past week I have been working on improving my drawing skills. I have been mostly working on drawing eyes and mouths. I will eventually work on drawing noses but they are hard, and I don’t like to draw them so I will do them later. I am very happy about how my sketches turned out. I use Pinterest for my drawing inspo. 🙂
Shark Coaster
Dual Sickles concept
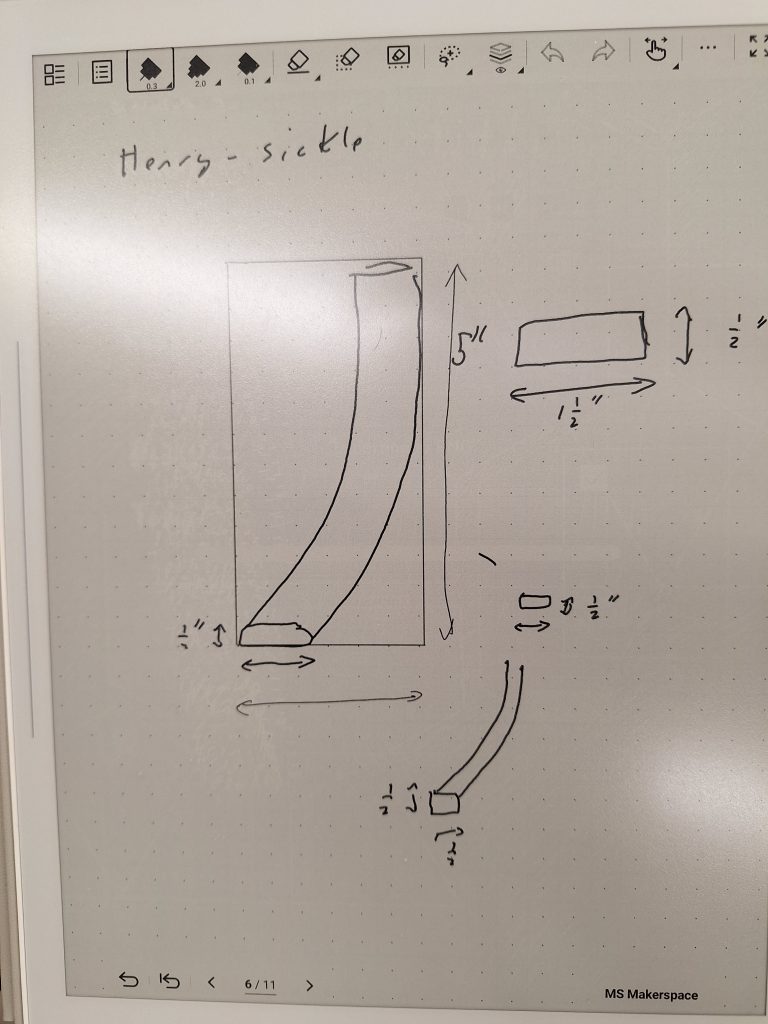
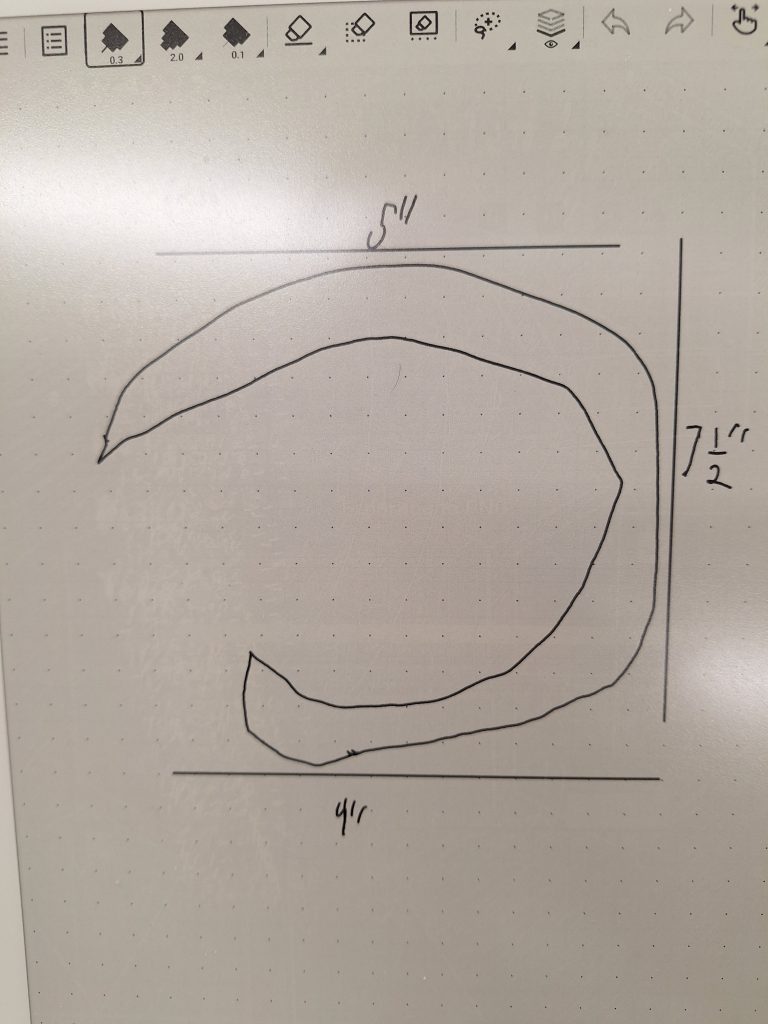
My idea for this is that it will be two wooden Sickles, I also wanted to make two because I thought it would be an interesting idea. I have not made it yet so this is the concept which shows the dimensions of what I want the final product to be. I plan for them to be 12.5 inches in height so it will be around the same size of a real sickle. I do need to do some testing for this project but I think that it will be finished soon.
ℙ𝕠𝕠𝕣𝕝𝕪 𝕕𝕠𝕟𝕖 𝕓𝕣𝕒𝕔𝕖𝕝𝕖𝕥
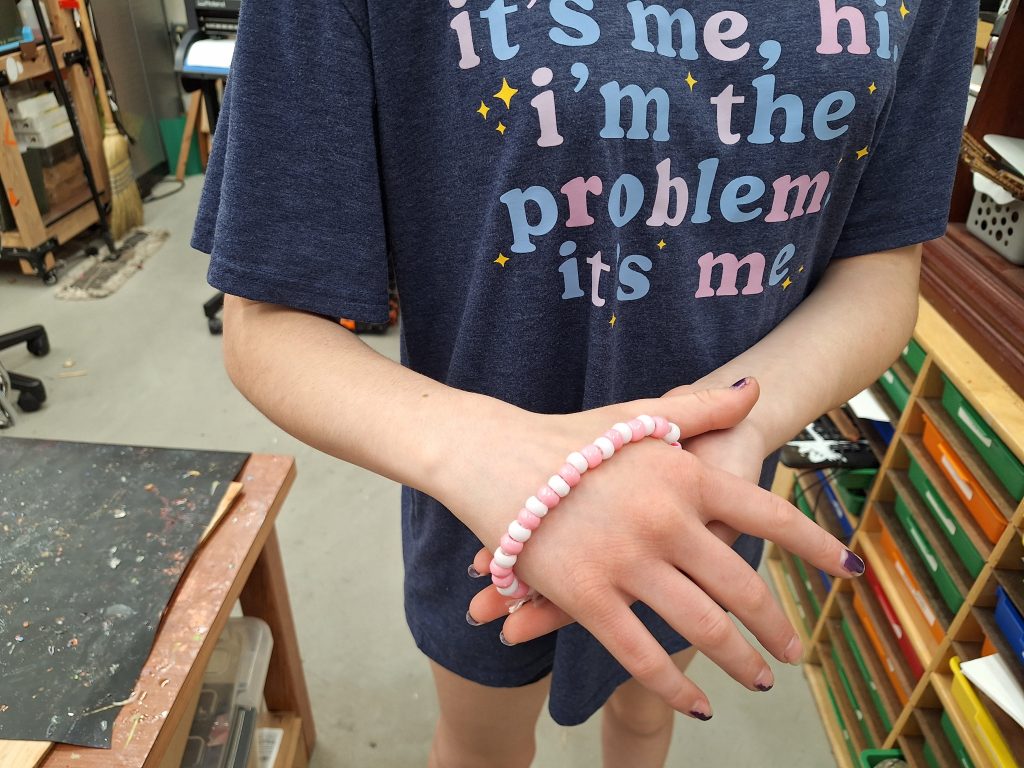
I made this bracelet out of yarn, beads, and hot glue. I didn’t have the proper string* so I had to improvise by using yarn, which started to fall apart. I’ll need to get the proper string and learn how to tie a easier knot the next time that I do this. I did enjoy doing it though and I will do it again.
*The correct string type is an elastic string that’s used in bead-jewelry making. It is often referred to as Kandi string or Kandi bracelets.
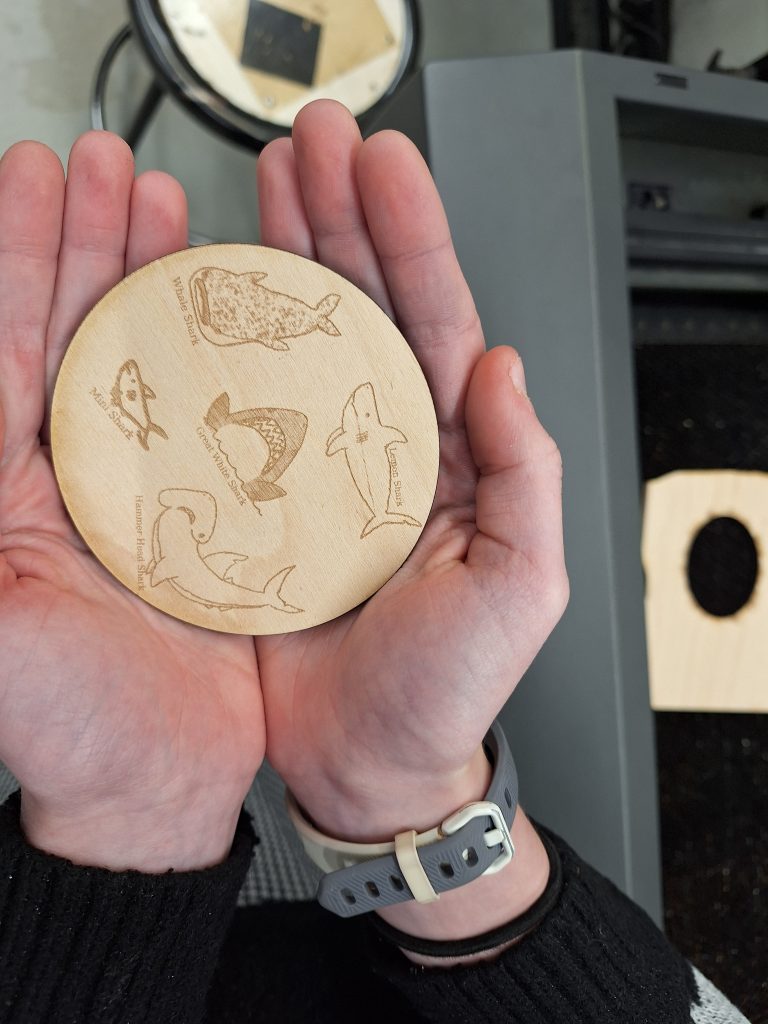
Doc said I had to make note of some other stuff I did this quarter so here’s a quick list: Epoxy earrings, Little Epoxy table, Coasters, and a font
My world wide tech experience
For worldwide tech, our project was to make an ai that would help educate elderly people on scams so they could avoid them. My job was to make seed questions, as well as write a script for the video. It wasn’t in my area of expertise so I didn’t really enjoy it, and I don’t think I was very helpful. If I was going to give advice to someone like me, I would tell them to make sure they are completing their tasks, because often times someone else is waiting on you.
Coi fish Lanterns
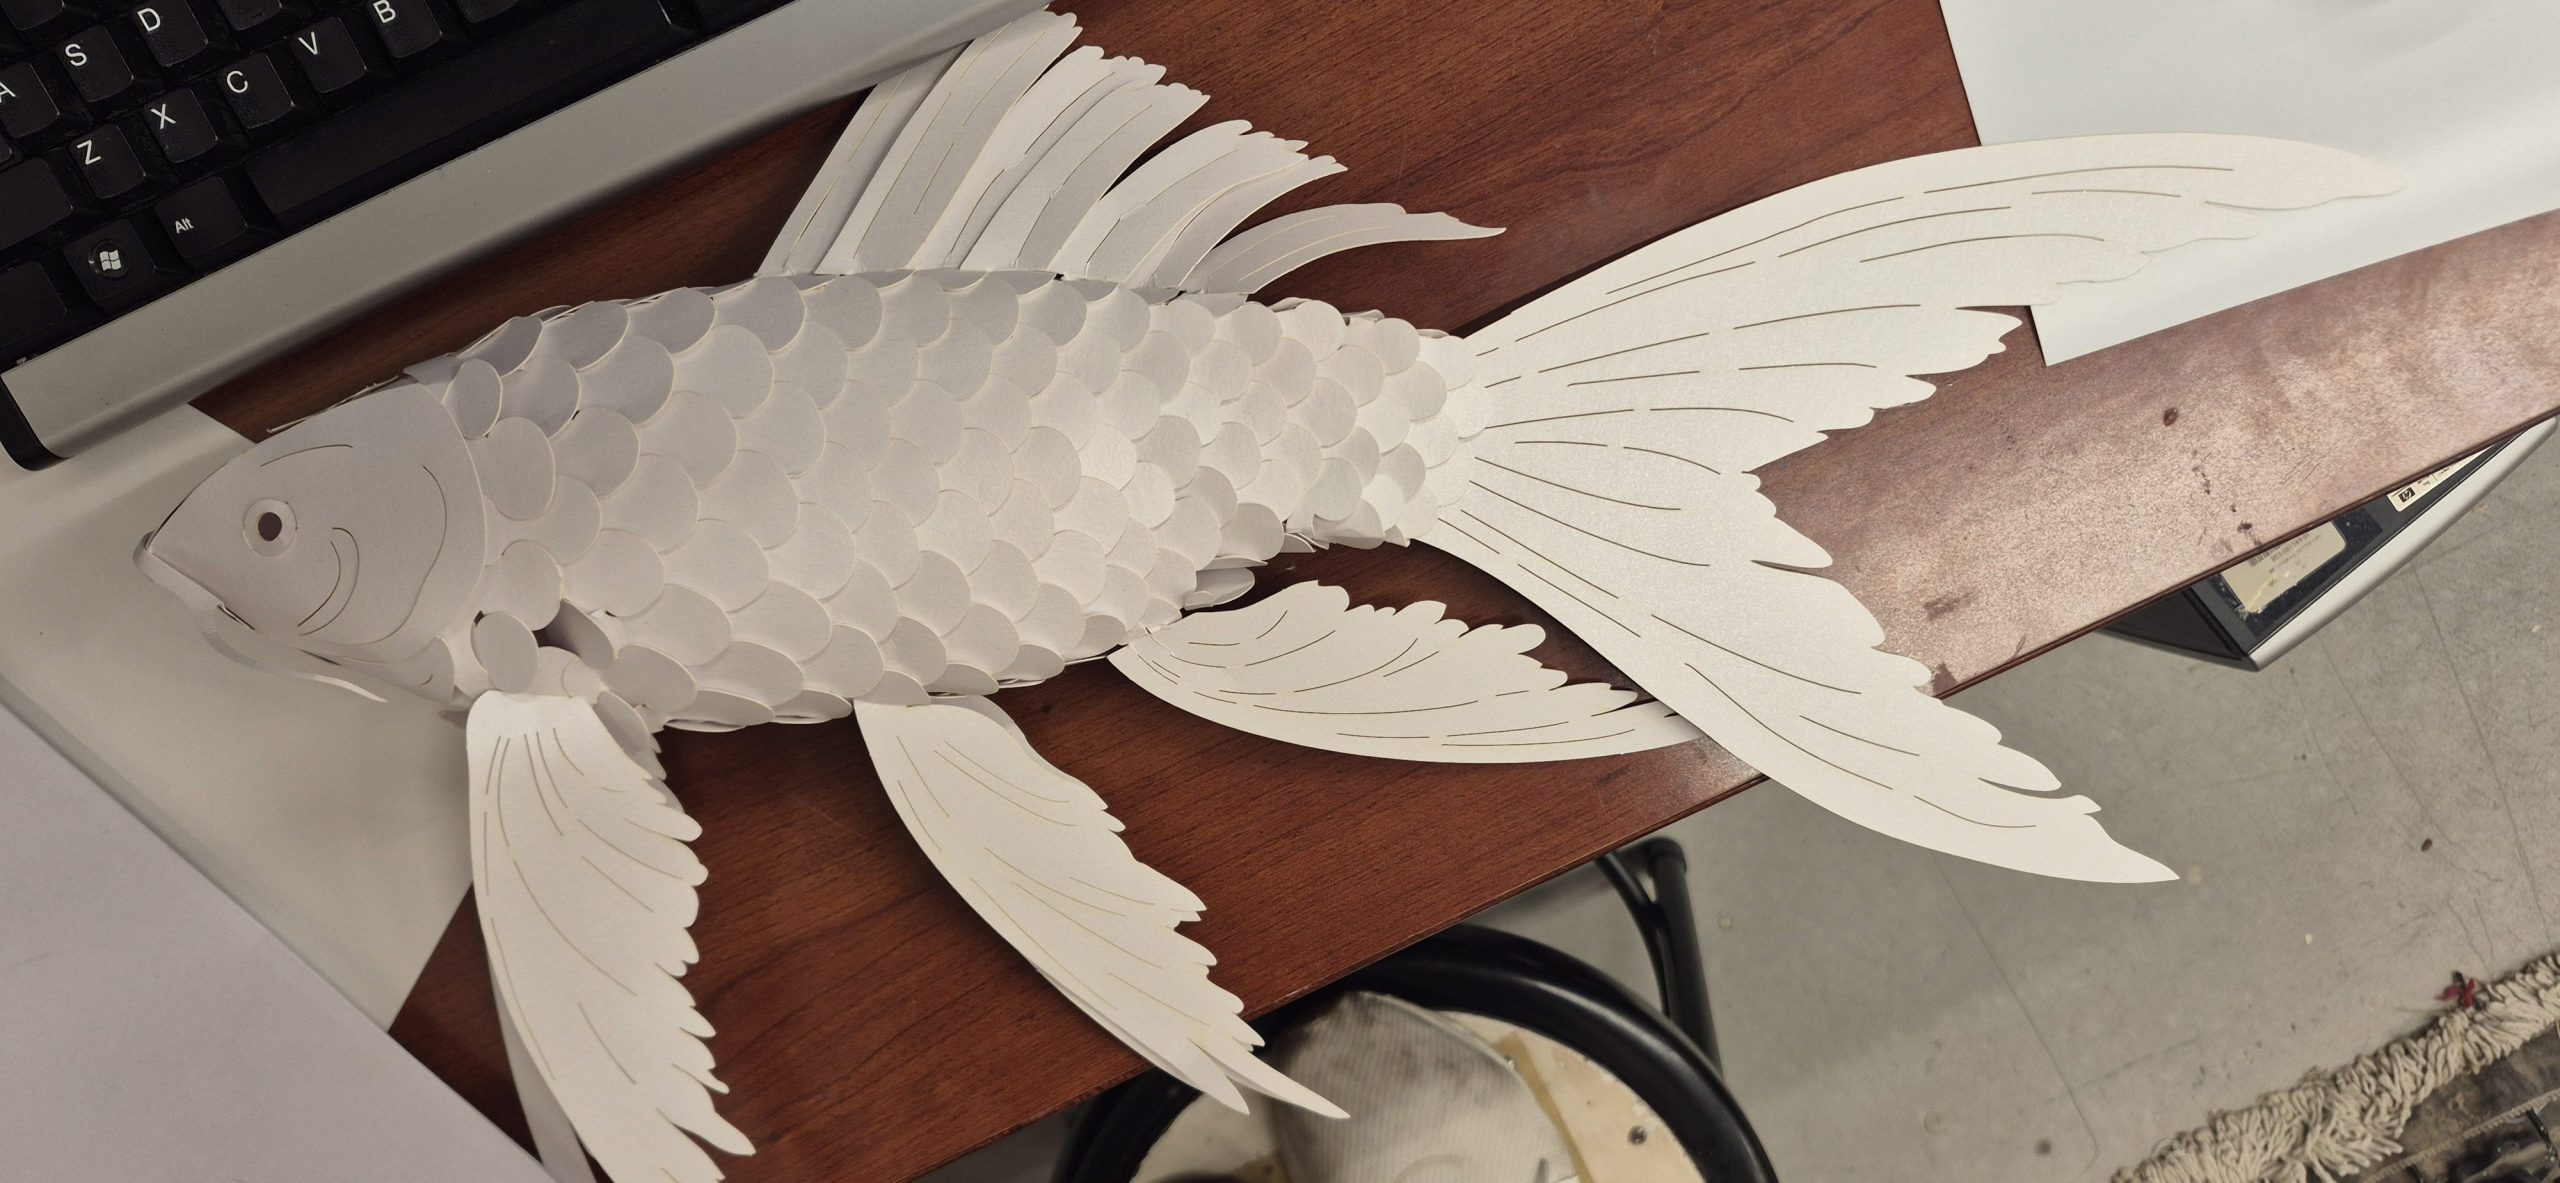
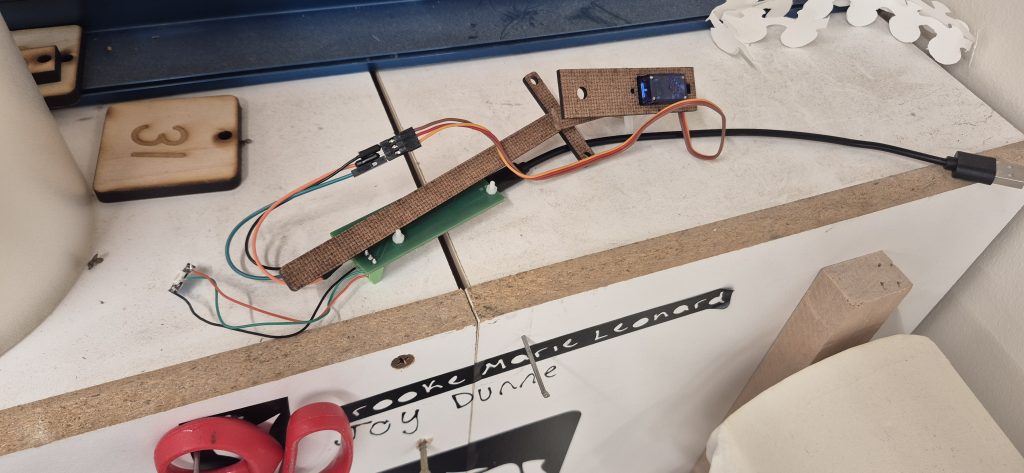
Doc had a coi fish kit so I put it together. It was challenging initially, but with more practice, it became much smoother. I have completed one fish and I started another. I plan to insert a device to move the tail back and forth to stimulate swimming. After the device works, hopefully we will be able to hang the fish in the makerspace and it will look like it is swimming through class. With the other fish, I plan to put LEDs inside and turn it into a lantern.
Recent Comments