Tri State Area
Makerspace at the Fulton School
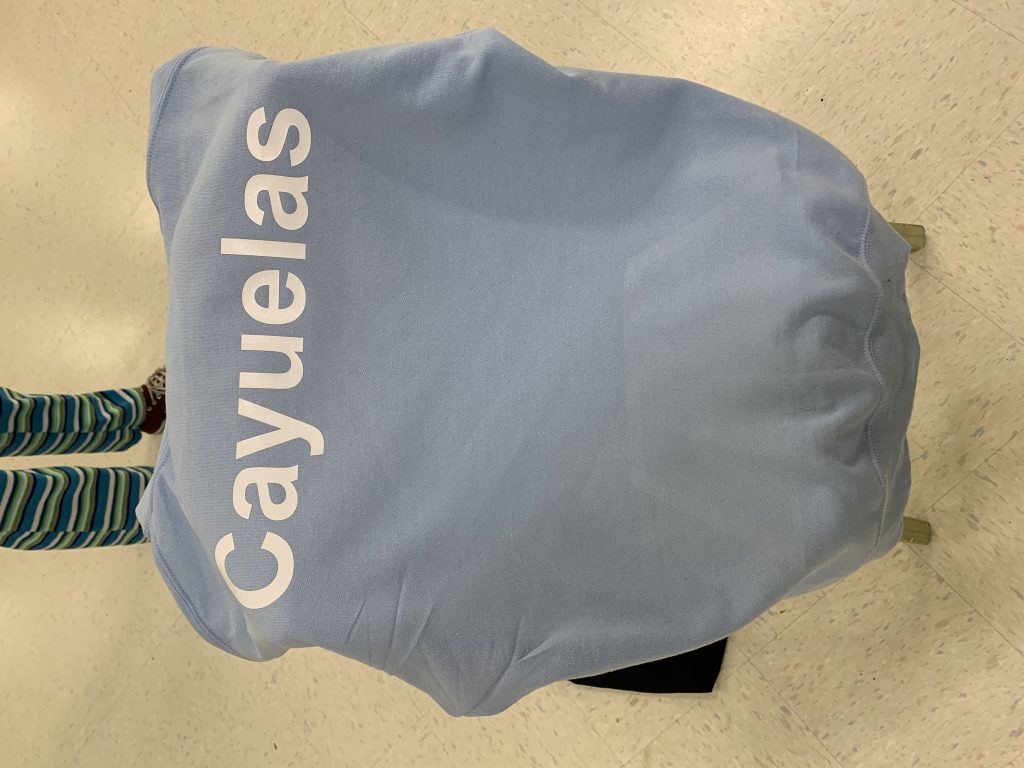
Making hoodie
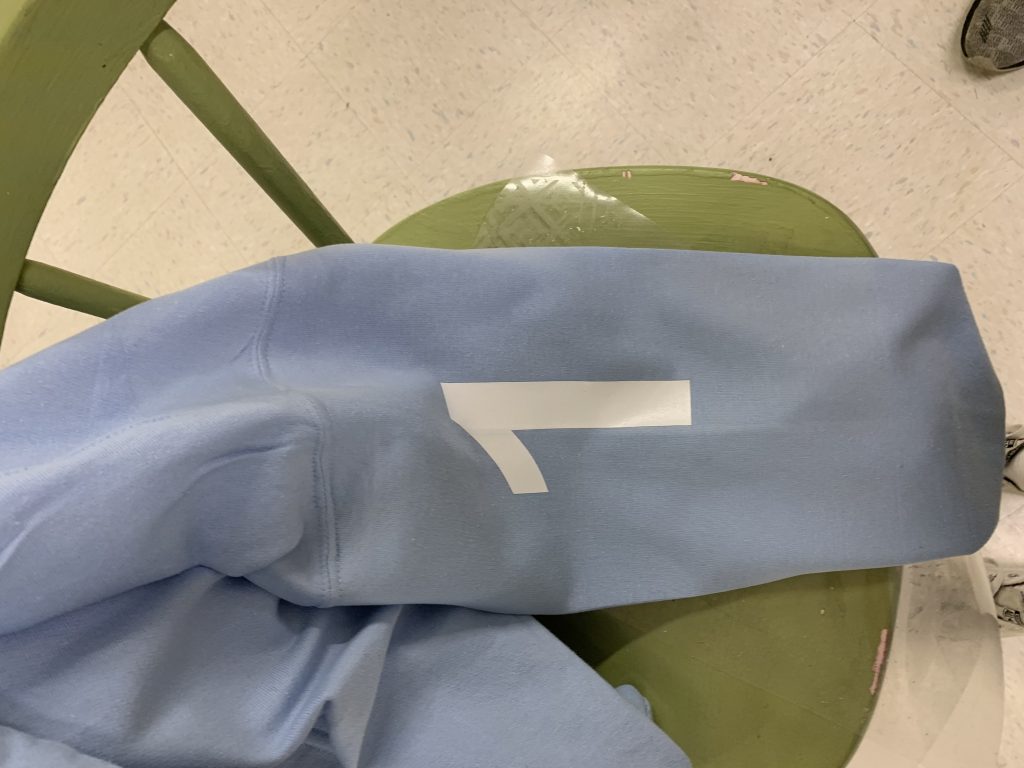
I made a sticker for my basketball sweatshirt, it’s my last name.
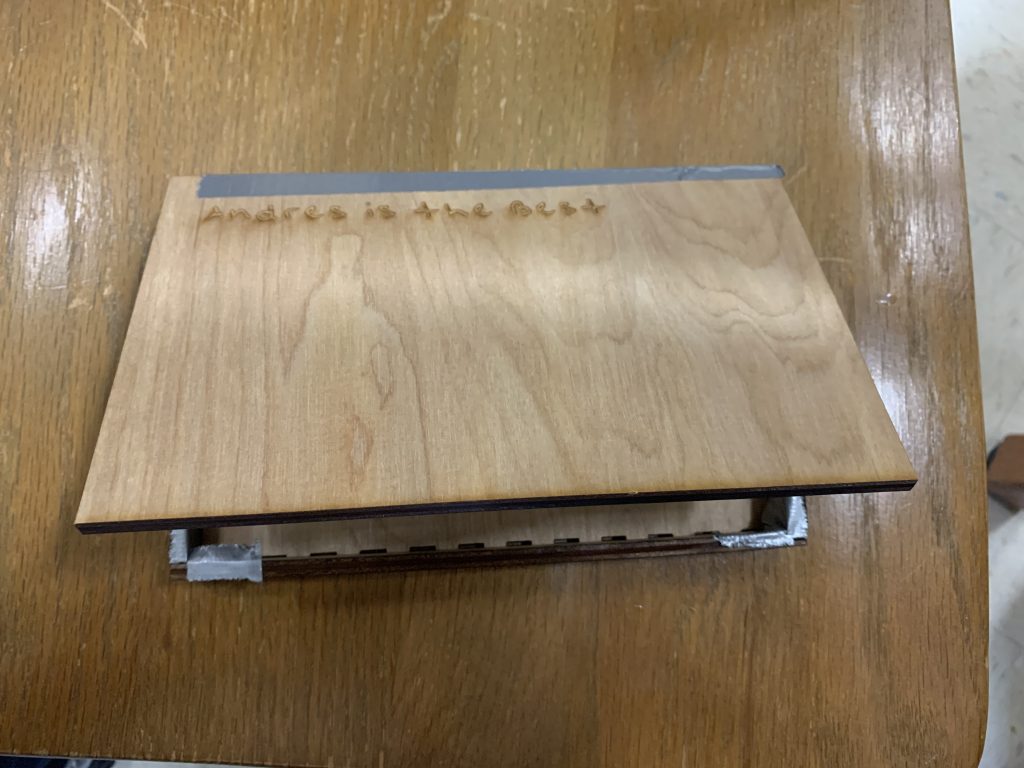
Andrés The Best Box
I do a box in makerspace. This is my first wood box.
I learn to do box, and I use to put my pens
Grant Website Update
For the last few months, I have been working on a website for Shaw Nature Reserve. The website will be used to log and record data on animal sightings. The user will be able to record the conditions in which they found the animal (location, temperature, etc) and select the type and number of animal by choosing from the list. Once the it is submitted, the information is saved and can be viewed on a separate page. It is not a finished website, but there has been a lot of progress made and almost everything is fully functional.
Foosball project update
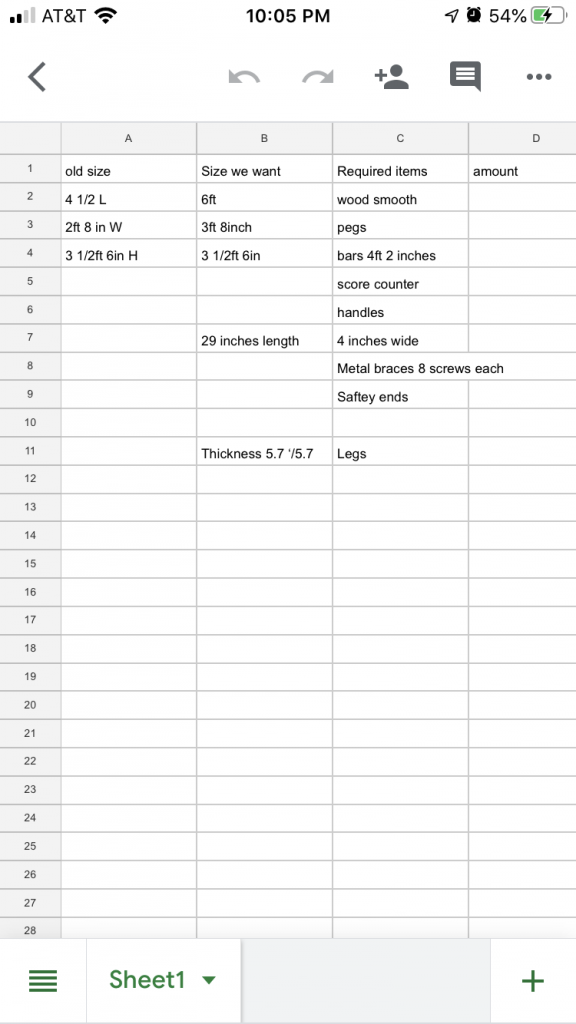
This is our list on our foosball items
For a long time me and my group have been trying to get dimensions and drawing planned out. We have been making this list of items and specific sizes for some of the other items. We are getting towards the phase of construction once we have all of our items accessible. We planned out how we are going to screw it in and make it sturdy. So we have everything pretty much planned we are just needing to move forwards.
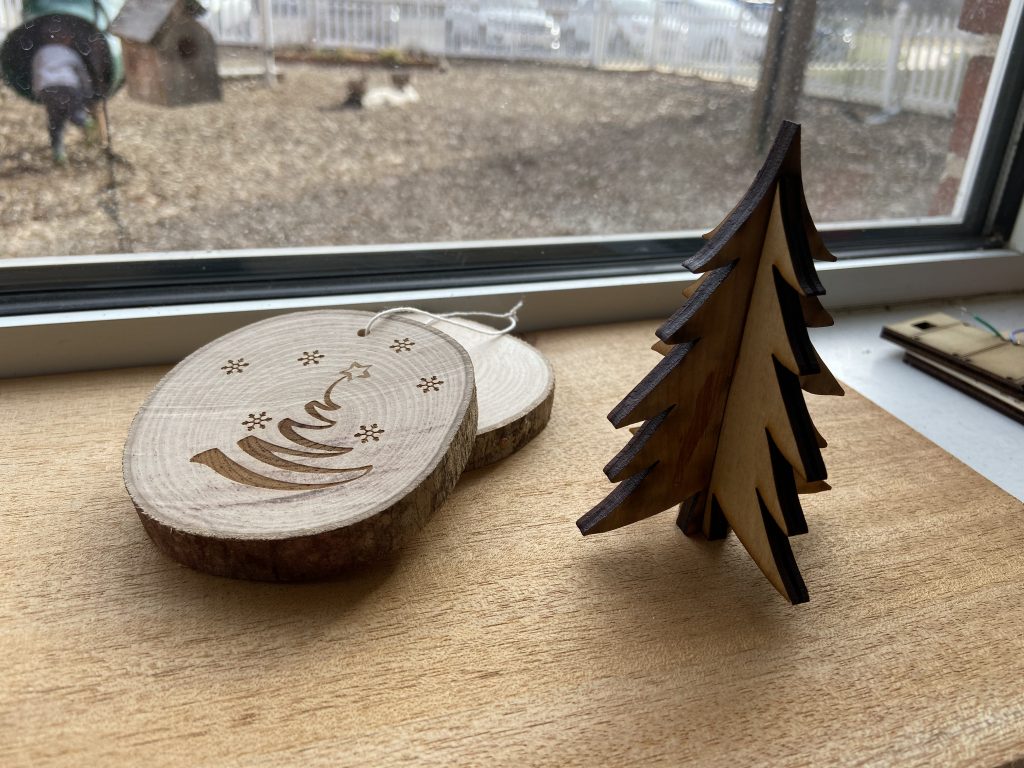
Makerspace Business Ornaments
I have designed and made ornaments for makerspace business club. The profits from the ornaments will go to maintaining and upgrading the makerspace tools.
Makerspace Business Website
I recently added everything I make to the Makerspace Business website. That includes coasters and ornaments. The link is below:
Needle Pointing and Signs
For Makerspace, I needle pointed (which takes a lot of precision) and I made signs with the laser cutter for the place where my uncle and I hike.


Failed sticker
I tried making a sticker for my camera flash. I was going to put a smile face on it; however the face was too small and weeding ruined it.
Cleaning My Vespa’s Engine
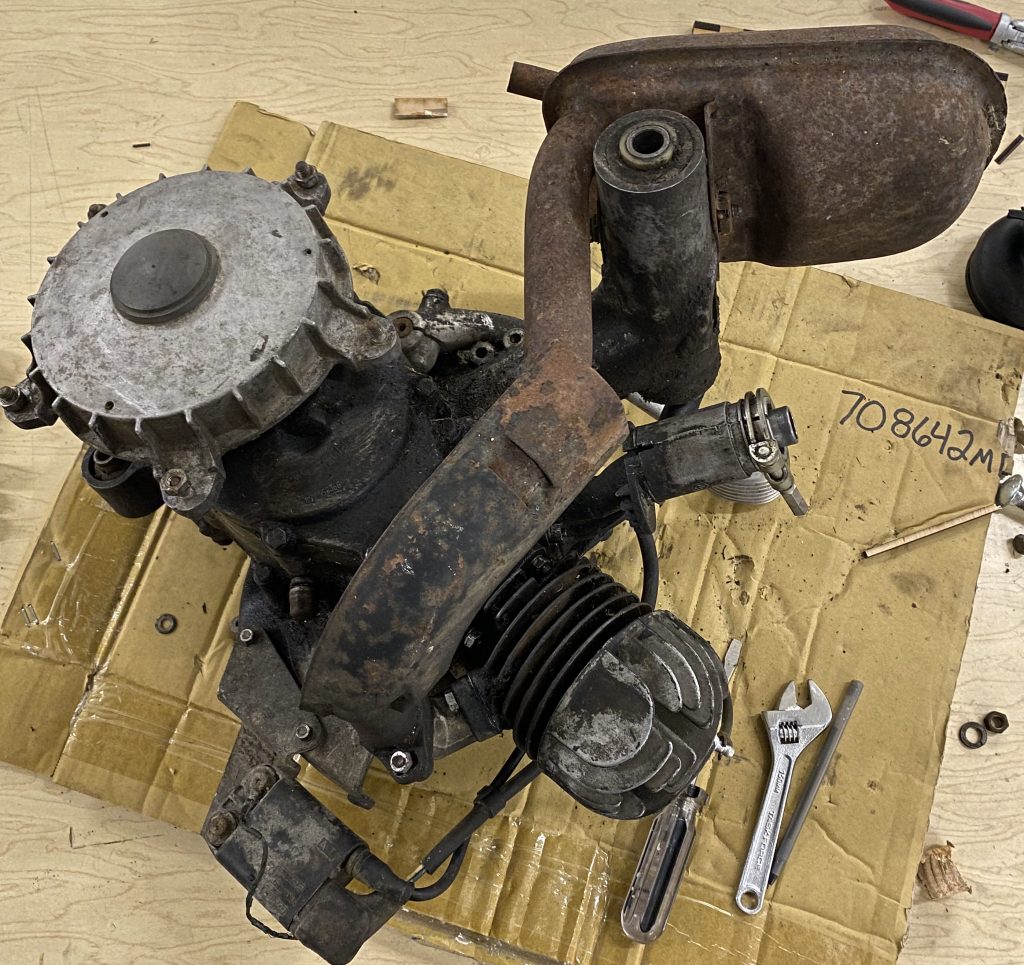
For the past couple of weeks I have been choosing a different part of a 1984 Vespa engine to work on every day. After I choose a part I take it off to learn about it. After fiddling with it enough, I can usually figure out what it does based off of my basic knowledge of engines and how they work. Once I have figured out the function, I inspect it to see if there is anything that might be impeding its ability to do its job. I clean whatever might be in the way and put the part back on to the engine. So far I have finished the carburetor, the combustion chamber and the muffler. It doesn’t appear to have any major issues, just a whole lot of grease that needs to be cleaned.
Fixing My Belt
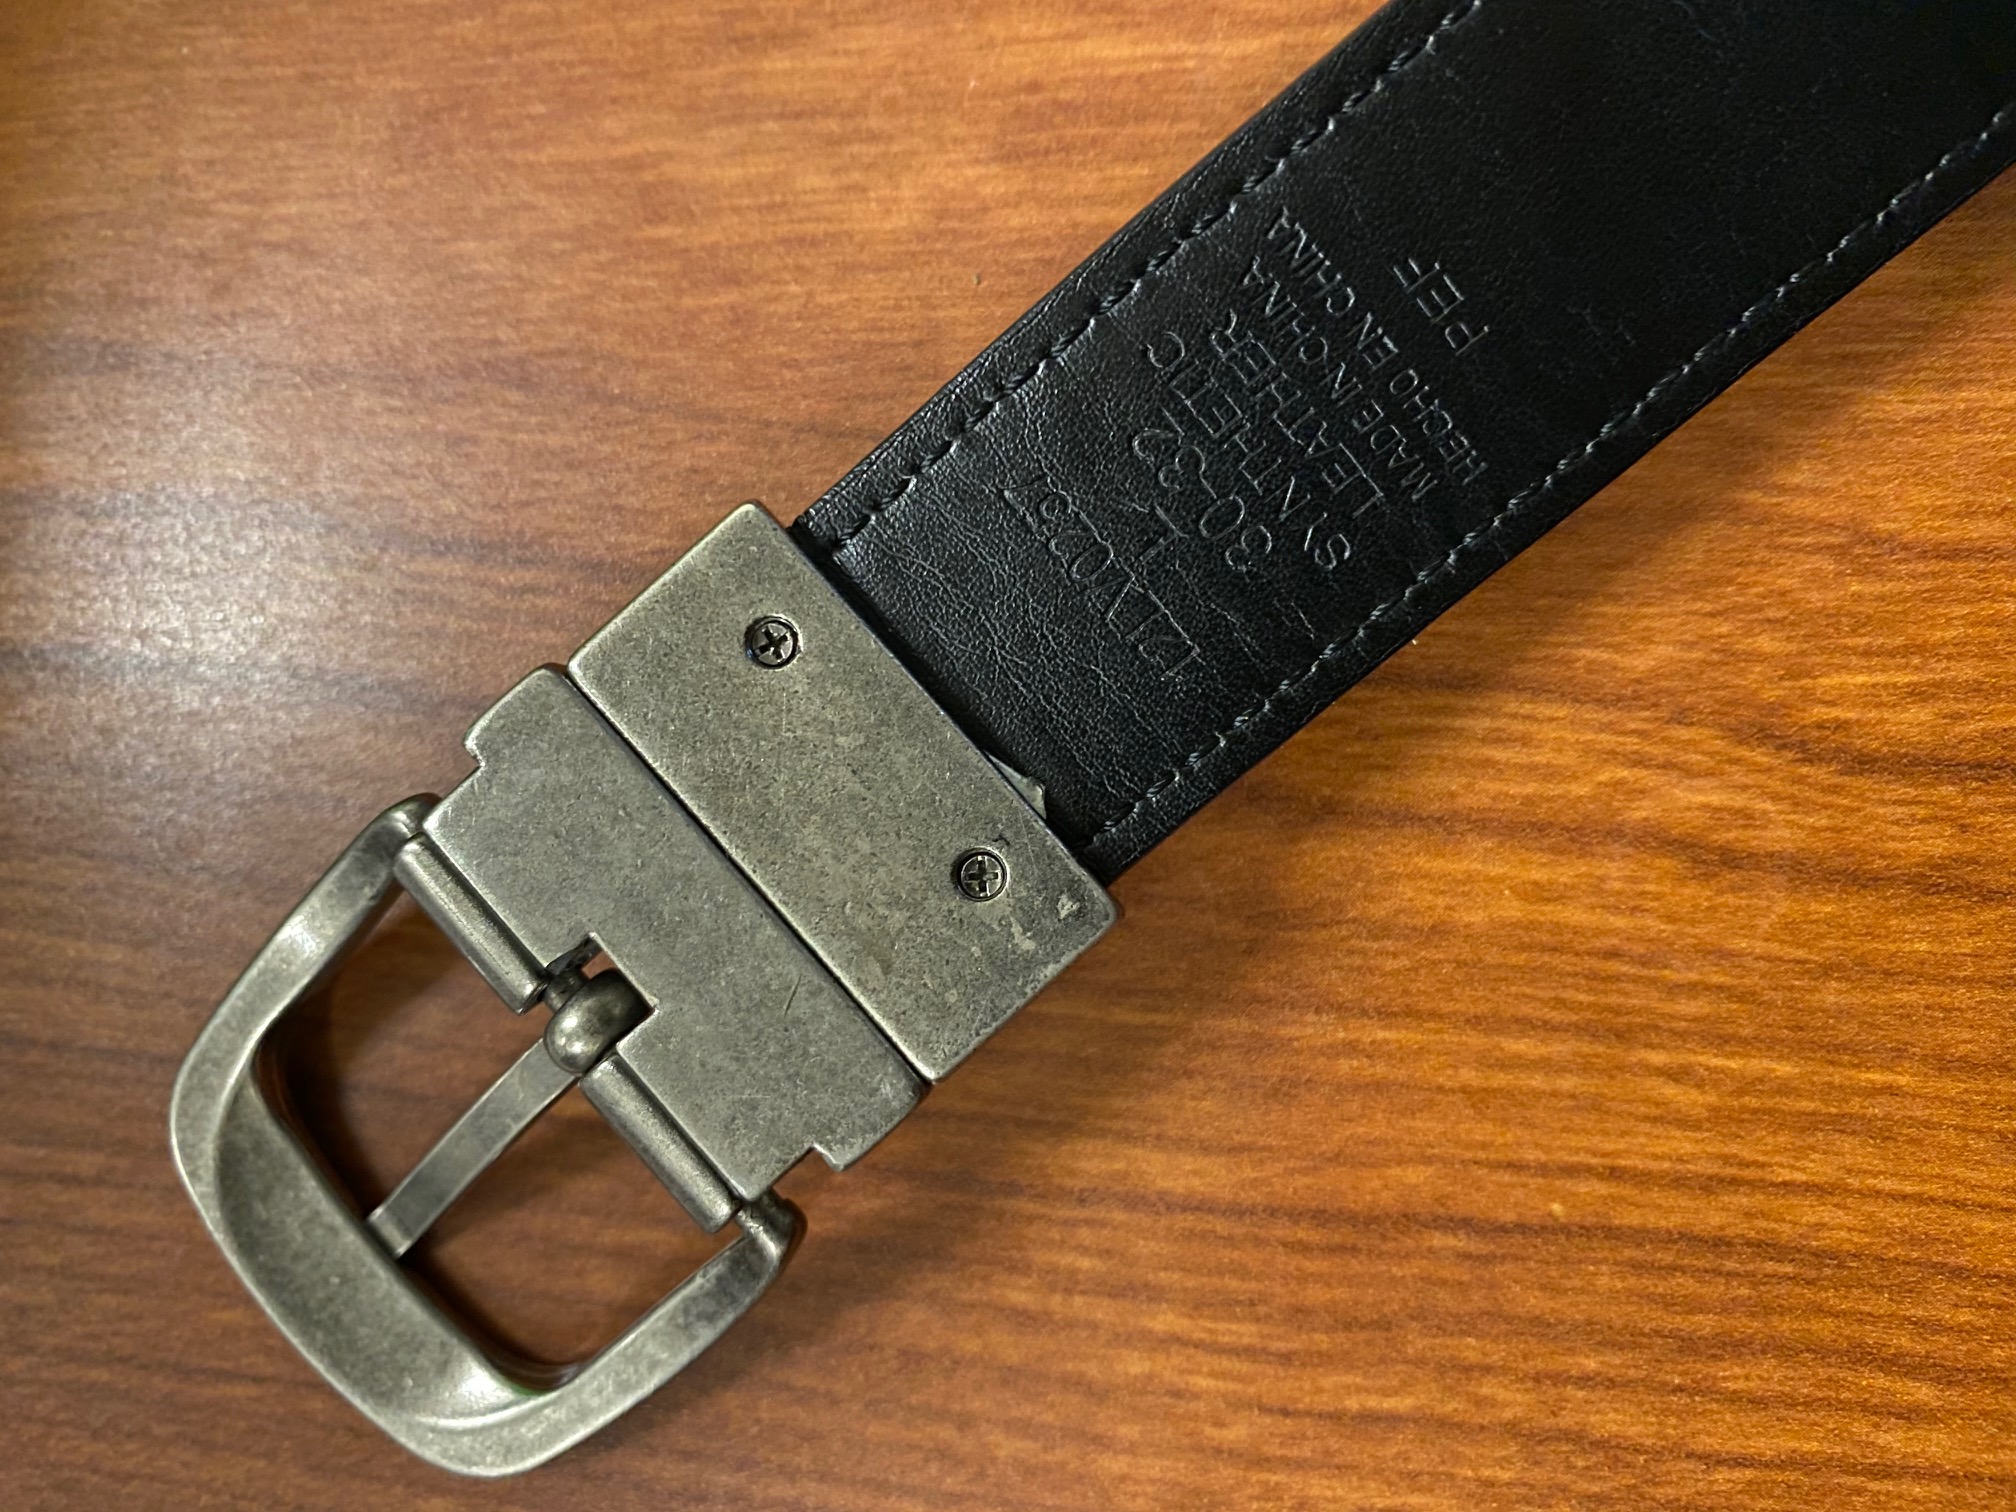
My belt was loose so I used the I-fixit toolkit to refasten the leather to the belt buckle.
Recent Comments