Tri State Area
Makerspace at the Fulton School
World Wide Tech Competition.
What we attempted to make this year was an AI called RYAN that helps you stay safe online by attempting to scam you then teach you about cyber security. I made a website for the World Wide Tech Competition. I really enjoyed doing WWT this year and I feel like I have learned a lot. Not just about html and javascript but about time management and planning. Overall this years competition has taught me a lot and I plan on doing it next year.
Robotics thing
i made a car-thing
his name is jeremy
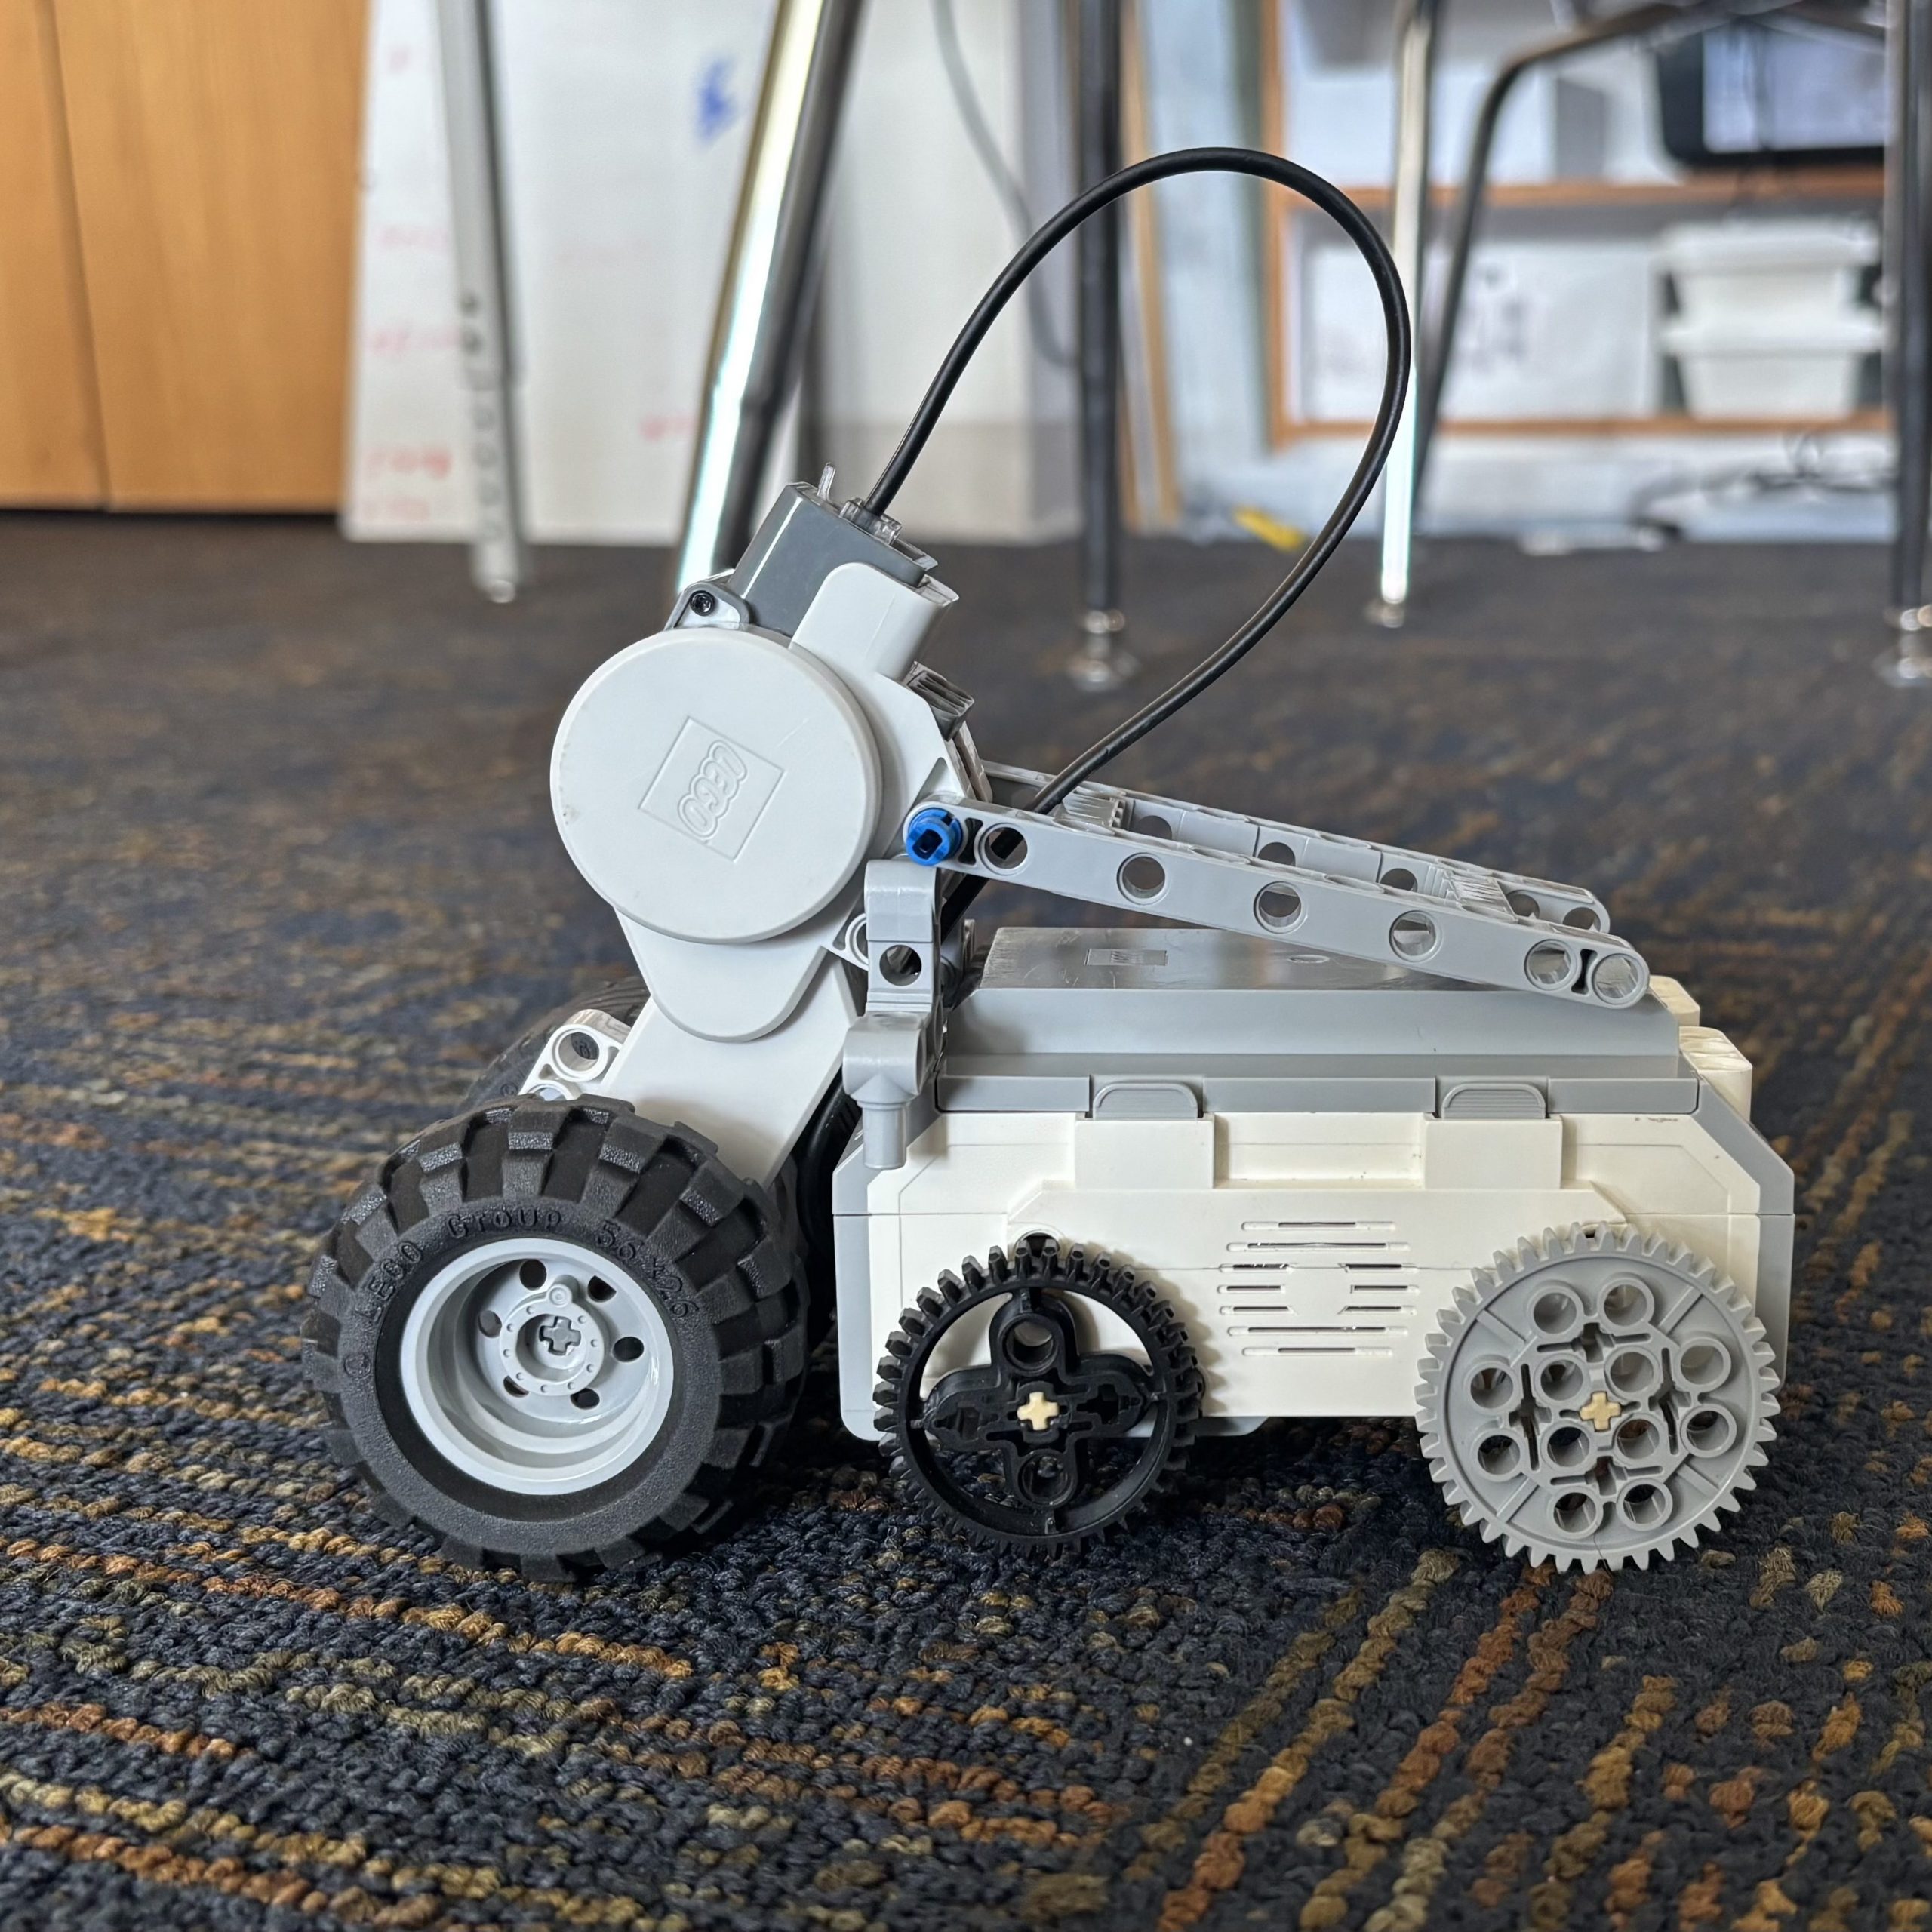
In robotics we have mostly just been tinkering. we haven’t made any big things this year, but I put together a couple cars and such.
double u watutho
I participated in the World Wide Tech stem student forum thingy this year. Its basically a competition where they give you a prompt and you are supposed to create something, and present it in a 5 minute video. The prompt was something involving ai, cybersecurity, and learning, so we created a thing that would “scam” you and then tell you what you did wrong. I told people this year that I would quit if the prompt involved ai, and it did, but I didn’t quit. Instead I just did minimal work. I set up some programs on the computer that we were using. In conclusion, we didn’t win, we were probably too good and they decided to cut us from the top 3.
Microwave Presence Detection Sensors
setup and how they work https://youtu.be/XPgU9p-5Pvw
code that goes with video https://github.com/SmarterCircuits/pico_presence
RCWL-0516 Microwave sensor https://www.amazon.com/DIANN-RCWL-0516-Microwave-Sensor-Induction/dp/B0B7L1N44R?source=ps-sl-shoppingads-lpcontext&ref_=fplfs&psc=1&smid=A2L2YSK9NV3SSU
Nigerian Spear (P.2)
During Makerspace over the last couple of classes, I have been working on a Nigerian spear.
As you all know, I found a stick and decided to make a spear. Before I decided to make it Nigerian, my idea was South African, due to learning about Africa in class. I found out that not many South African tribes and people made spears. Then I remembered that Nigeria is known for its precise and beautiful wood carvings. I decided to make it Nigerian. Since the last time, I have shortened the spear and am currently working on sharpening and Etching Nigerian-styled animals onto the stick using the Soldering machine. I am considering adding LED lights to the spear, but that wouldn’t be Nigerian-styled. While doing this, Doc made me research Nigerian and South African art, so I learned quite a lot about African art. If not for Doc making me research African art, I would’ve called it South African while it would be based on Nigerian art.

Tufting Project
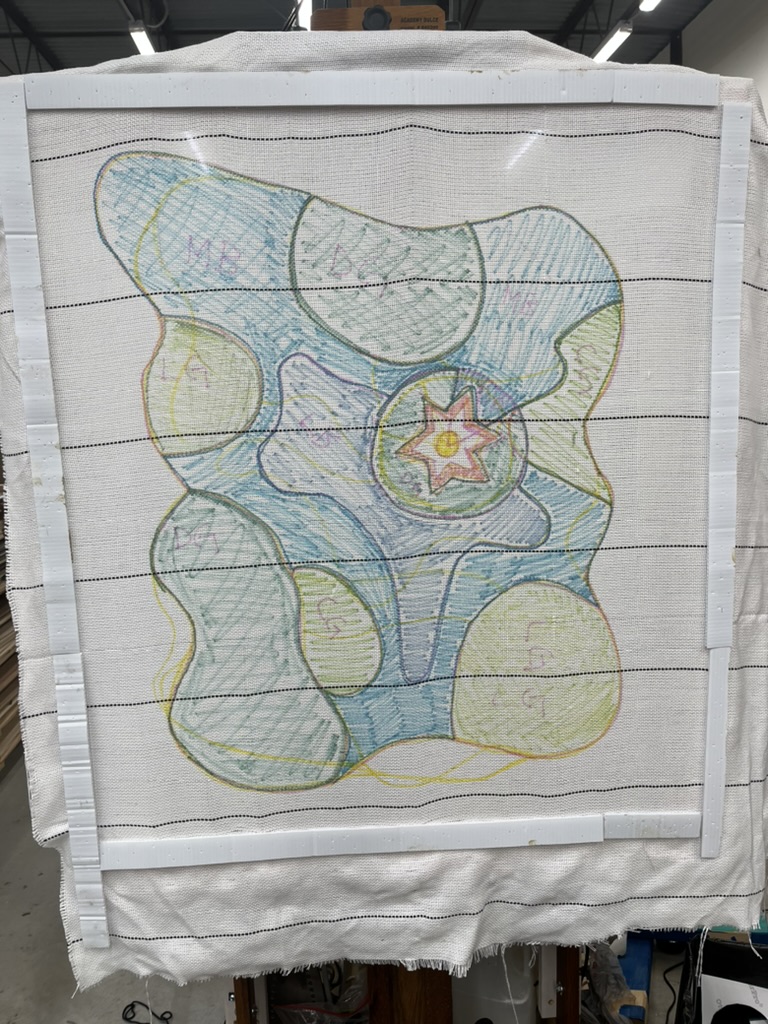
I started making a rug. I designed it based on moss rugs and a pond. I wanted to make a small rug. It was a bit difficult to choose a design I wanted to do. I changed a lot of things and I really like the design now. When I work on it again I’ll start actually making it.
Yarn kites
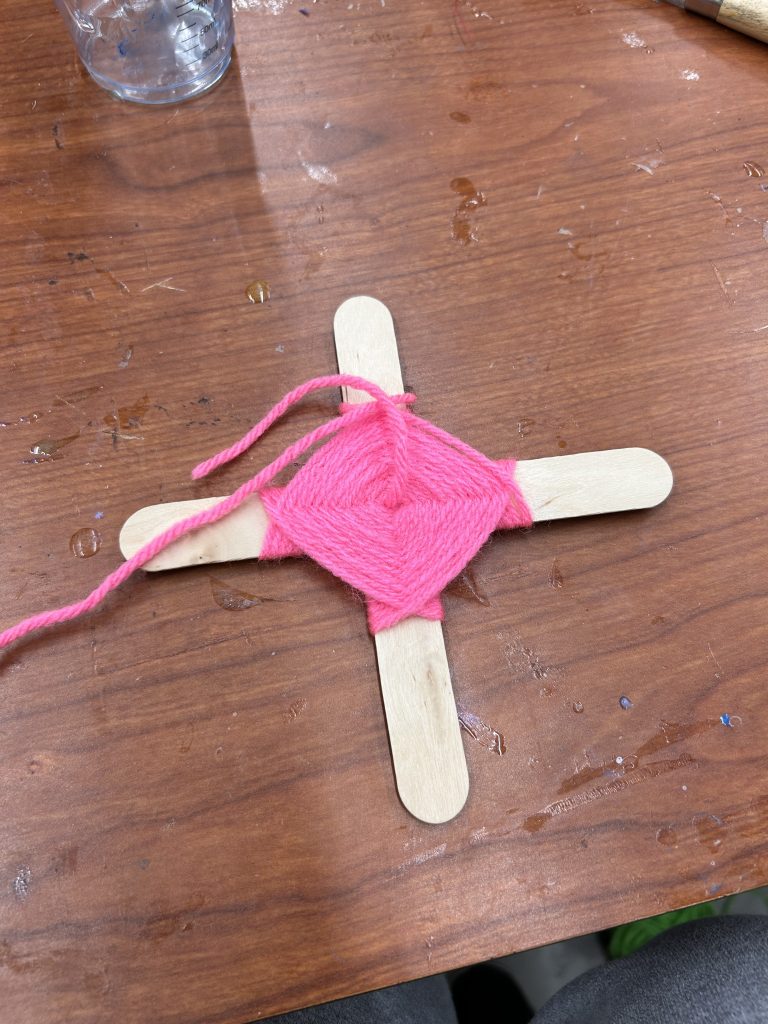
In makerspace I made more yarn kites. They are very fun to do.
Cookie tessellation
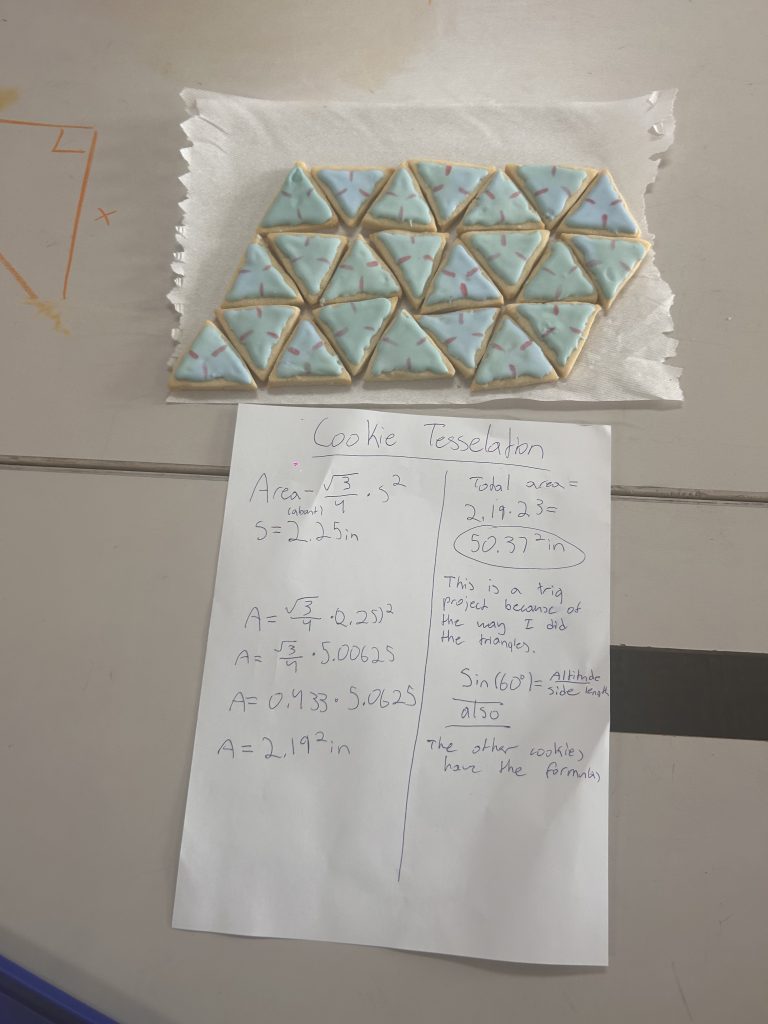
This a a tessellation of congruent triangles made with sugar cookies.
Triangle Twist
In math class I made
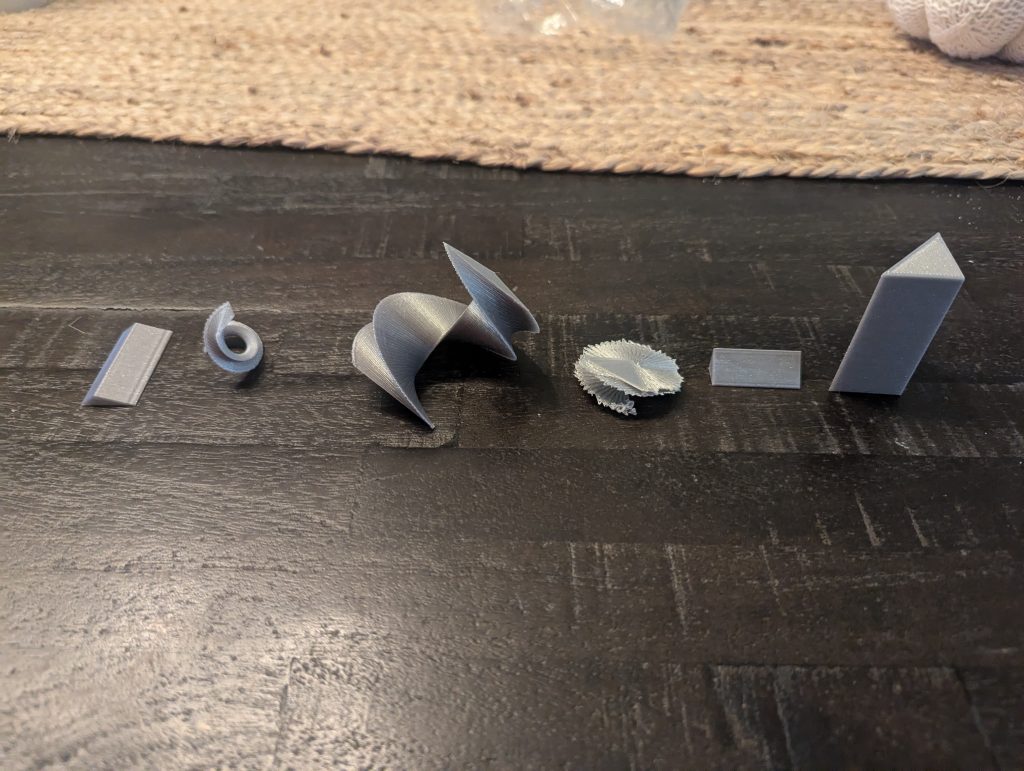
these triangles are different triangles like scalene, obtuse, and equilateral
I used open scad to make the triangles and then I 3D printed them all.
Using what we are learning in math right now I was able to put a twist on some
of the triangles and some without.
Linear_extrude(height=10, twist=360)
 polygon(points=[[0.0],[0,10],[17.3,0]

Linear_extrude(height=10, twist=90)
 polygon(points=[[0.0],[0,5],[5,0
Natural vs. Man-made structures
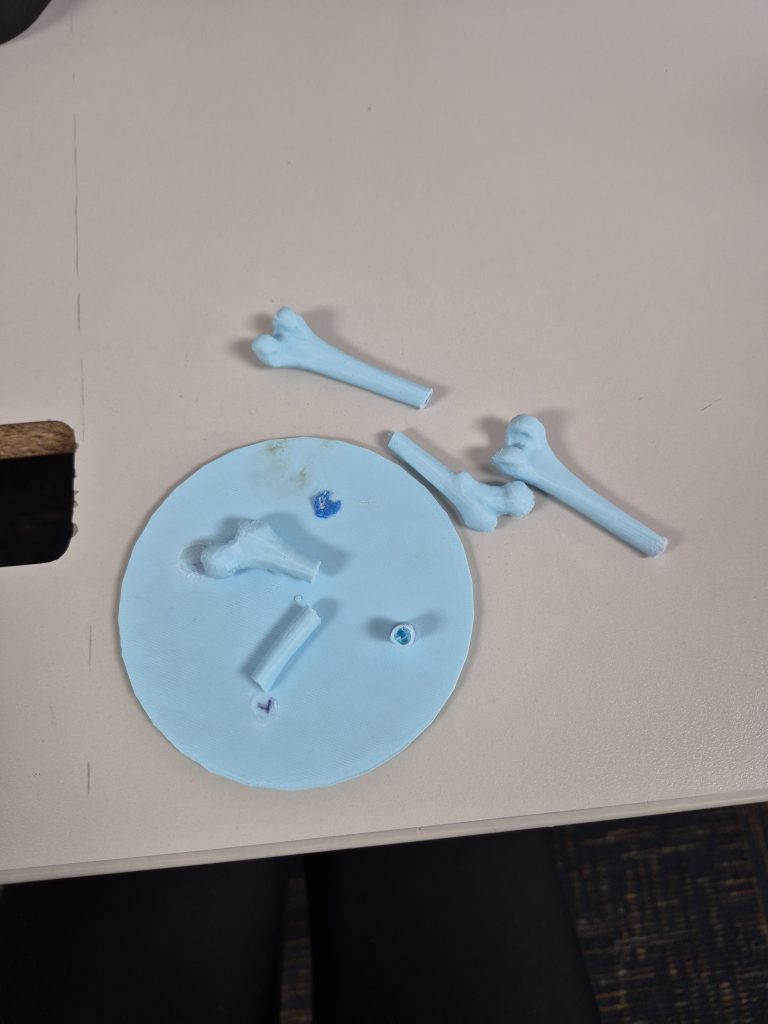
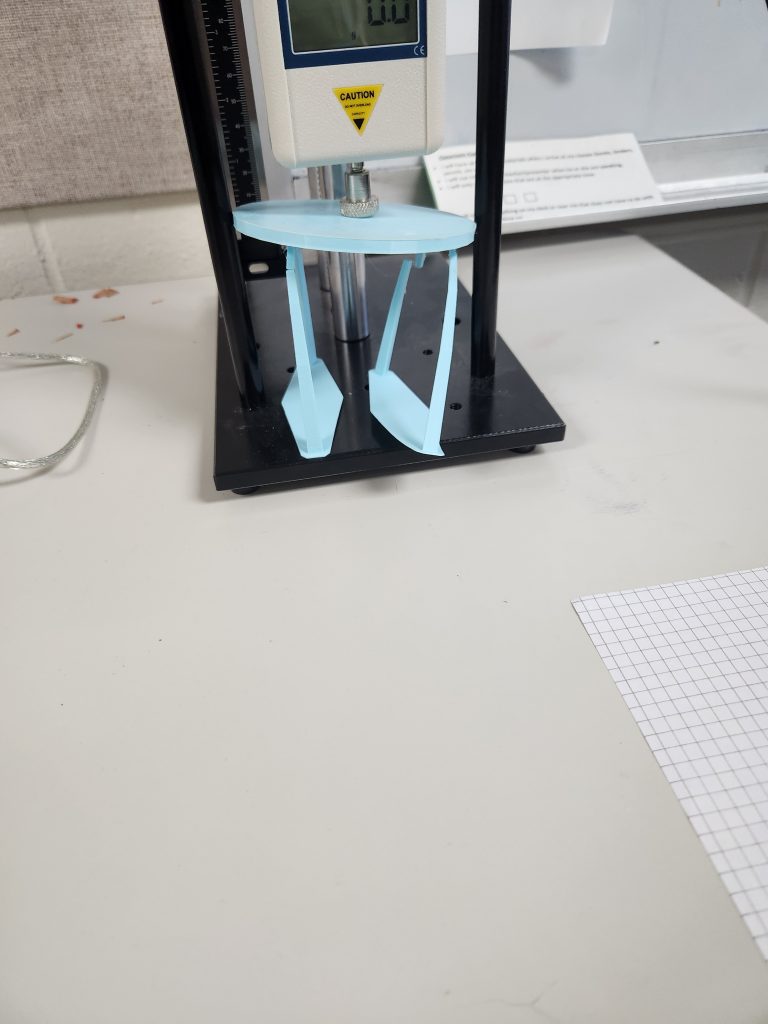
The project I worked on most during quarter two was my science fair project. I am testing the compressive strength of natural structures versus man-made structures. By 3D printing each structure, variables such as materials are taken out of consideration. While 3D printing my structures, I had issues developing the arches. First, the model that I was using wasn’t compatible with the platform we use for 3D printing. Then after we found a model that would print, the arch’s dimensions needed to be changed because the top of the arches kept breaking. This took a long time to figure out how to keep everything proportional, but allowed me to learn more about 3D printing and the specific platform we use. After I printed each structure out, I used a force meter to compress it until it broke. This was sad because they took so long to print out.
Recent Comments