Tri State Area
Makerspace at the Fulton School
Centers of a triangle coasters
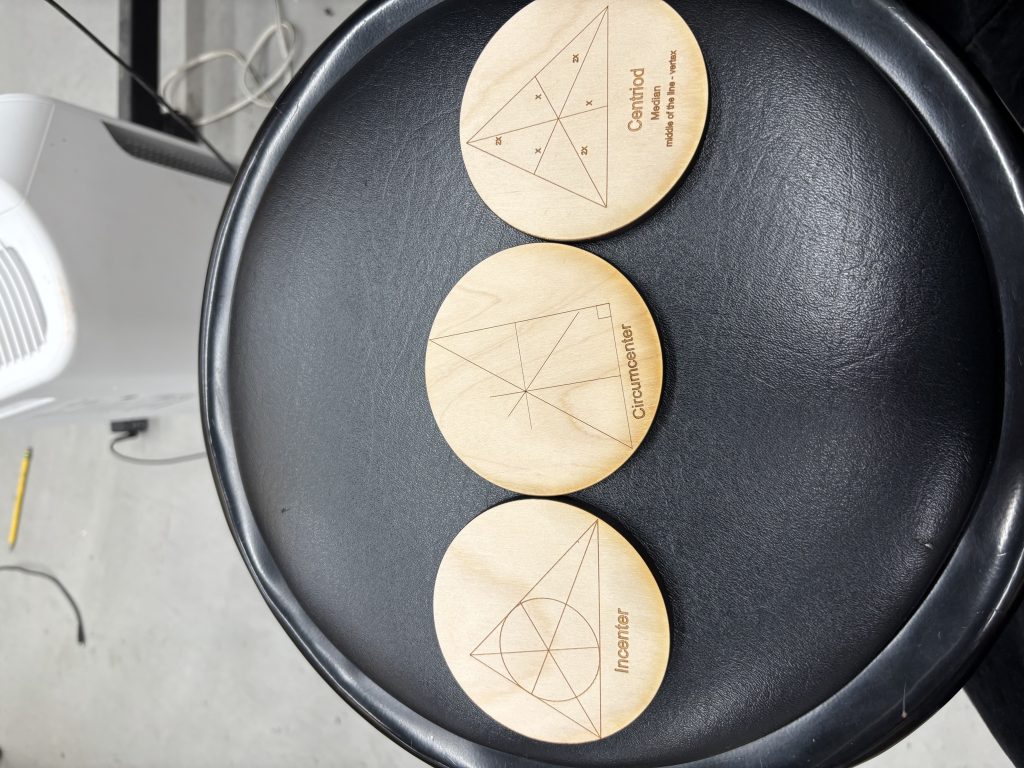
The Incenter, circumcenter, and centroid are all different types of centers for triangles . To make this I had to design these on Corel, during this I learned a lot about the line tools. After they were designed I got to laser cut them. Even though this was a simple project I learned a lot, not just about the centers of triangles but also I got a lot of practice using Corel. In the future I would like to color the lines with different colored paint pens so it is easier to distinguish the triangle from the medians and bisectors.
Unit Circle Board
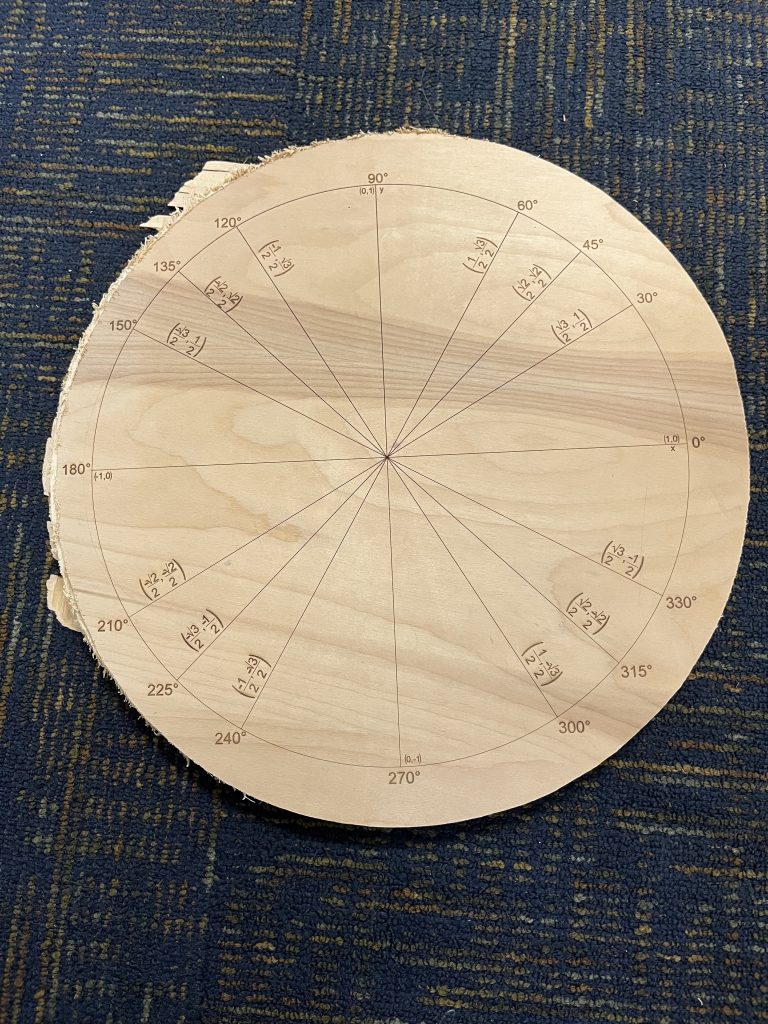
For the past few math classes I have been working on making a unit circle table, which it is not a table yet and is just a board….
It has x and y, then all the angles multiple of 30 and multiples of 45 that we have learned. It also has the coordinates of the points of the unit circle in radical form instead of decimal.
I had gotten a block of wood and cut into a circle shape using the CNC machine and then used the laser printer to make all the lines and numbers. I still need to sand down the sides and even it out more and make legs so it can be an actual table.
I like trigonometry even if I’m bad at it √:3
How to make a webpage
To make a webpage we must first understand that a web page is a document that can be seen in a web browser, so lets start there assuming you are seeing this on a web browser. Go ahead and download your favorite text editor. I am going to use Visual Studio for this.
Now we need to open our text editor and open a new file ending with the name .html if you don’t end your file name with .html it will not work. Next we need to start off our code with “<!DOCTYPE html> this identifies the mode of html along with this we need to to <html lang=”en”> to set your language to english.
It’s now time to learn about the different languages in your html. There are many different languages you can use which are responsible for different things. The main ones I will be focusing on are css, and javascript. You separate which language you’re using with the tags in your html, there are many different tags but are easy to identify because they look like <example> and come in pairs with the code going in between the tags. Java script is used to make your web page interactive, to use javascript simply put the <script> tag and put what you want to code into here <script> lets start by making a button use <input type=”button” value=”Calculate” id=”Name”>
to select the button you want to make interactive you can use Whatever name you want here = document.getElementById(“name”) and set different values and calculations for the button such as What ever name you want here = .addEventListener(“click”,supermath); doing this allows you set set a value for supermath by saying supermath = 1+1
Next up is css which is primarily used for styling your web page and making it look cool css stands for cascading style sheets. To use css you simply need to use the <style> tag and put a selector which is used to tell the program what you’re trying to style (for example if you want to select all the headers put h1) you then need to put the property you’re trying to change such as the font or the color if you want to change the color of the headers you can put h1 {color: blue ;}
Now that you know the basics of how to make a web page it’s time to make your own, here is access to my first webpage if you want an idea my first web page was made just for solving right angle triangles but you can do anything if you need further help with the language you can go to https://html.com/ this is a great starting place for beginners. Good Luck!!!
Note: My webpage will be included in a link file:///home/student/github/CS-class/CS-class/triangleSideAngle.html
Cos/Sin art coaster
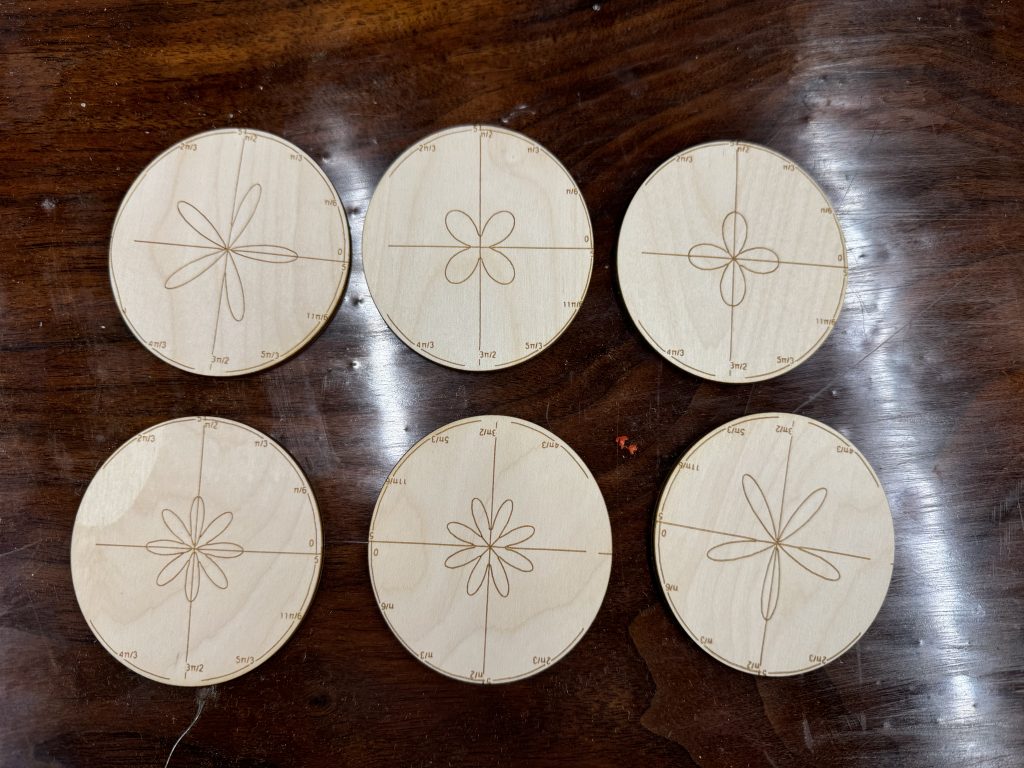
So for my maker-space project I decided to make some math themed coasters since we are learning about sin and cosine functions. I made the design in Desmos and put in sin and cosine functions and switch the grid to polar coordinates and adjusted the frequencies of the functions and its make these cool design. From that you can just play around with the numbers and make some pretty cool designs. After I made them on desmos I transferred them to Corel and edited them on Corel and then cut them out on the laser printer. I think they turned out well if I did this project again I would probably try and figure a different way to transfer the design since I did have some trouble transferring them but overall the project went pretty smooth.
here is a picture
(Depricated) 3D Printing with Octoprint
Note: Because of the retirement of our Prusa MK2S and LulzBot TAZ 6, along with now having the Prusa XL, all remote management for the 3D printers has been migrated to Prusa Connect.
Background info
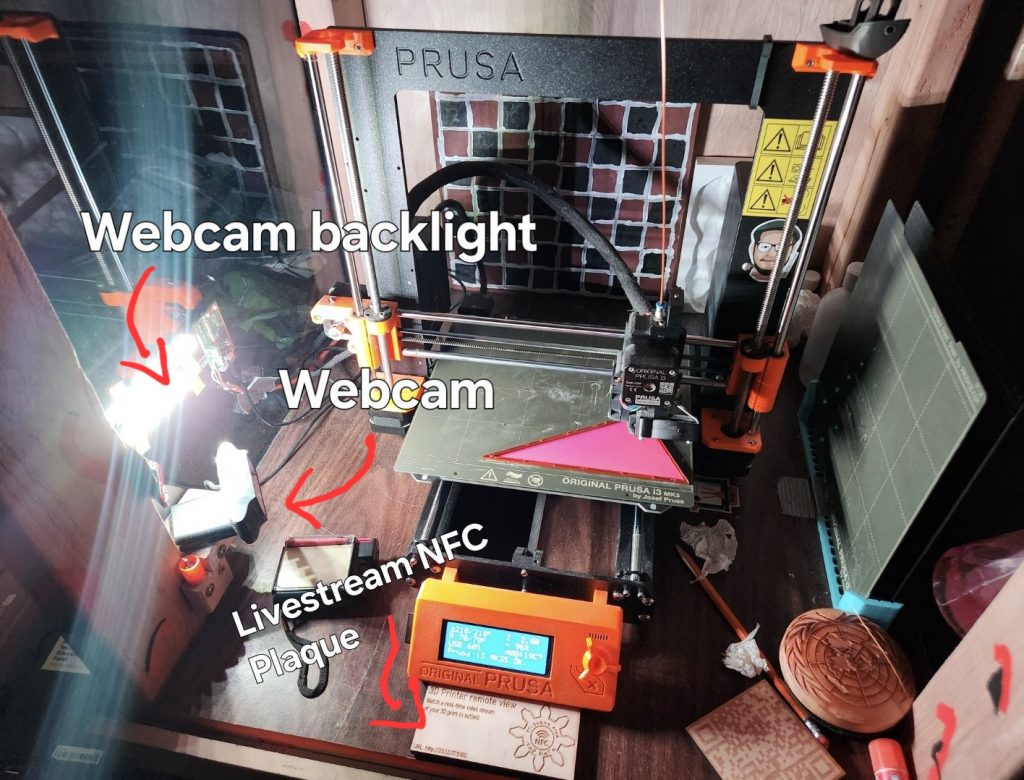
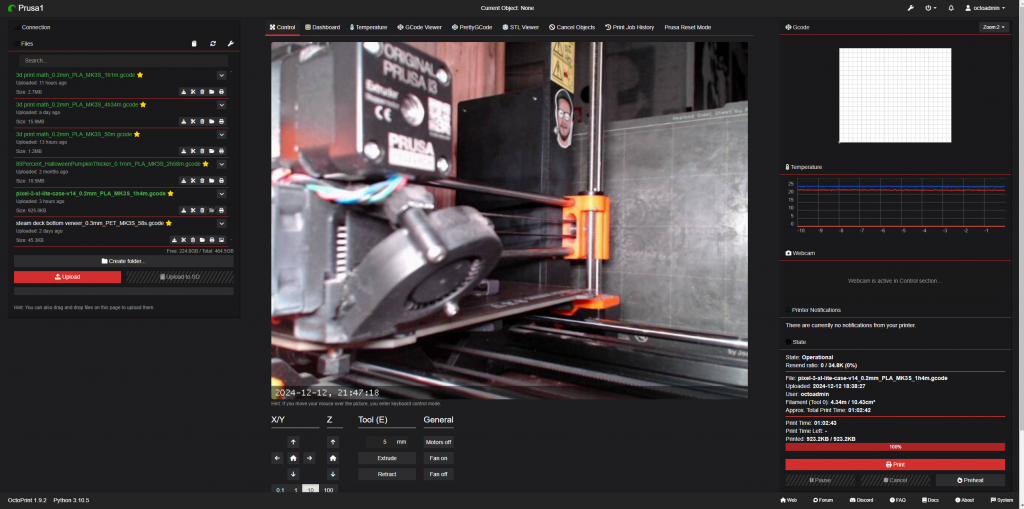
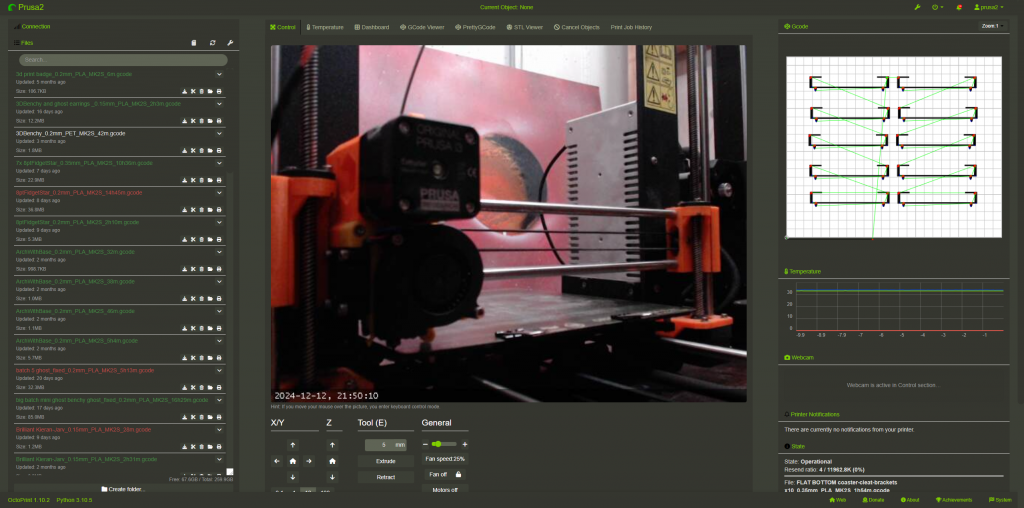
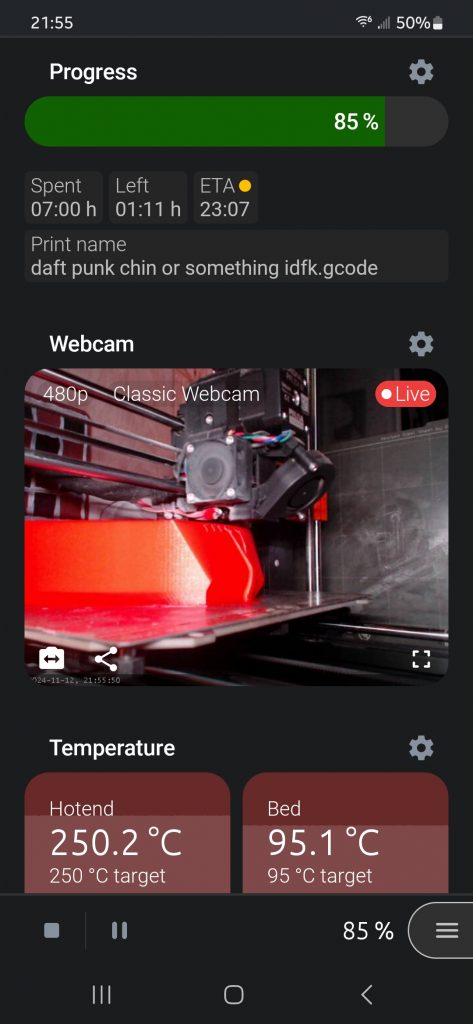
About a year ago (October 2023) I was using the 3D printers to make the parts for my fiber optic LED lamp project. These prints took upwards of 10 hours and I often found the makerspace to be locked at the times I wanted to check on them, especially considering some of the parts were very easily prone to failure. To solve this issue I switched the system that runs our Orange Prusa Mk3 from Pronterface to an open-source webserver-based solution called Octoprint. Octoprint allows for all kinds of remote printer management utilities like preheating, filament changes, remote printing, and webcam streaming. Octoprint also has a large repository of plugins that range from things like multiple webcams, AI print failure detection, and the ability to exclude certain parts of a .GCODE file from being printed (this is really helpful if you are printing 10 separate parts at once and one of them begins to fail since you don’t have to stop the whole print and try again). There is also a 3rd party app called OctoApp for iOS and Android that allows you to manage your printer via Octoprint from your phone. I learned a lot more about 3D printers in a timespan much shorter than I thought I would and as a result of this, Dr. Urbano no longer knows how to use our 3D printers without my help.
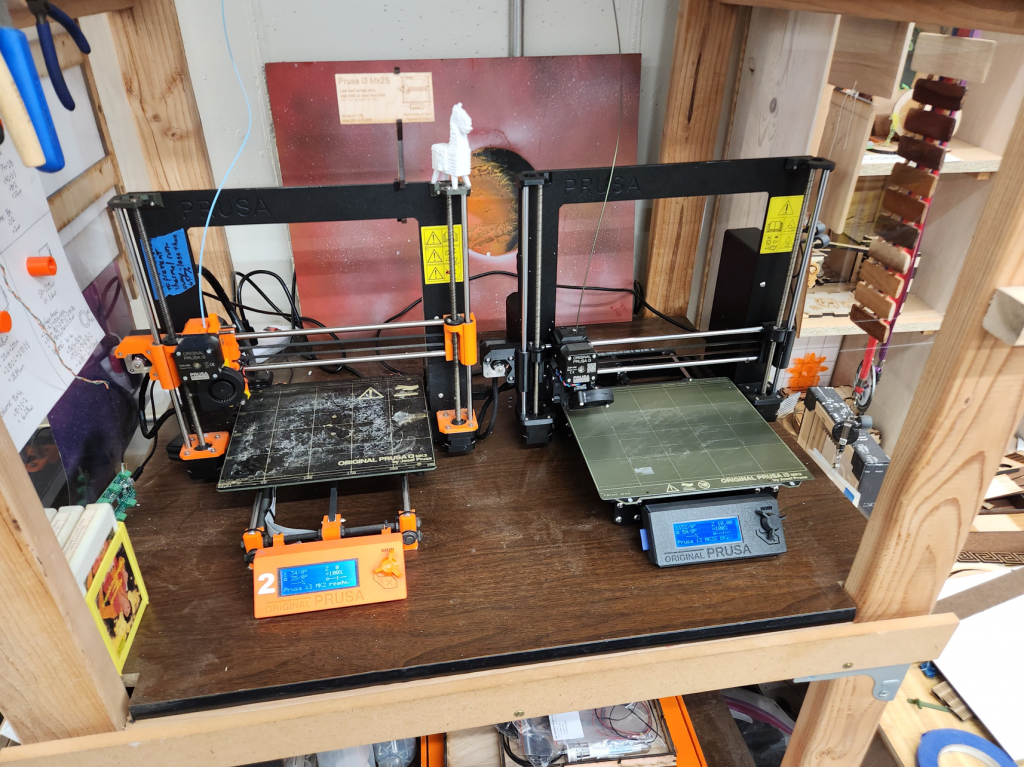
The Octoprint server runs locally on the computers at the 3D printer stations in the makerspace. The URLs to access each printer when connected to the school WiFi network are listed below and the login info can be found on the back of the respective printer.
Prusa1 URL: http://20.1.0.17:5000
Prusa2 URL: http://20.1.0.71:5000
Prusa3 URL: http://20.1.0.72:5000
Prusa1 Octoprint setup
Prusa2 and Prusa3 setup
OctoApp remote access
Starship rocket
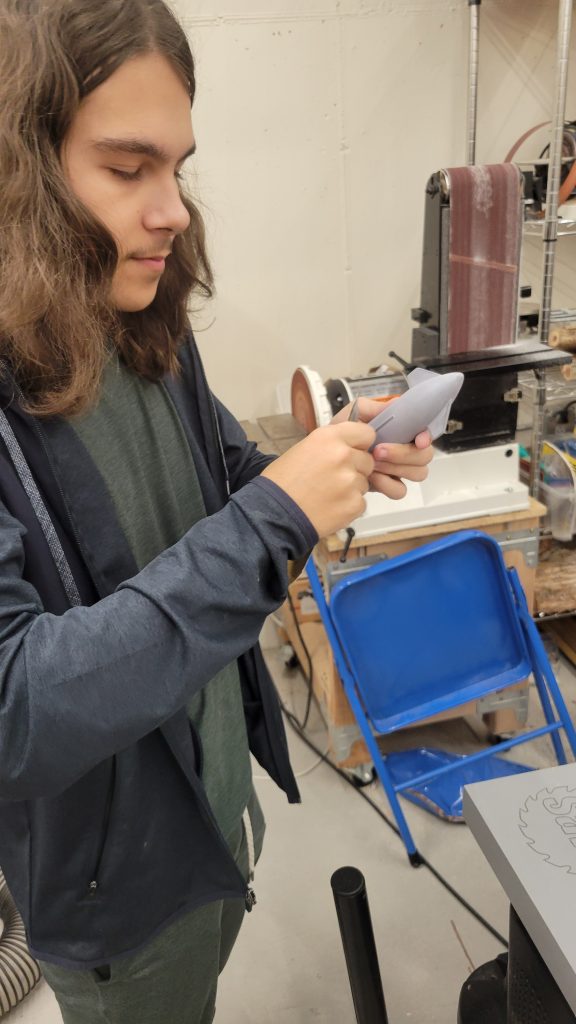
Miles and I made a model of the Starship rocket to electroplate for our science fair project
First, we 3d printed the model.
Then we heavily sanded the rocket with multiple different grits to get it as smooth as possible
After sanding we coating the rocket with filler paint to fill in the printing lines, then sanding the filler paint again.
Next, we coated the rocket multiple times with conductive spray paint.
The electroplate experiment failed but it’s fine.
If we did this again, we would probably use a different conductive.
LED Narwhal Lamp Like Object
Wooden Sword REFORMED
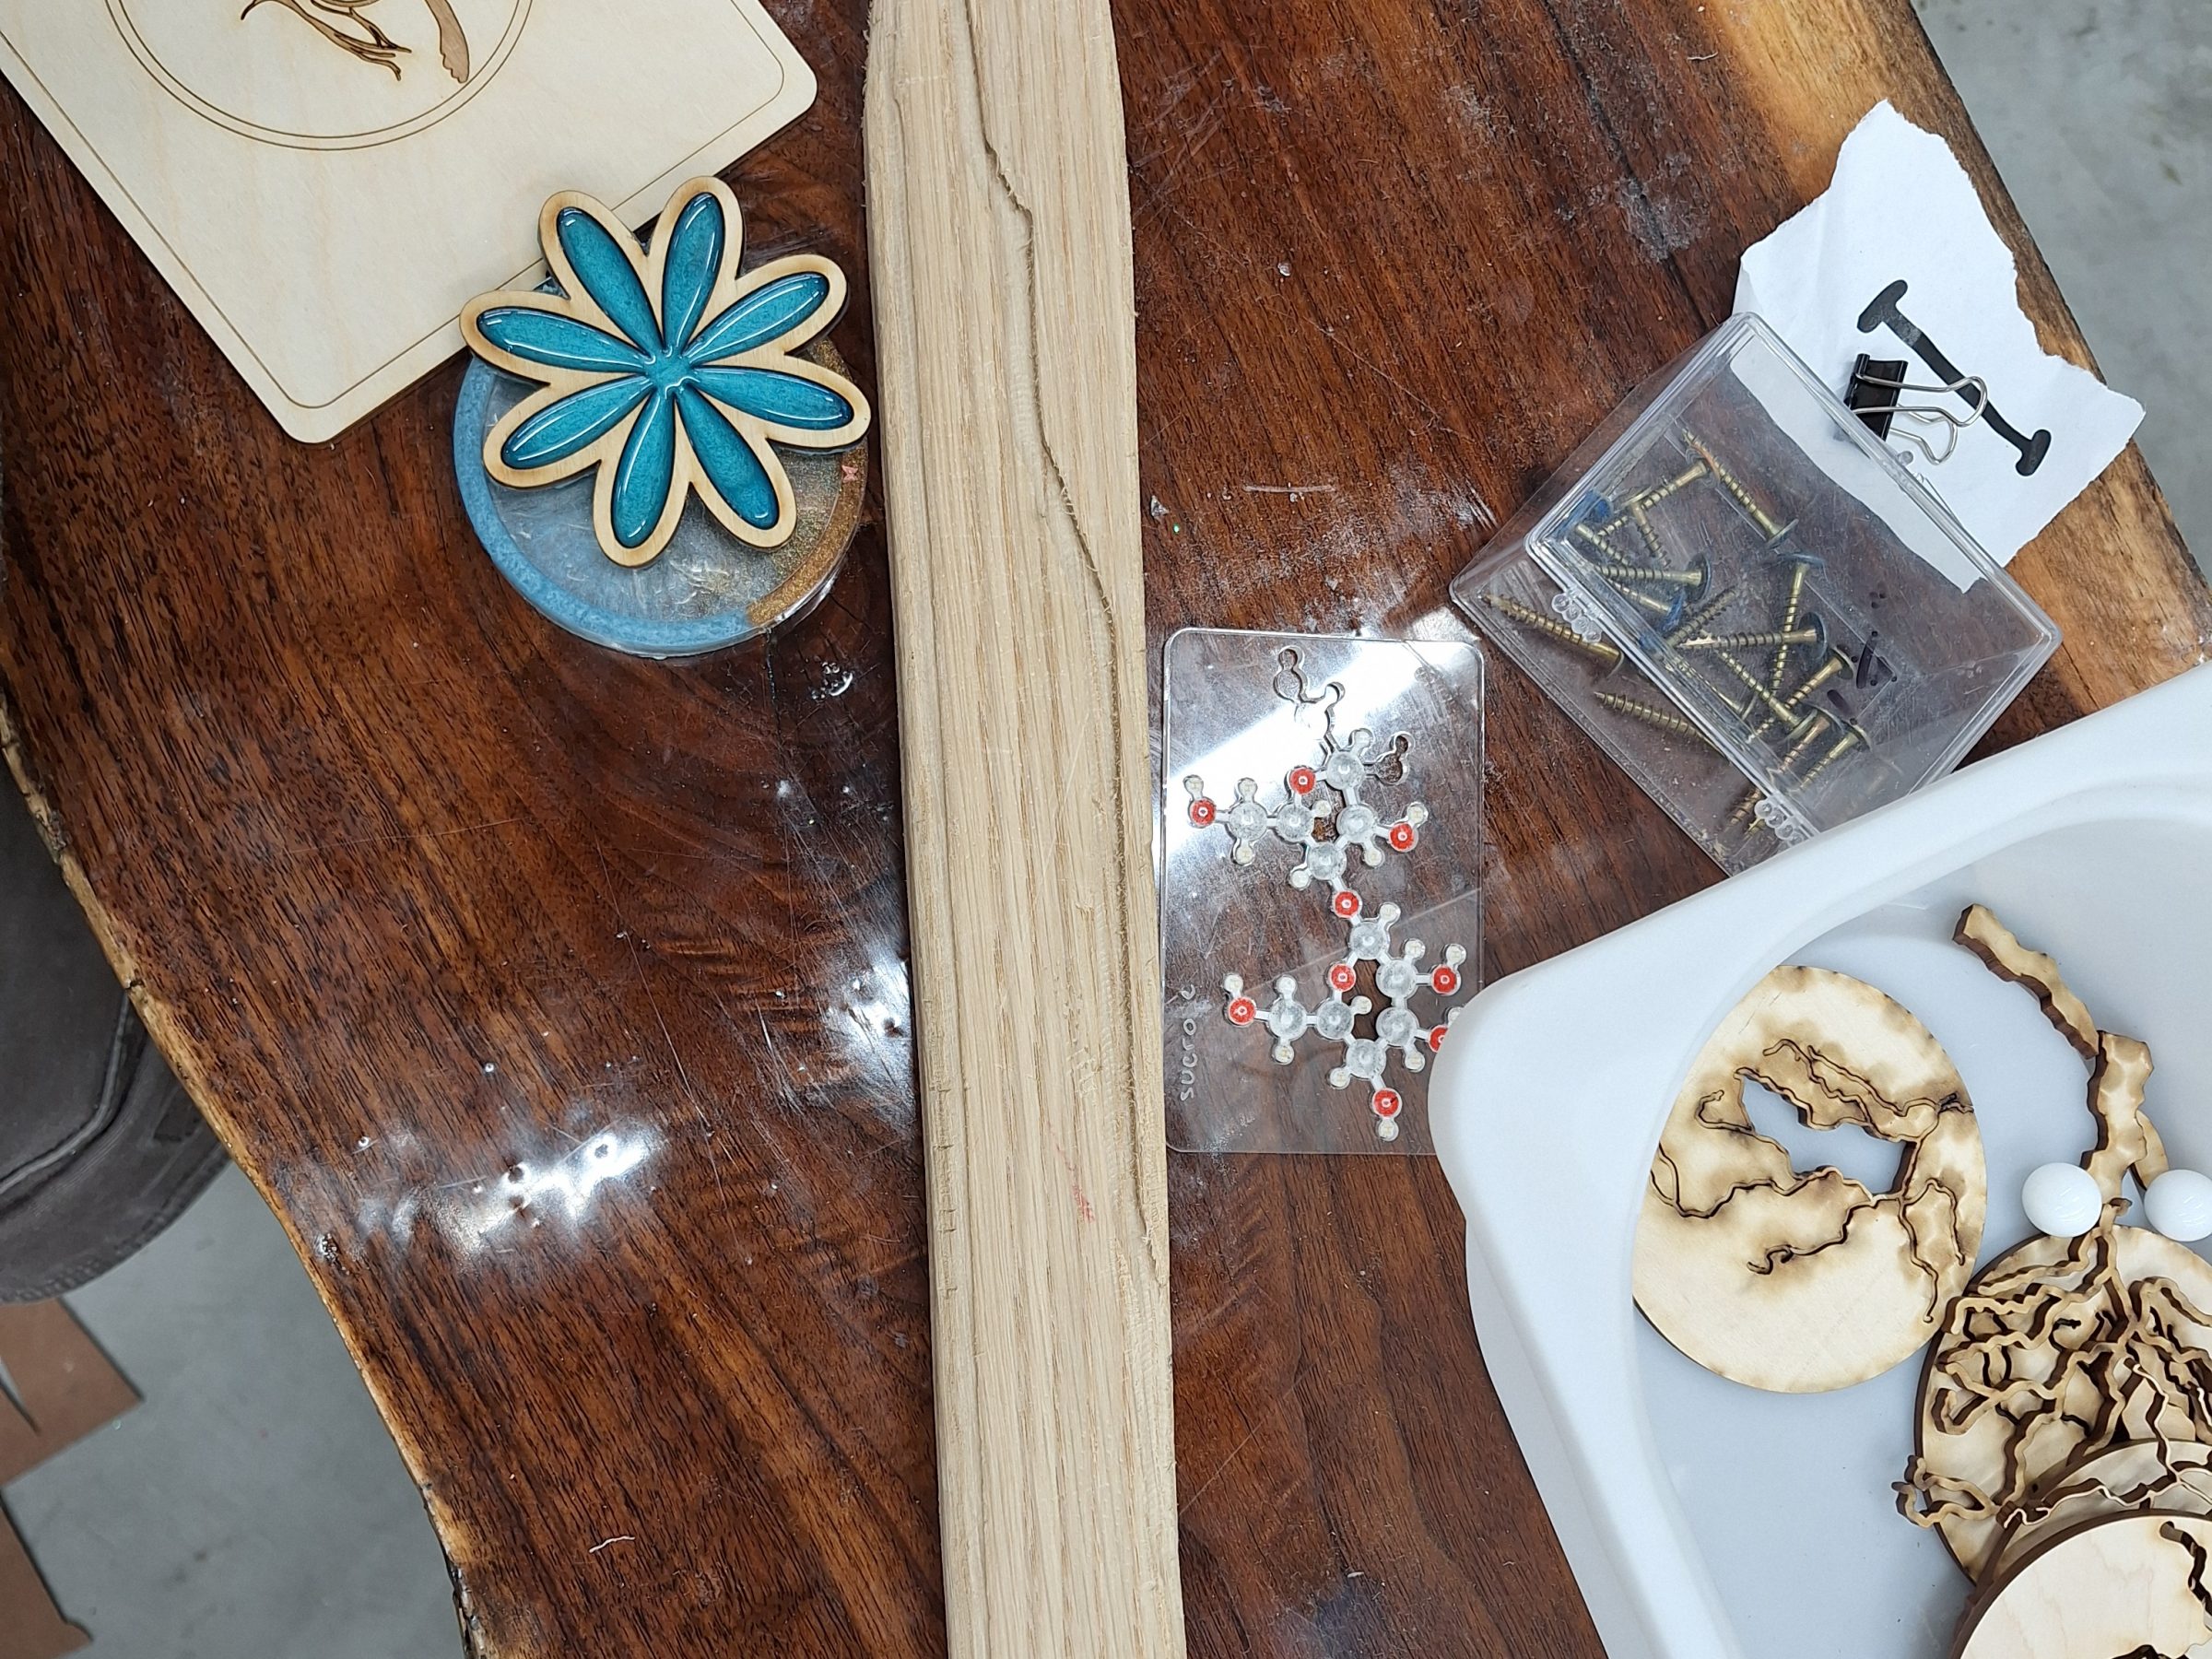
This is the second time I’ve done this sword, and it worked this time! I CNC’d the sword’s shape like before and started to rasp the sword to make the edges smooth. After most of the wood’s edges were smooth, I chiseled them until they were even smoother. When I was in the CNC phase, the CNC messed up and made a wiggly line through the middle. Luckily, it turned out looking really cool because it kind of looked like a crack through the sword. I didn’t do epoxy this time because I was worried that I would mess it up again and glue it to the table.
Ornaments.
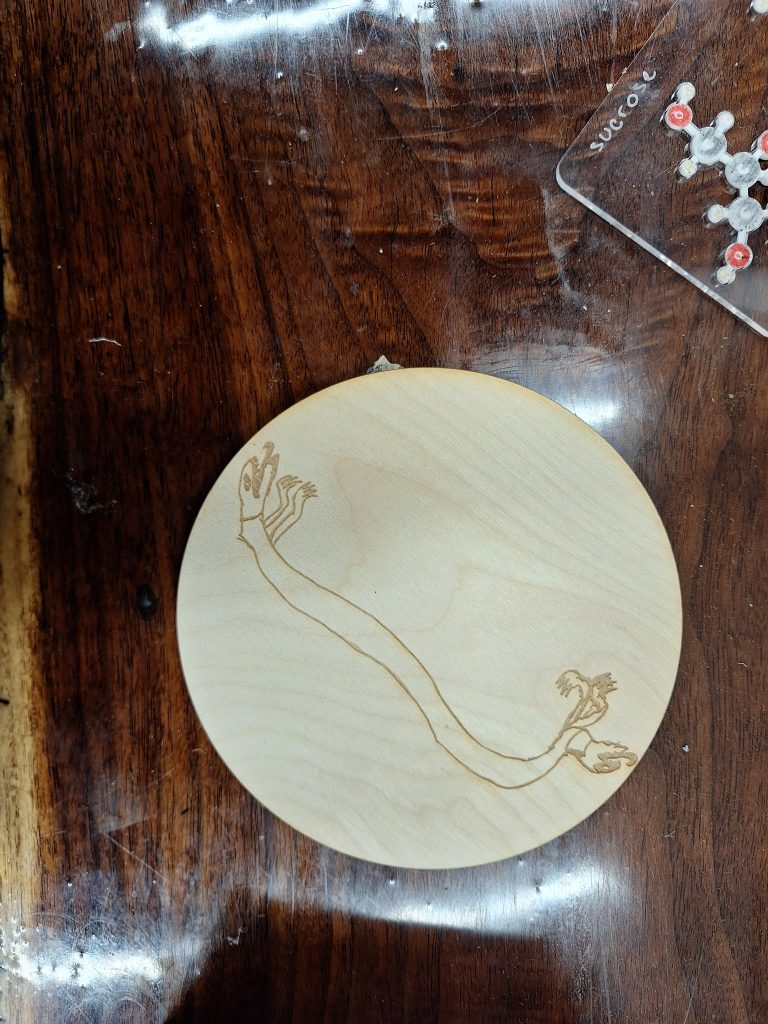
All I made was ornaments and tried to make a 3d printed jellyfish but I tried around fourteen times and only one of them worked and I lost that one. The ornaments I made for the craft fair and they didn’t sell very well. There was one thing that I made that wasn’t a ornament and I laser cut and it turned out well and I’m happy with it.
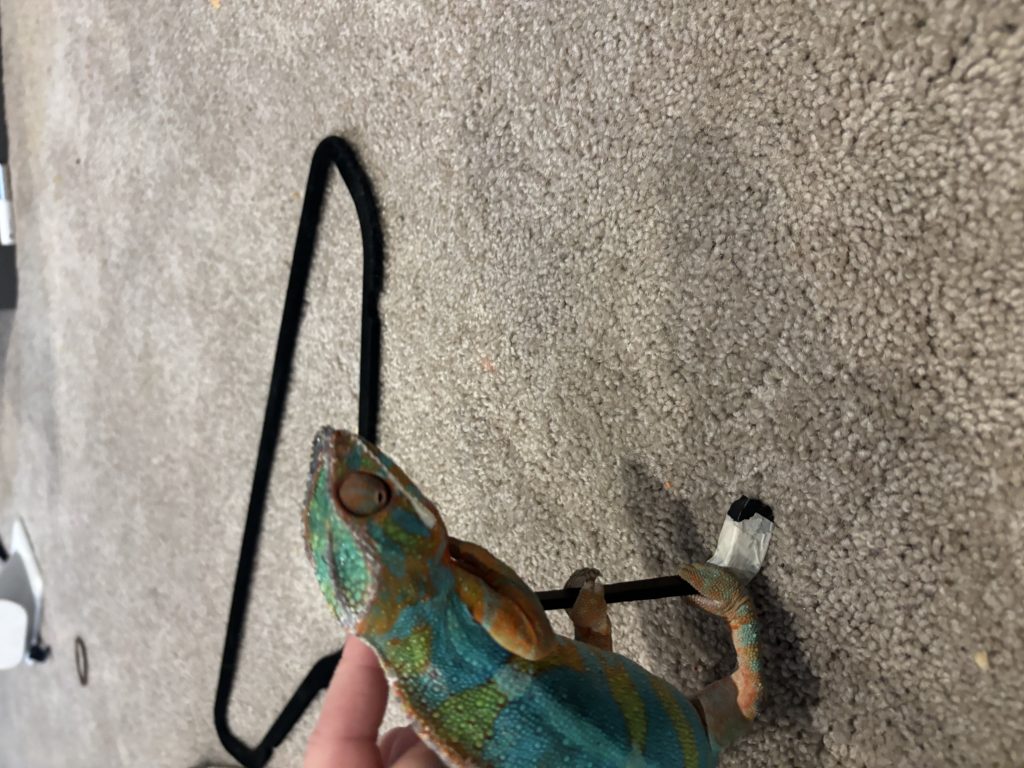
mini Hockey stick for chameleon
Recent Comments