Makerspace at the Fulton School
LED Anchor
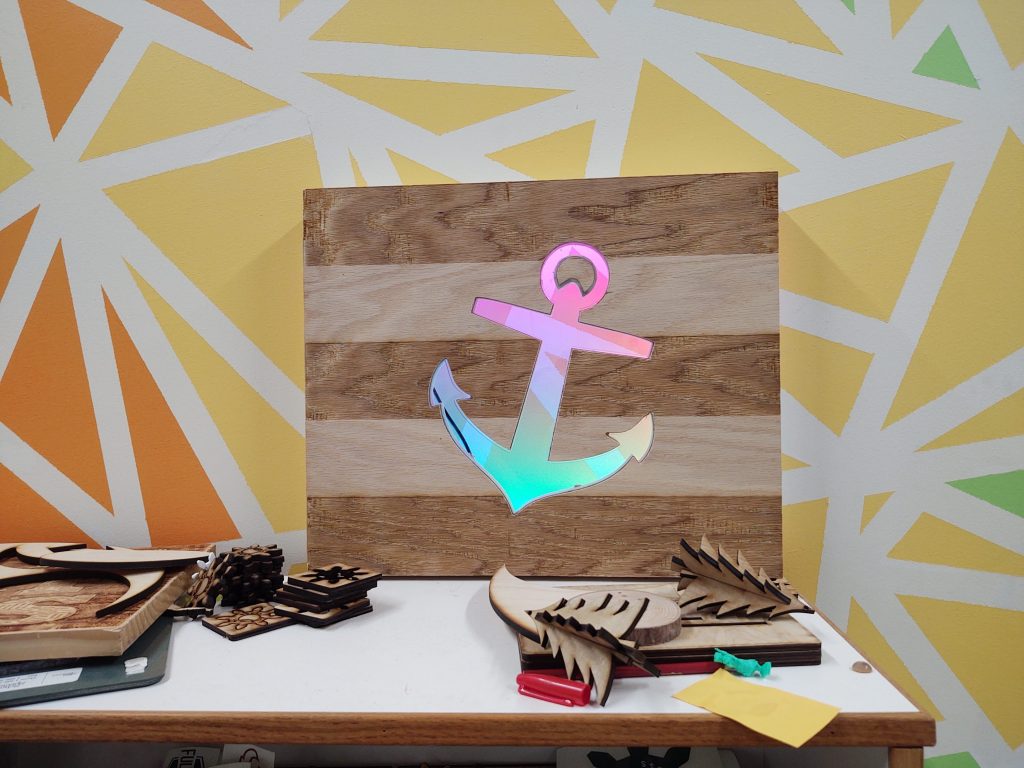
The original idea for this project was to just create a frame with a silhouette of an anchor that illuminated blue LED light when hung on a wall. Very quickly that idea progressed into programming a raspberry pi to run the LED lights with customizable features.
Creating the frame and wooden face turned out to be the quickest step in the process. By using the CNC machine and laser cutter, I was able to cut out the anchor and burn stripes into the wood. Making the back of the frame simply required finding four scrape pieces of wood that matched in size and color to nail together. Since the face of the frame is large enough, the scrape pieces of wood didn’t need to be specific in size, just long enough to be all placed on the back of the face and fitted together.
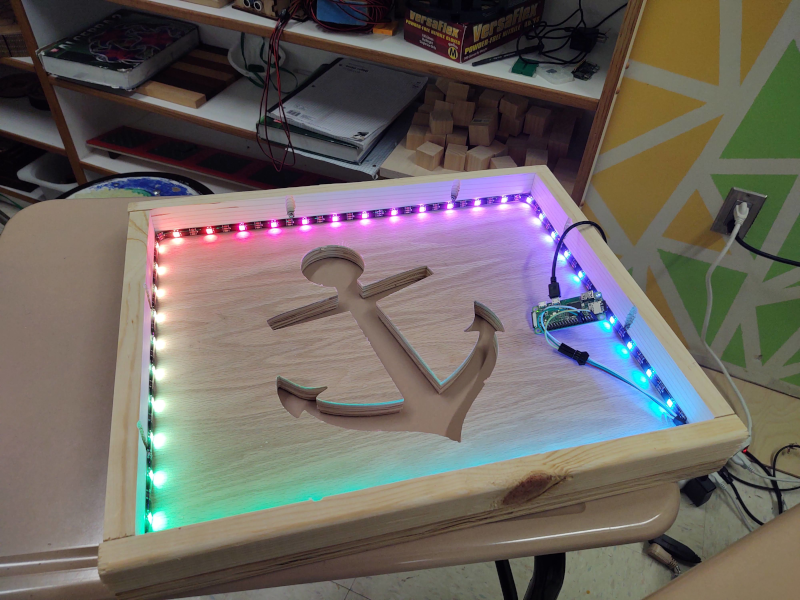
We came up with the idea to program the LED lights ourselves instead of buying strands that came with remotes. When we started out, we used a new chip to set up the raspberry pi and found instructions online to know what needed to be installed in order to make the raspberry pi compatible with the LED lights. We had about a two month trial and error period that eventually led to proper functioning of the lights, but when set up, using a terminal window was needed to connect and run the the commands.
Coincidentally, Dr. Urbano created a platform that can be accessed by a phone or computer by just typing in the IP address of the raspberry pi followed by -:8040 to access the control for the LED lights. This way, you don’t have to go through a terminal window to log in and command the raspberry pi manually. With this platform, I was able to transfer my project to my house (or any location) with an easy set up.
*Key note: The IP address changes depending on what wifi network you are connected to. To change the wifi address, just edit the SM card in the raspberry pi.
Github link: https://github.com/lurbano/rpi-led-strip
Recent Comments