Makerspace at the Fulton School
Fishing Lure
My work during these days has been a fishing lure, since fishing is one of my favorite hobbies and with which I try to spend time during the summer and sometimes in winter. For all work you must follow a few steps, and these have been mine to carry out my project:

- The first step was to choose what to do, and after choosing it, I decided
the materials that I should use for the moment. My materials were the following: wood, waterproof adhesive paper, paint and stainless steel rods for 1mm TIG welding.
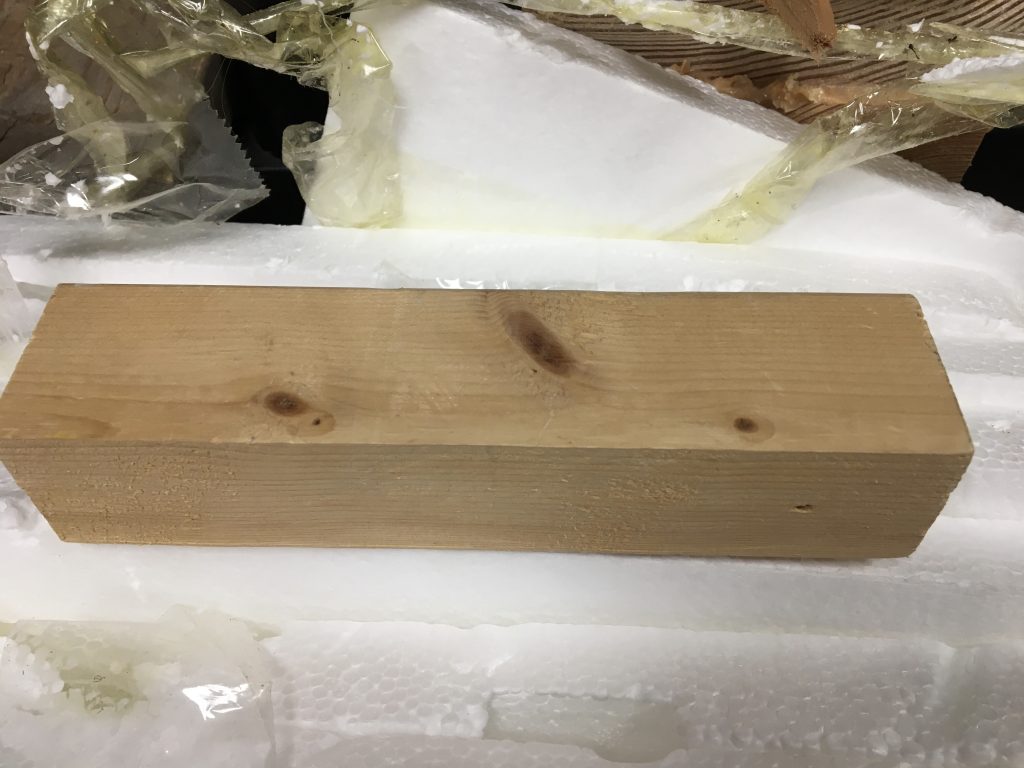
2. Once the waterproof wood (elm wood) was chosen, I had to draw the sketch, choose the measurement I wanted for my fish (length and width). After this, use the table saw to cut the piece and then draw the figure of the fish on the wood to later sand it.

3. After deciding to use the sanding machine, I began to sand on the sides to give it a cylindrical shape, but making the peaks a little less thick, at the same time giving it a curved shape for the fish’s back.
4. Then, I took the rod and shaped it to hook the hooks and be able to tie a knot with the thread. After this I took a machine and made a cut along the fish, without dividing it in two and put the rod inside this cut.

5. Finally I used putty for wood to cover and that the rod did not come out. Then, I incorporated the silver colored adhesive paper to the fish and with a knife I cut it so that it covered all the parts
Recent Comments