Makerspace at the Fulton School
Making A Robot That Can Play The Piano
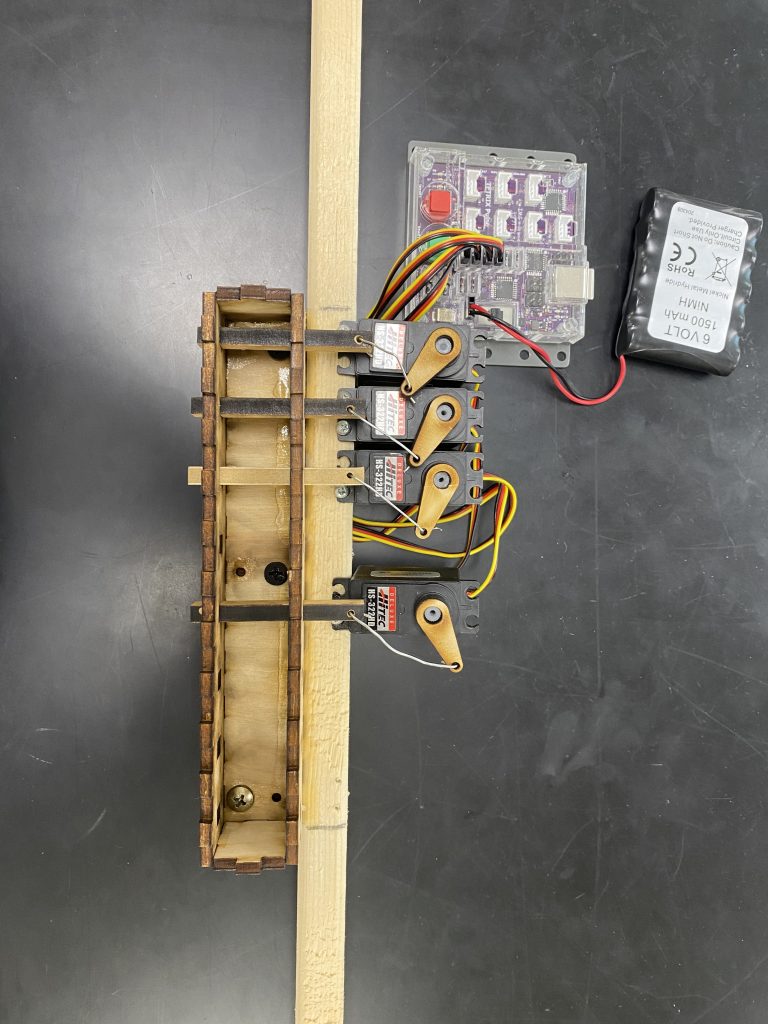
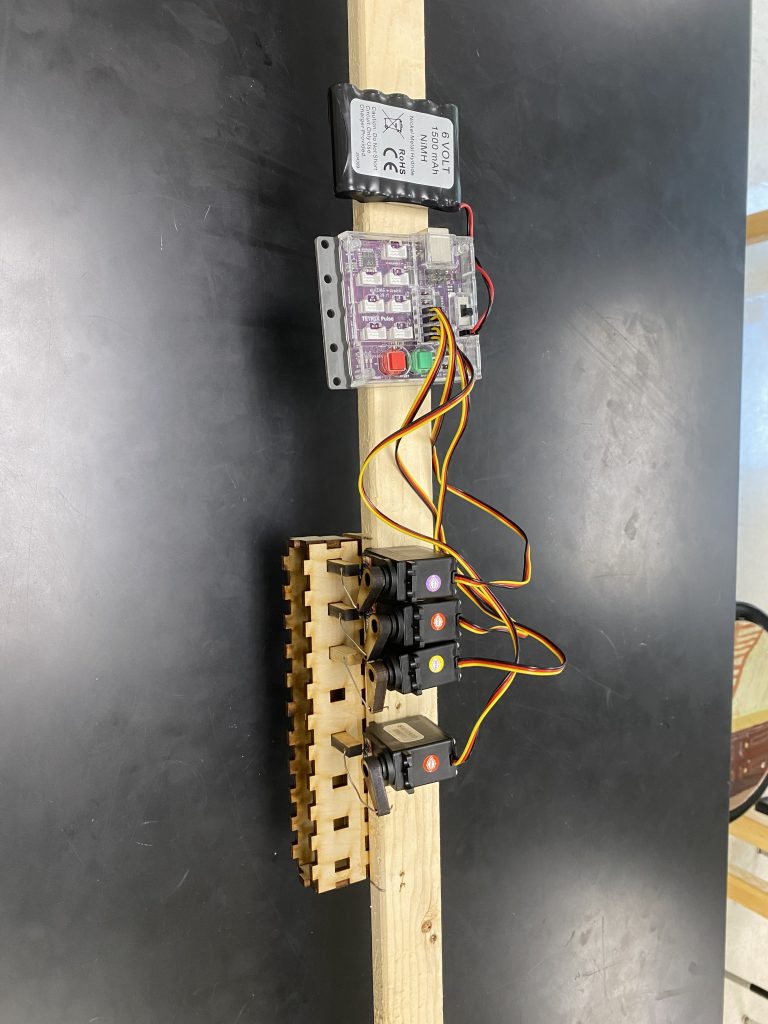
This is the robot that Jace and I made for robotics class. I split the time spent on this project between Makerspace and Robotics. We did most of the coding and stuff involving software during Robotics and did most of the actually building and assembling during Makerspace. The main piece of equipment we used was the laser cutter.
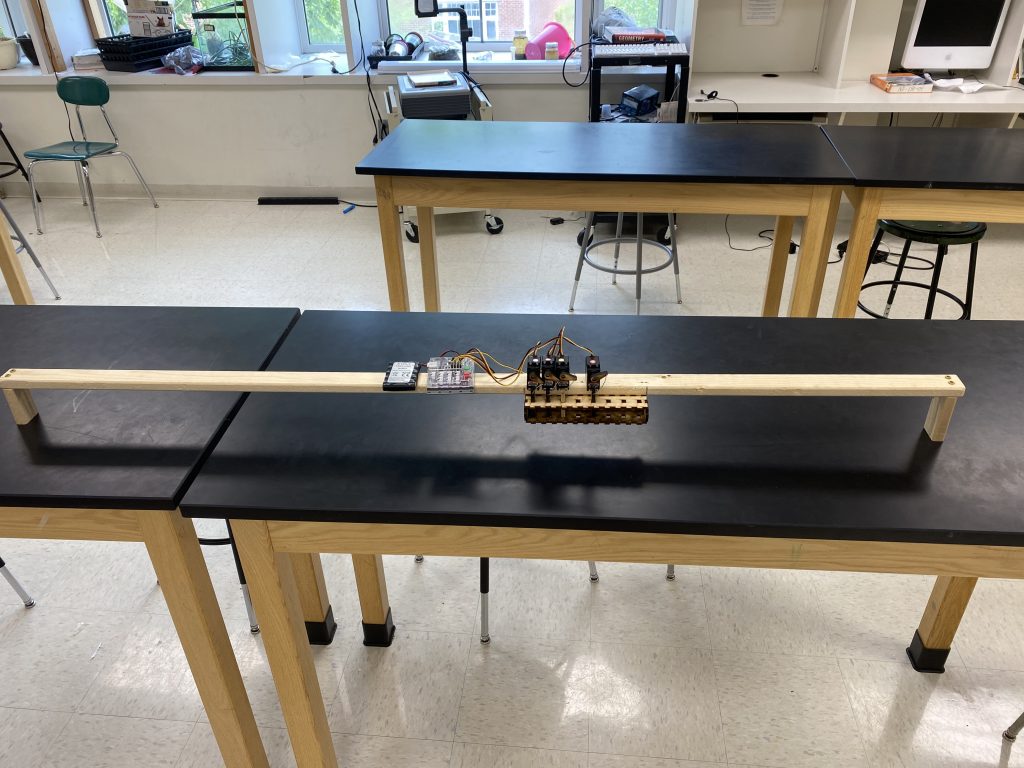
We started by building the main frame to fit a grand piano. It is such a perfect fit that is actually holds the entire frame above the piano from just friction. After we had a large frame, we printed a box that had 8 holes in the exact spacing needed to cover an octave on a piano. We then attached the box to the frame so it spans a C octave. Once we had this frame, we could experiment with the servos a ton and figure out what length of arm makes the best servo attachment to push down the key with the speed and power to create a normal sound. This involved printing tons of small arms and attaching them to servos temporarily to test and then repeating. Once we had the proper specs we were able to start coding some songs into the Arduino.
I think this project went well overall. We had some trouble coding good songs onto it because of the limited ports on the Arduino. We started with “Mary Had a Little Lamb” and managed to get it to play almost the entire song. There are still many things that I would like to do with this project. It is easy to copy and make a few more boxes on different parts of the piano in order to do more complicated songs. We could also use a different type of computer with more ports in order to make more notes be able to go at once and play chords or something like that. I’m happy with how it turned out and I think we will be able to add some cool things to it in the future.
One Comment on “Making A Robot That Can Play The Piano”
Leave a Reply
You must be logged in to post a comment.
Do you have any links for people who’d like to try something like this? Did the arduino come as part of a kit with the servos?