Makerspace at the Fulton School
Hexagonal LED tiles
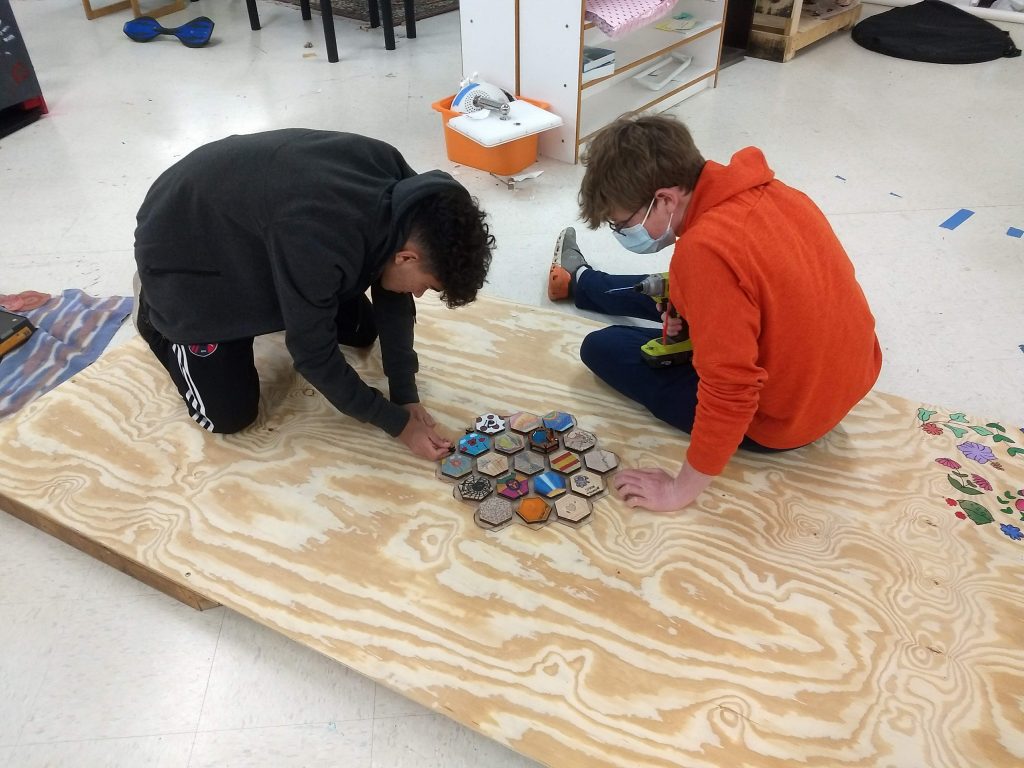
For our WWT project I worked on the physical part. I designed the the tiles and printed them out. The hardest part with printing was saving space due to the amount of wood we needed to use. The acrylic we didn’t have to worry as much about because we reused all of it. The hardest part about designing the hexes was the scaling and deciding the sizes of the tiles.
Printing the tiles was very time consuming with the wood. The laser had to go over the wood more than once which I had to change the settings with and re-cut multiple times. I printed five originally which would make enough backs and tiles for each person.
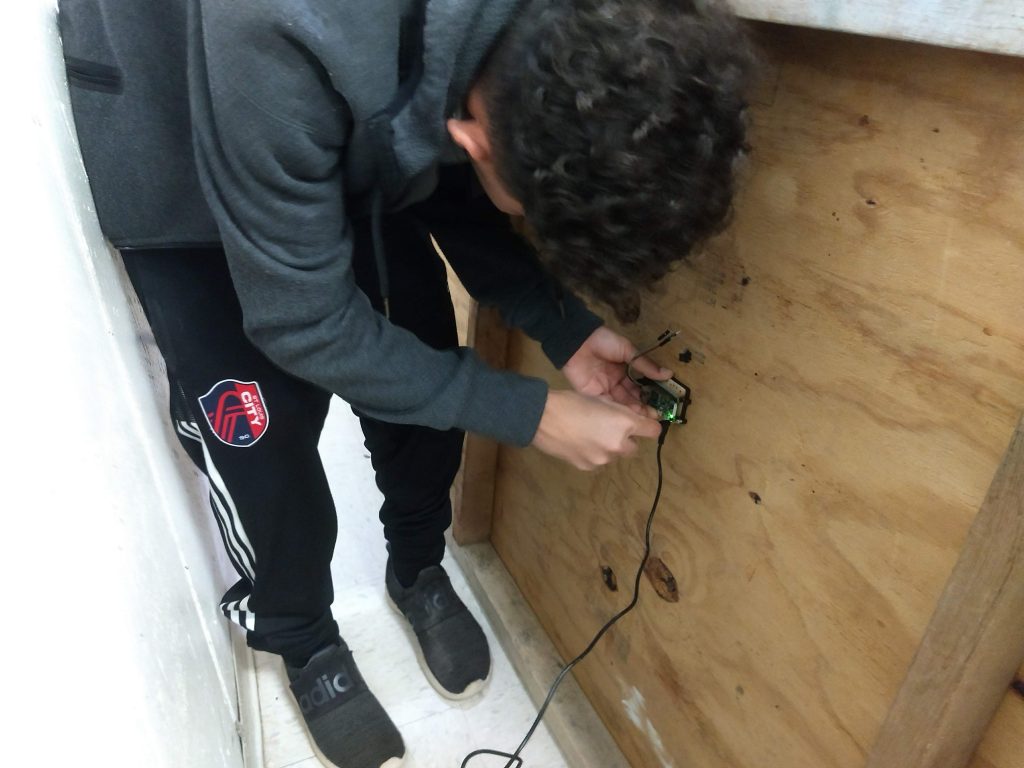
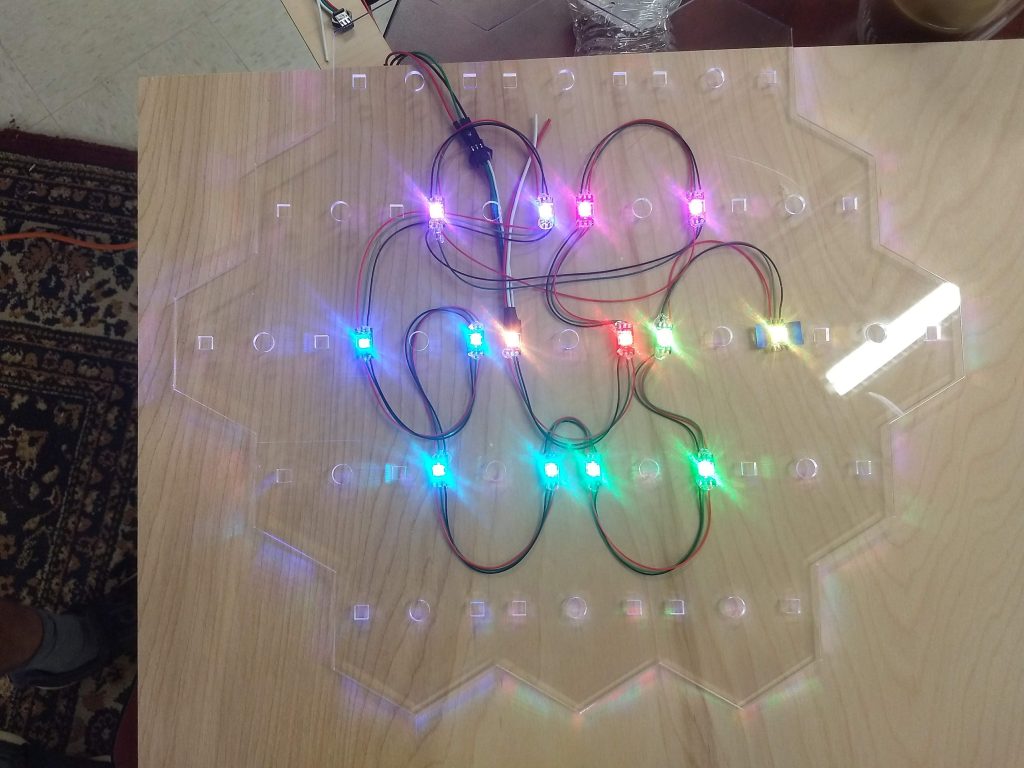
Next came the LEDs. Each LED had to be individually soldered with the correct wires. The strip of LEDs weren’t close enough to each other which added more work with having to cut and rewire each LED in order to fit in the designated spots. This would leave enough more space to make the LEDs shine more through the acrylic which had to be frosted with a hand sander. Before soldering we had to find the distance between each spot and find an organized way to align each LED to make them easily programmable. Since we used hex shapes there wasn’t an obvious order in which each tile should light up. One tile has two LEDs so we went to the bottom one first then the second one on the top, the next wire from there had to go down or up to the next tile in order to start from the bottom or the top. To do this each wire had to cut at separate lengths then stripped of the casing and at the tips leaving enough of the wire to solder but not to much to interact with other ones. Once all the LEDs were soldered with the right length and order we hot glued each one to the corresponding cut hole. After all the LEDs were in placed on the back of everything.
Recent Comments