Tri State Area
Makerspace at the Fulton School
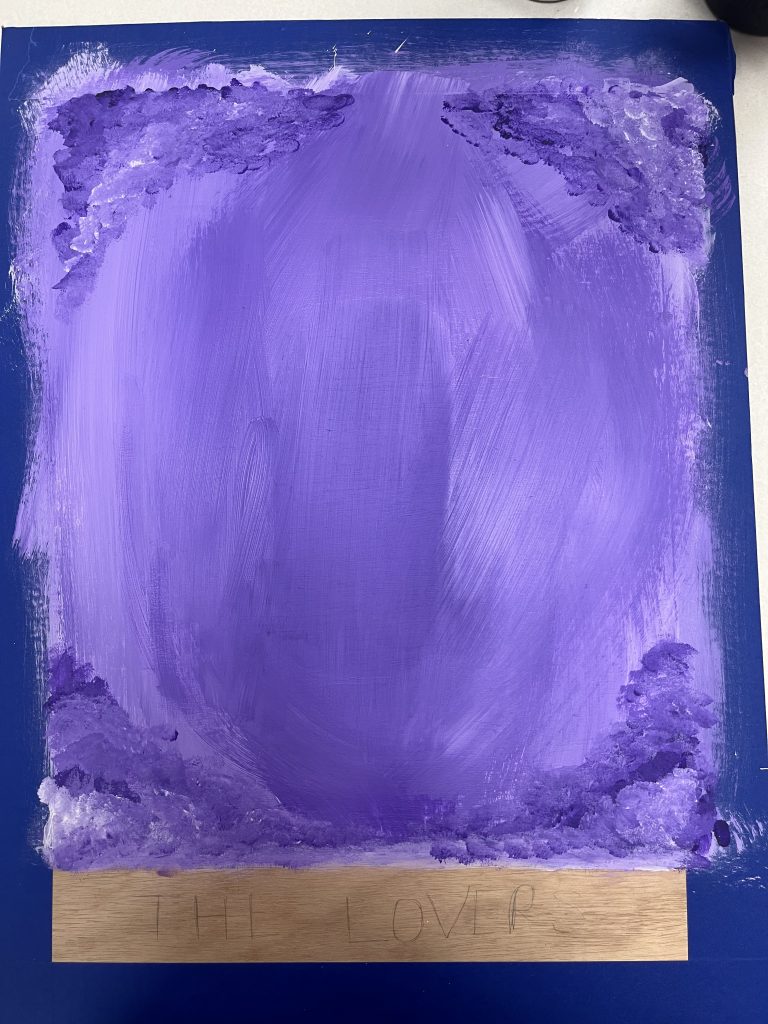
Tarot Card
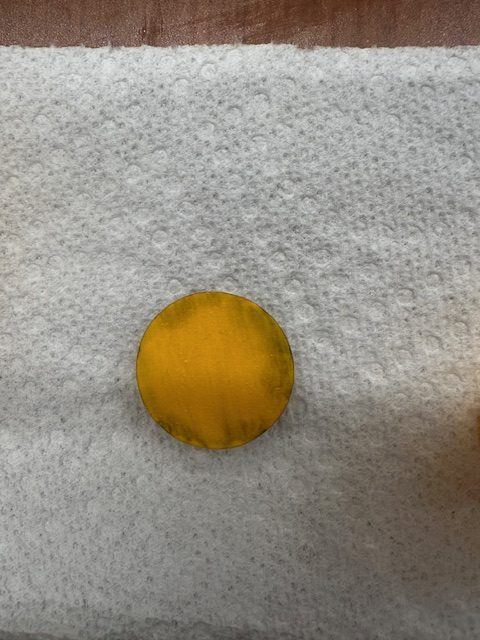
I decided to paint a tarot card on a piece of wood. I decided to do a tarot card because they originated in the 1400s in Italy. They were originally used to play a game called tarocchi in Italy, which was changed to be called tarot when it became popular in France.It was in the 18th century that tarot began to be used for guidance and fortune-telling. I chose to illustrate the card “The Lovers.” The Lovers represent relationships and choices. Its appearance in a spread indicates some decision about an existing relationship, a temptation of the heart, or a choice of potential partners. I took a different spin on it after seeing inspiration pictures from Mrs. Bryan, and illustrated the dynamic between addiction and humanity. I wasn’t able to finish it but the idea was for there to be a prescription bottle in the middle of the wood with a person trapped inside. I chose to do purple because purple represents strength, transformation, power, and royalty- which symbolizes recovery when dealing with addiction.
Hexagon Table Epoxy
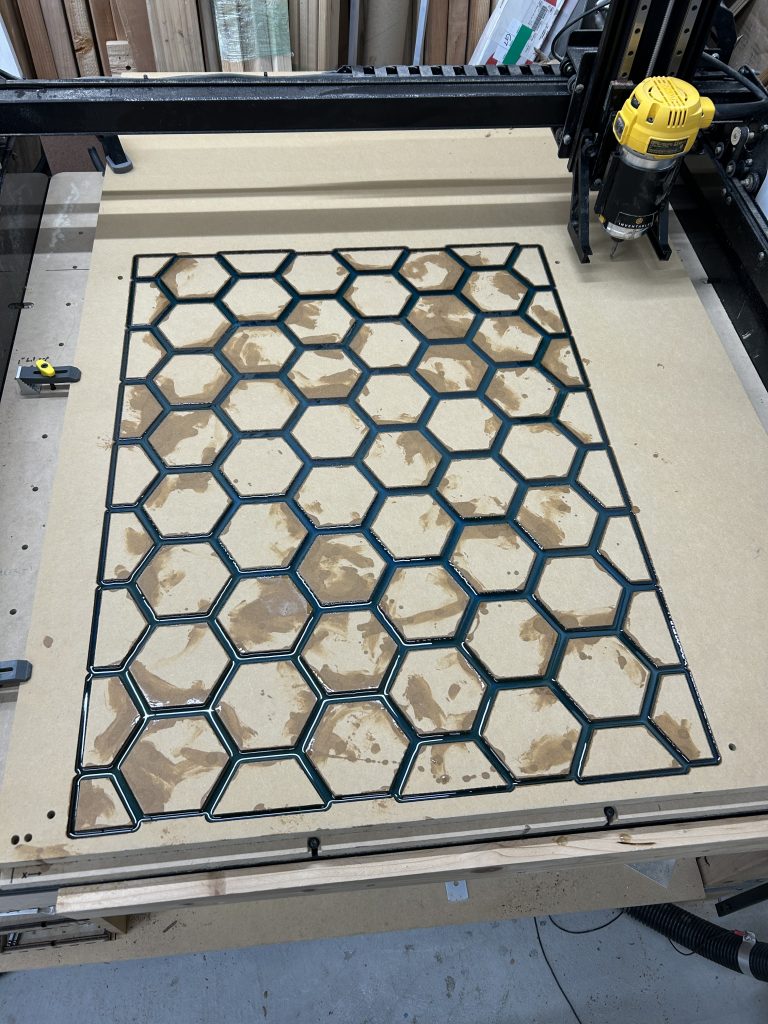
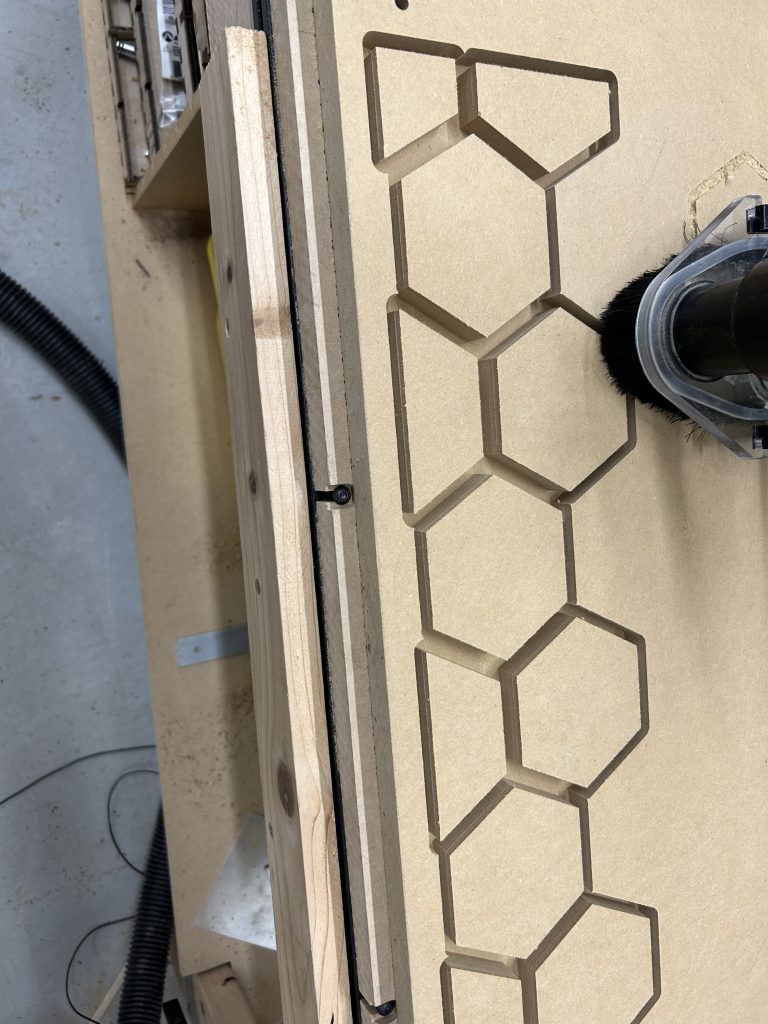
In this project I worked on a table of hexagons and cut it out with the CNC machine and then epoxied inside it. The next steps are going to be to use the CNC machine to cut out pockets where LED’s and touch sensors can go so whenever someone touches a hexagon it lights up with their hand. The project is international because the LED’s added later will be the colors of different countries flags.
Makerspace International Interim
During this interim, I am making a table with LED lights that light up when the censors on them are set off. As I said previously, this table is going to be an upgraded version of a table I helped make previously that did the same thing. In the photo below, the CNC machine is cutting out octagons, which will be filled with epoxy. When the LEDs light up, I will make them the colors of different countries flags.
Makerspace Interim
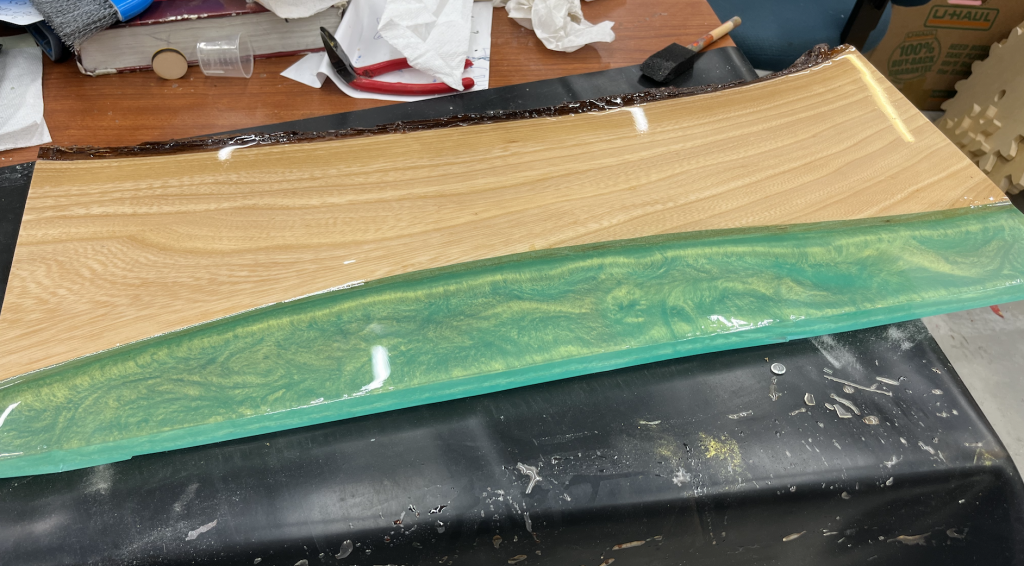
This week, I learned a lot about how to use the different materials and technology in the makerspace. I followed Coen around and assisted him as he built a new table with epoxy, and watched Blas and Ruthie work on their own hexagon table. I learned about how to use different power tools and the CNC machine. I got a different makerspace blog post done over the course of the week to raise my grade and I was successful. woop woop! I learned a lot this week.
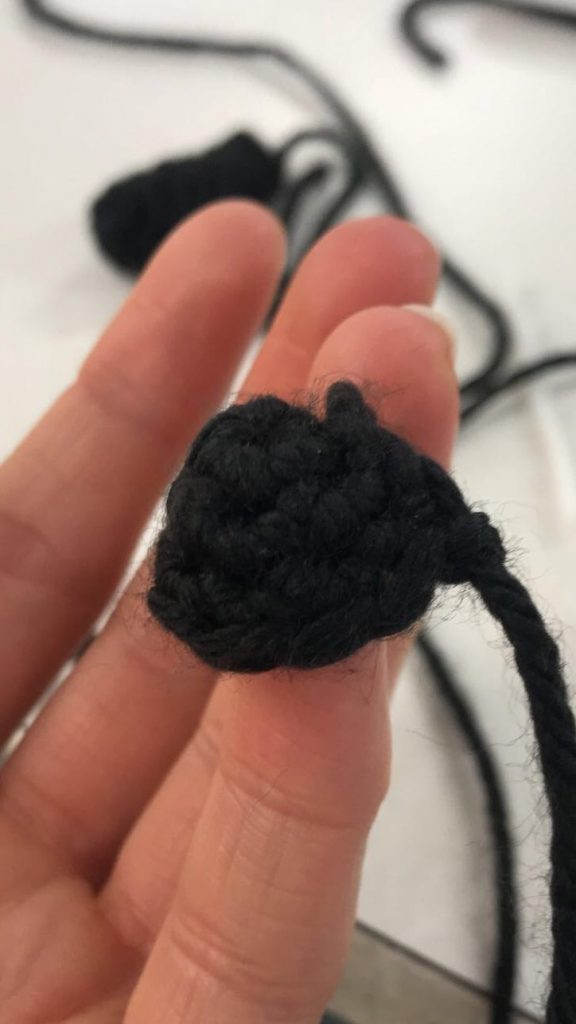
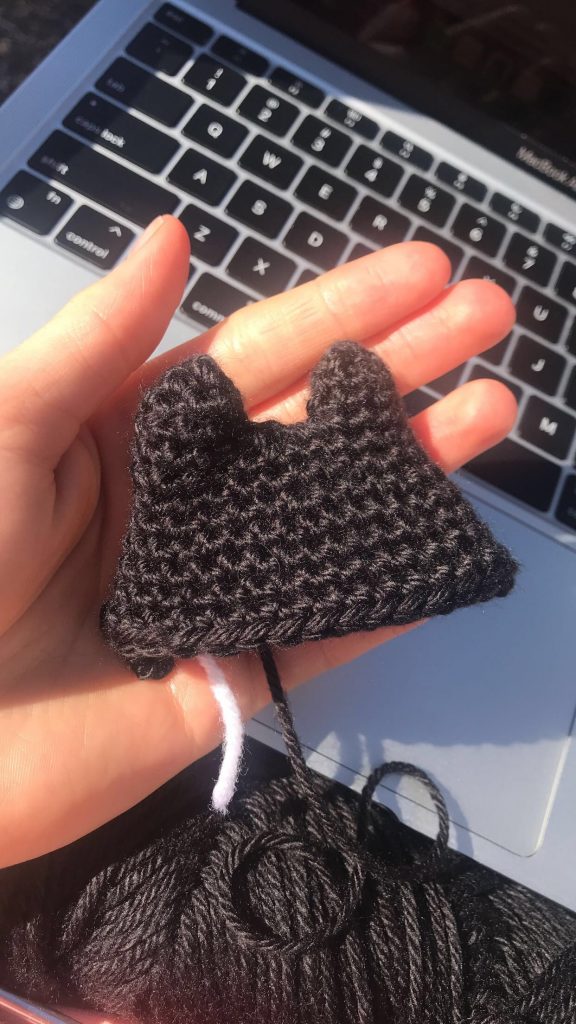
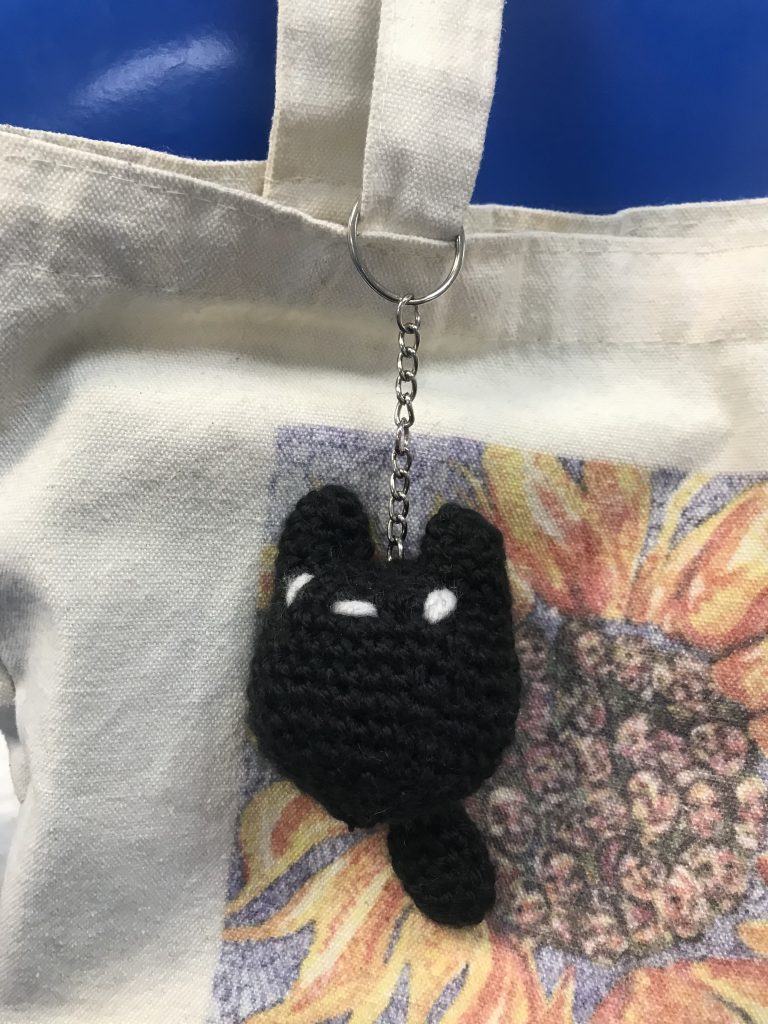
Cat Keychain
This past interim I was crocheting a cat keychain. I thought it fits in the international theme because multiple cultures represent a black cat as a bad sign or bad luck, even tho these cultures are very different. A black cat is multicultural sing I would say.
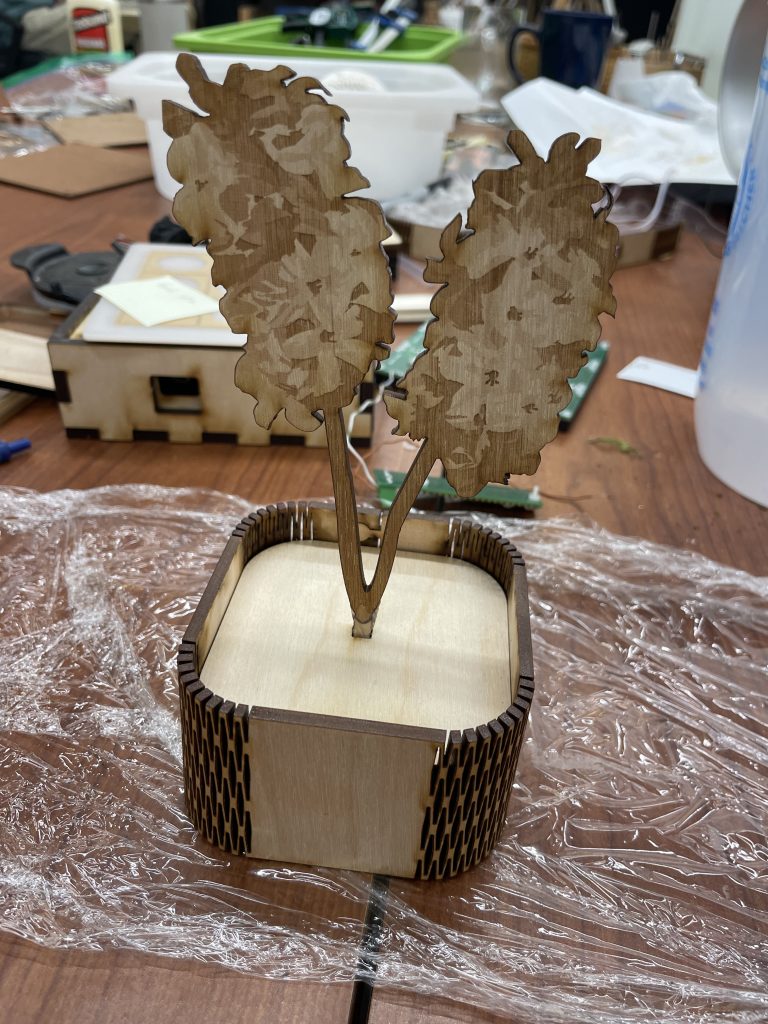
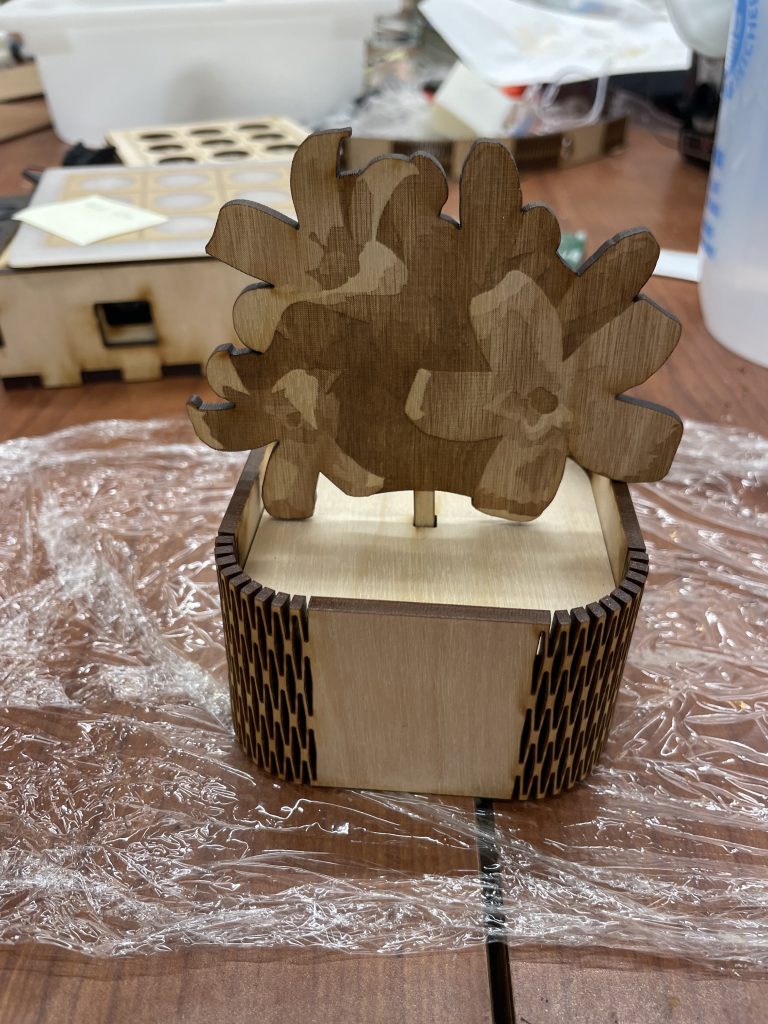
Wooden Flowers
My project for interim was making wooden flowers found outside of the U.S. I made two flowers and cut them out using the laser. I made a pot using the laser as well.
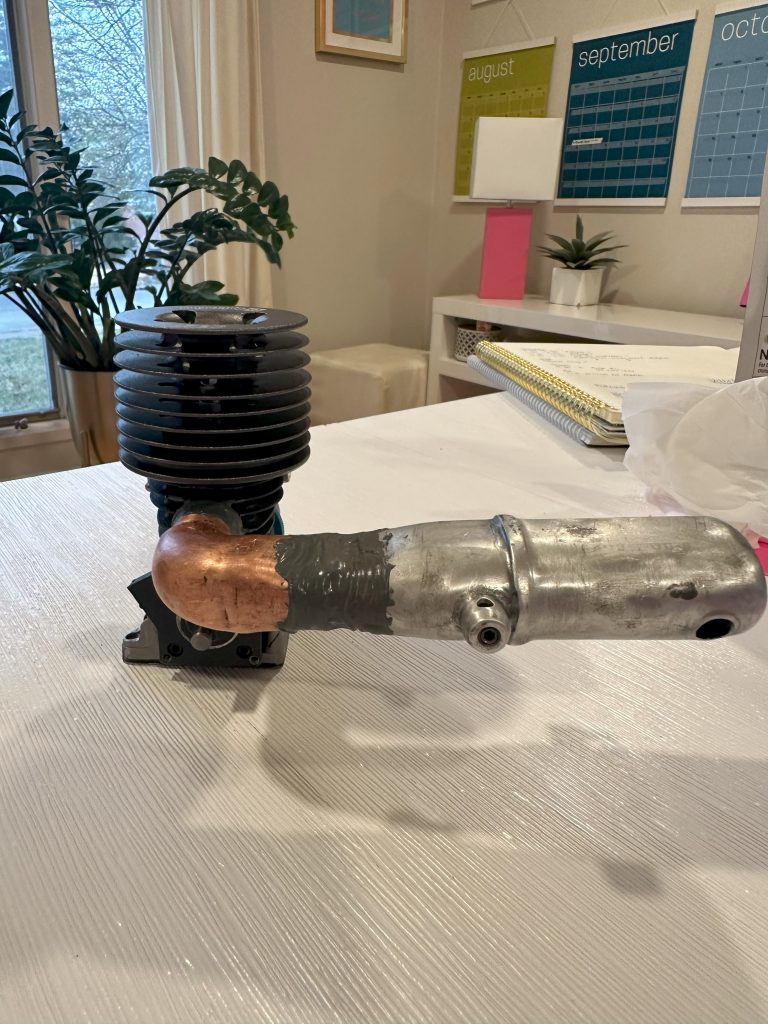
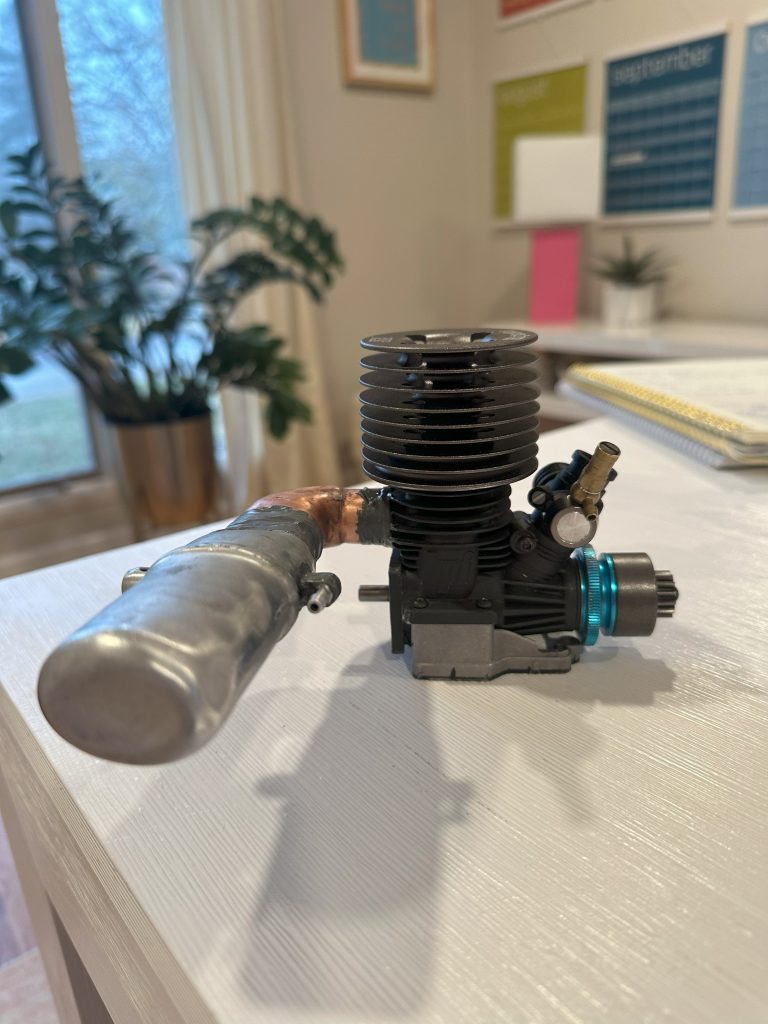
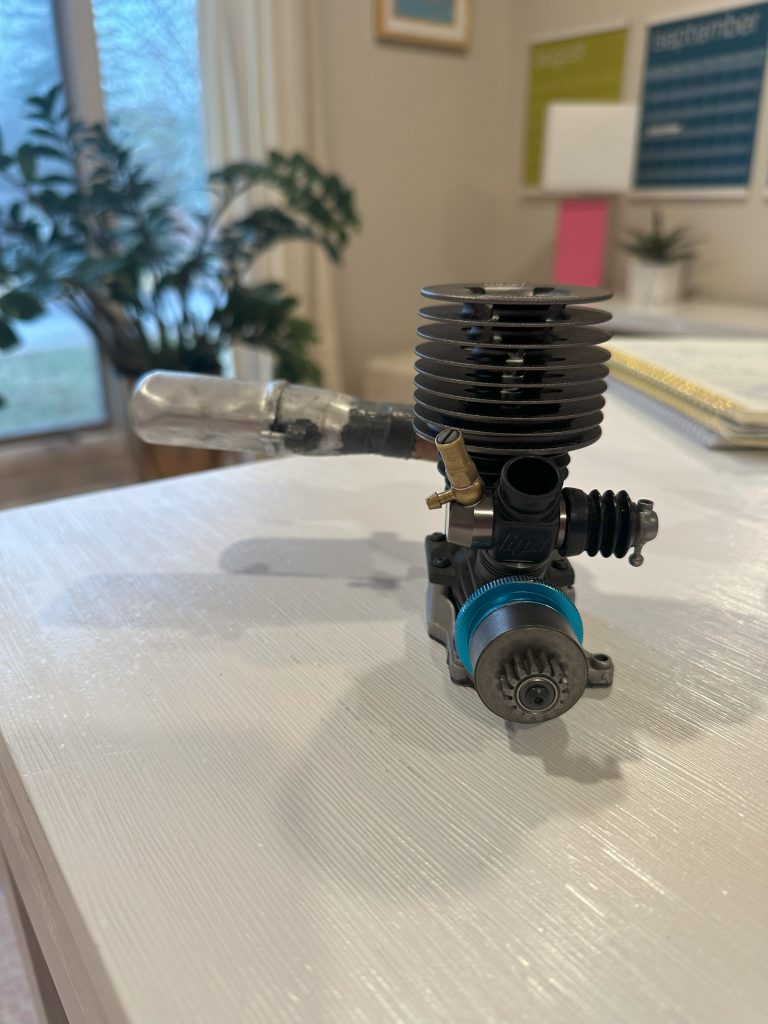
rc nitro engine exhaust
the rc nitro engine is for a rc car. the exhaust will help the engine run smoother.


My Maker-space Project!
For my maker-space project I attempted to make painted checkers, with acrylic paint. Lets just say it didn’t turn out the way I wanted it to. I took circle wood figures and painted them. Then I decided it didn’t work so, I said let’s spray paint them, but I didn’t get around to painting them but I think it will work. I hope to in the future finish this project. I have enjoyed my time in makerspace these past four years.
WWT Finances
For WWT this year, I calculated the cost of our project and how much it would cost us to run our program through openAI. We looked up the cost per token, 0.000008$, basically nothing, and then the tokens per word, 1.3. There are, on average, 150 words per minute in a medium/fast lecture. For a class of 30 students to get their summaries of a 20 minute lecture, it will cost only $0.03 per student and $0.94 per classroom.
The cost of the feedback hardware, the dial box, and the main box comes out to $27.75 all together.

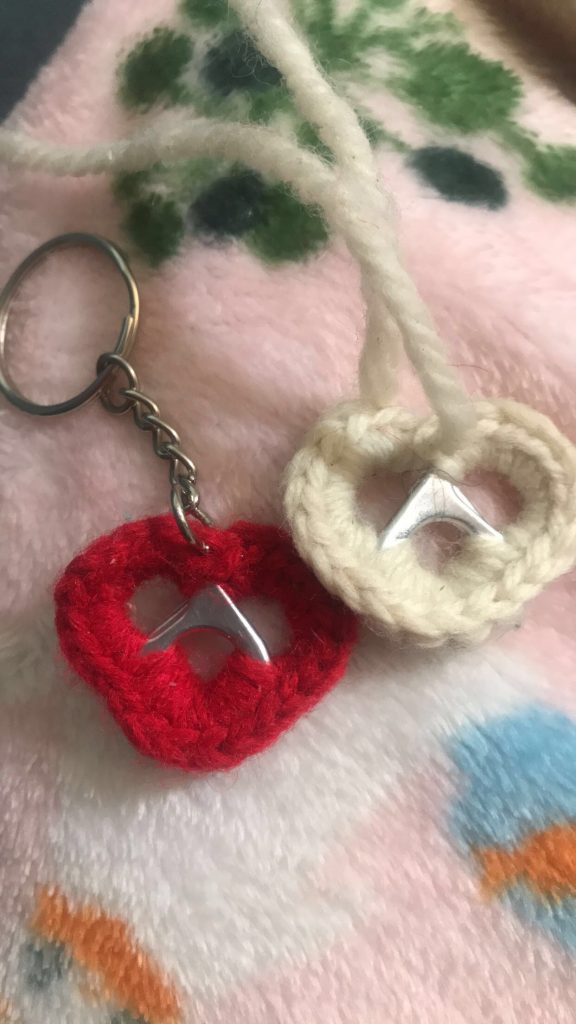
Keychains
One of my projects this quarter was keychains.
I crochet a lot of keychains by using can openers from soda cans.
Each one took no more than 10 minutes. Initially, figuring out how to end it so it would stay together was hard. As I practiced more, it looked better every time and I was able to see the “practice makes perfect’ process.
I am planning on crocheting many more for my friends!:)

Recent Comments