Tri State Area
Makerspace at the Fulton School
Hooty door thing I printed one day
However, in the show, there is one character in particular who can usually be found occupying a door, a comic relief character (who is also some sort of eldrich abomination (or something of the sort)). That character is Hooty
I have decided to give him flesh.
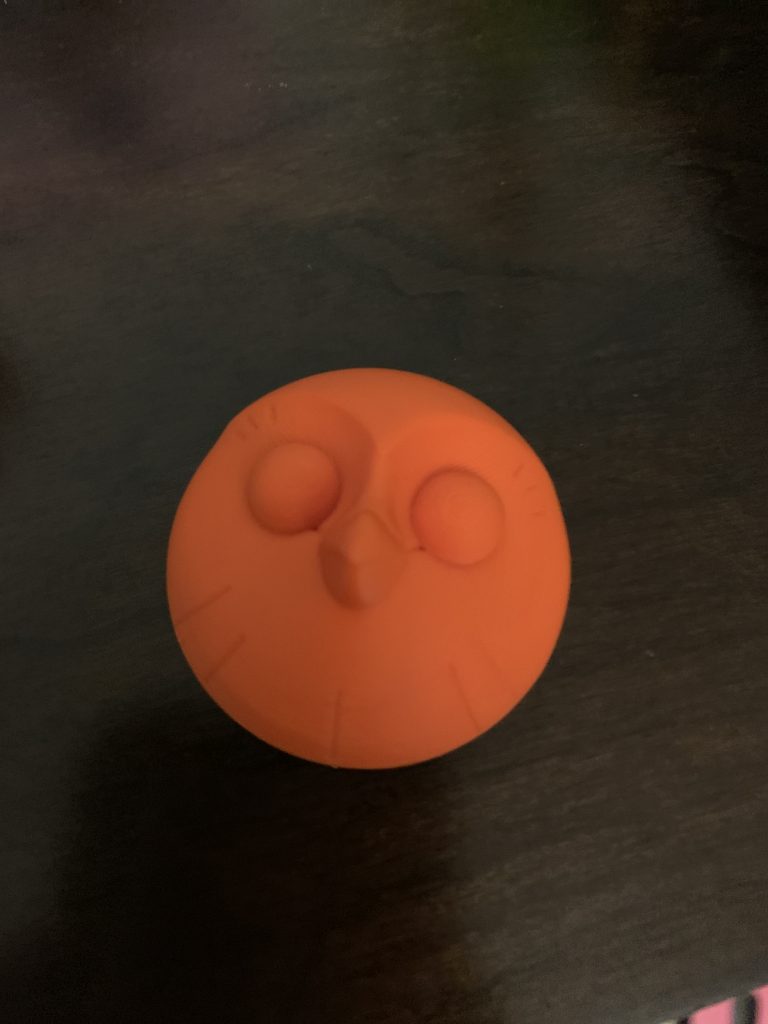
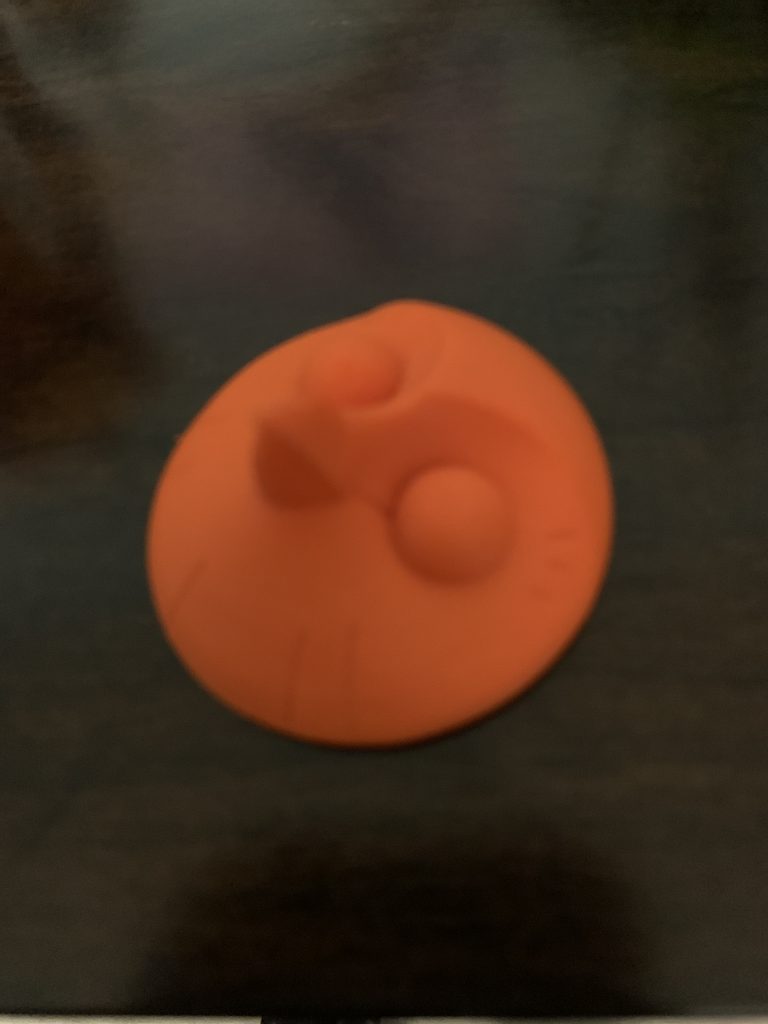
The website: https://www.thingiverse.com/thing:4744918
The model was made by omfoltz. The Hooty I printed is one of three variations of the model, this one having eyes and a closed beak. I scaled it down, so it is a bit smaller than it normally should be. Over all, pretty cool print, though I wish I had made it larger.
My first frame by frame animation! (I Think…)

This is the Animation ^

I started out with this concept sketch. From there, l used the app Clip Studio Paint Pro and eyeballed each frame. In the app the frames were called cells. I started with the outline of the head movements, which were achieved partially by accident. However, The turning movements were definitely intentional, and the rest worked out well in the end. I proceed to add a neck, thin some shoulders. Around this time, I noticed the head kinda deformed a bit at the end like how a jaw would. I thought It would be neat to turn it into a mouth and from there, It turned into a transformation sequence. I wanted to add more frames, but as it turns out there is a 25 frame limit on my specific version of Clip Studio Paint. I had to work within these limitations to get the project done. About half of the project was actually done with a drawing pad, the other half being me using my computer’s touchpad. This made getting the neck and body right a difficult task. At the end of the project, I went over and corrected some mistakes with the drawing pad to make the body look more like a body and less like a bunch of disproportionate scribbles. I also added effects to emphasize the zoom in of the camera, and a cool flashing eye. The animation is my first complete sequence of animation ever, and I have definitely learned some new things over the course of this project.
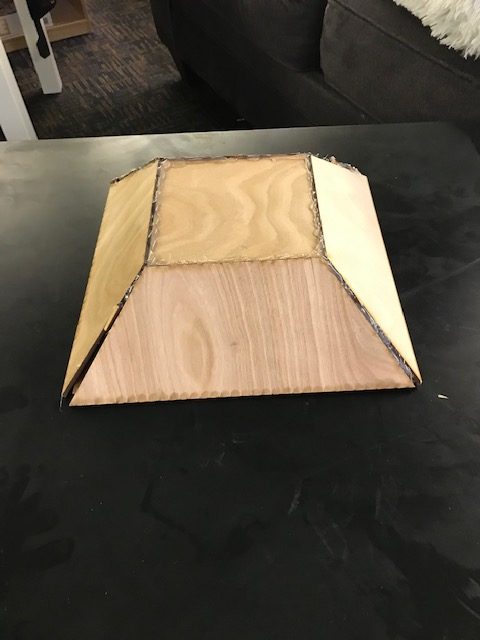
Makerspace interim
For the makerspace interim I helped Luke build his table. I helped him bring in materials, stain the wood, and the actual assembly of the table. I also helped dig a hole outside for a sand box John was making. Me and Adam did start a project towards the end of the interim which was making a chess board. We made the chess board on the computer but never got the time to print it.
^ Luke’s table
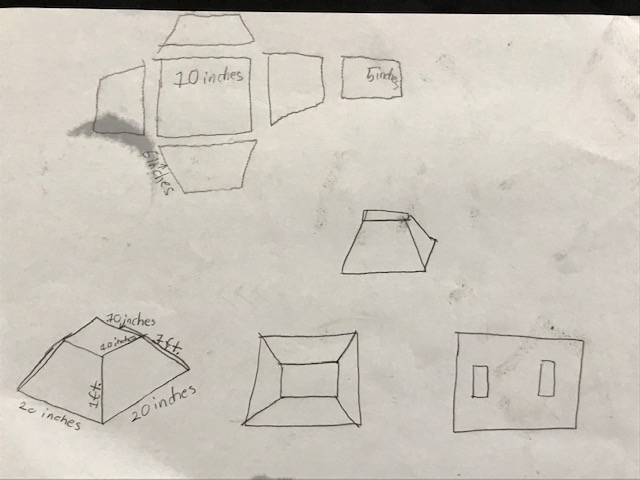
Wheels On The Run
I learned a lot of stuff from laser cutting wood to wiring a motor. Hi my name is August and I built a remote control car. The first thing I did was get the materials for my project. The materials that I got were a breadboard, a raspberry pi Pico, a stepper motor, a control panel, wires, and a wooden board. The whole thing cost about 11 dollars in total. Next, on my first day, I laser cut my wooden board to make a skeleton for my project. I made an outline on a piece of paper and then I outlined it on Corel draw, which is a website used for laser cutting.
Then on my second day, I searched the internet about how to wire a raspberry pi Pico to a stepper-motor. I had a difficult time finding a video to show me how to do it, but in the end, it turned out okay. On the third day, I looked for the wires and the raspberry pi Pico. This took a long time because it was my first time trying to find the materials in the room. Finally on the fourth day, I welded my raspberry pi Pico to the breadboard, connected my skeleton together, and wired my raspberry pi Pico to the stepper motor and the control panel.

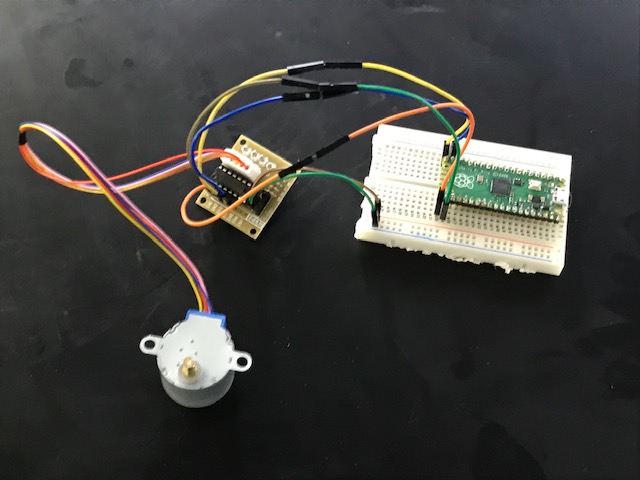
I didn’t finish it because I got confused and I needed a lot of help. I mostly need help with coding the stepper motor to the remote control. Also, I need to wire three more raspberry pi Pico to three stepper motors. In the end, I learned a lot and had lots of fun doing this. I believe I can finish this amazing project next interim.
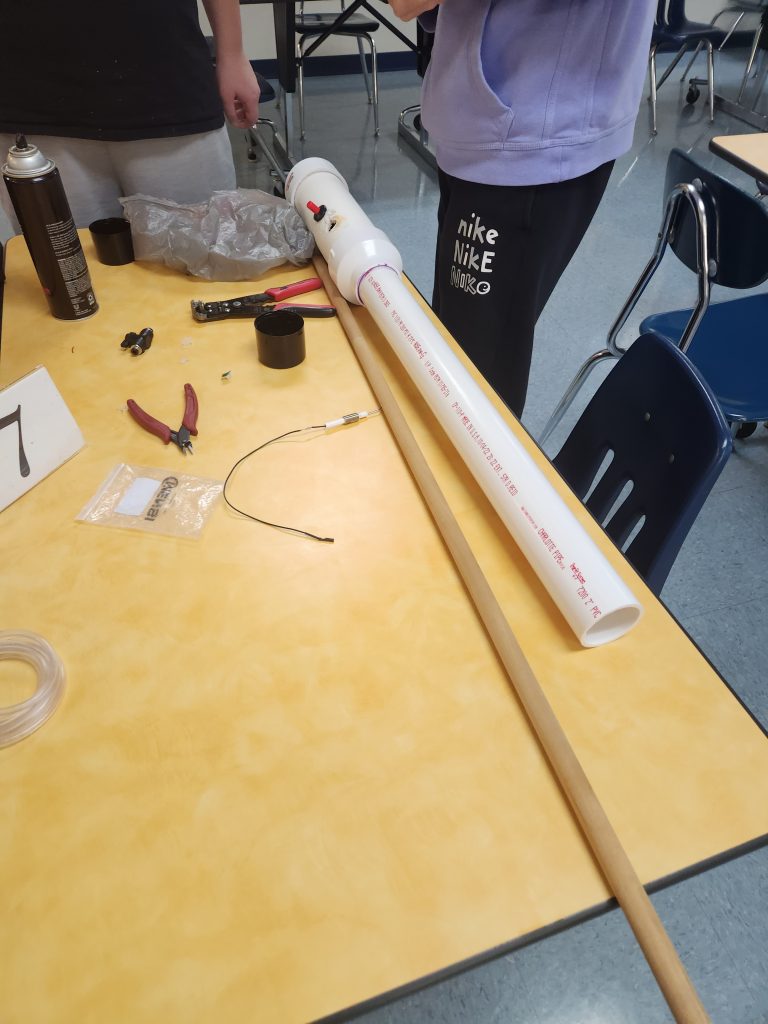
Potato Launcher

For the A.M. Makerspace interim, Miles, Liam, Peter, and I decided to make a potato cannon. We used a PVC tube, a grill ignitor, and hairspray. Once we glued the PVC tube together, Liam and peter drilled a hole at the bigger tube where the hairspray would go. Next we glued onto the grill ignitor and tested if we could see a spark. A spark was not made, so we found out that we had to ground the spark. We put a nail into the ignition chamber and tied a wire which ran into the ground. Then we tested if it worked, it didn’t. Next we took out the nail and connected a wired into the grill igniter, which created a much bigger spark. The launcher needed a hole to put hairspray in we drilled a hole next to the ignition, big enough to fit a cork into it. Then we tested it, and it didn’t work, but it did light a tablecloth on fire, and it made a big boom but it didn’t fire the apple.
Interim 1 – Liam Tockman
Wooden Kantana
First, I found the image on the internet. Then, I went to Corel and removed some of the details by pressing the smooth button. After that, i saved it as an svg and put the file into a folder. Then, I saved the folder onto a USB drive and put it on the computer connected to the CNC machine. After that, I put the folder from the USB drive into the computer. Then, I put the file on the Inventables website. Then, I found the wood big enough for it and clamped it in, but there was a spot we needed a clamp, but the clamp was too short, so I just screwed it in. After that, I started printing it. Finally, after it was done printing, I started to sand the kantana so that I wouldn’t get splinters, but I still got some splinters.
Potato Cannon-ish
During my time in Makerspace I built a potato cannon with Damien, Liam, and Miles. We first started out with designing the cannon in a process in which we oversimplified greatly, turns out we didn’t need any of this valves and tubes that we bought as we just had to spray the hairspray into the chamber directly. After we figured that out, we bought the PVC pipes and glue needed for the barrel and chamber and assembled them the next day, using the saw to cut the pieces to the right size.
The next few days we worked on getting the ignition source to create a spark and light the hairspray, this was a challenge because we genuinely had little clue on how electricity worked and fussed around with different wires and grounding the cannon. In the end we figured out a way that worked quite well.
On our last day we worked on actually testing the cannon, but before that we taught the lower school about our cannon was gonna work, while telling them not to mess with it, Liam set a table on fire. After that unplanned test we stuffed an apple down the barrel and filled it with hairspray and nothing happened. So later in the day we did another test fire when the apple had rotted enough to fall into the combustion chamber, this time it worked (kinda) the cannon made a loud boom and some of the apple flew out, turns out, the apple was creating a vacuum inside the chamber not letting air get in and set on fire. When trying to do a second demonstration at the end of the day it failed to light and the apple fell out and rolled down into the sewer.
In the end we managed to make a semi working potato cannon that could make noise and create fire. If we had more time we would have added some vents for air to get in and allow for an ignition. Along with doing more testing and adding some cosmetic features.


Apoxsee
I made two Apoxsee discs In the Apoxsee I put two Polaroid pictures inside. I also put some leather beads in there. There was a lot of math to do for Apoxsee it had to set for 24 hours. I mix two-part Apoxsee resin together. I had to do 40 of each mixture.

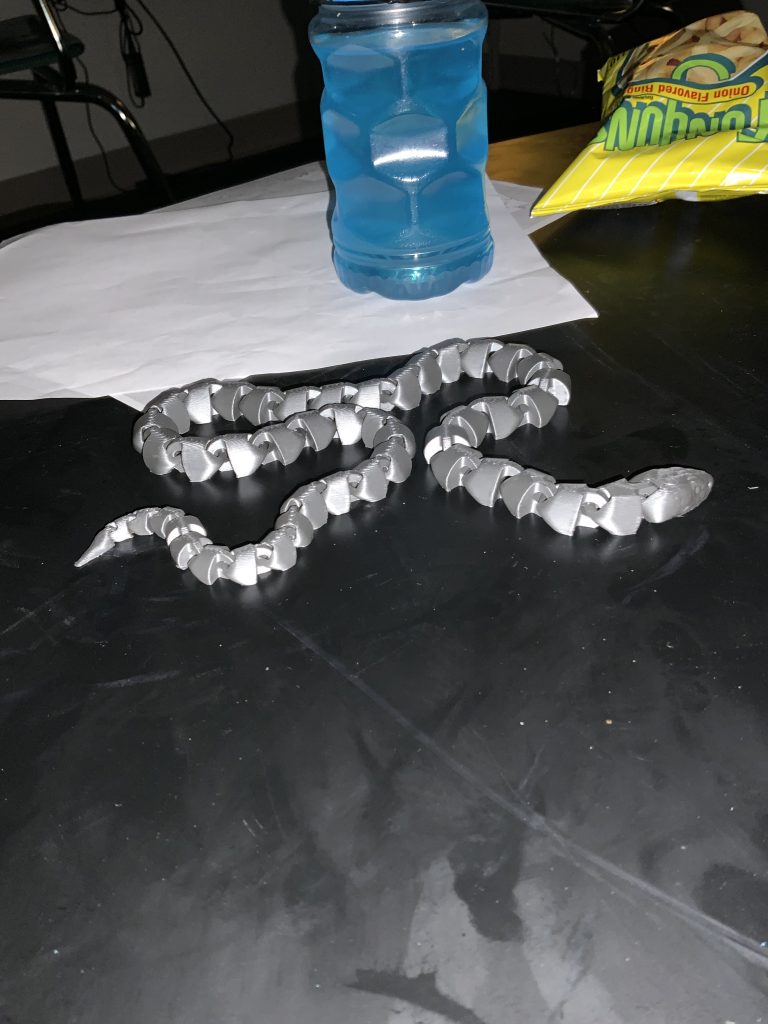
3-D snake and octopus
Hi my name is Clara in maker space I made a couple 3-D printed items the first one I made was a 3-D snake it is gray I had to find the design on printable‘s then I download it then I sent it to website. i’m connected to the printer it started printing it took about four hours to print this is my grey snake. I also made two other 3-D octopuses.
Recent Comments