Tri State Area
Makerspace at the Fulton School
My Role in WWT
When the WWT contest began, the people participating split into two teams, the physical and the programming. I was put into the programming team. For the first few days, GitHub wouldn’t let me copy the repository, but we eventually got that working. In the meantime, I helped people by giving them advice on coding, searching the web for sites that told you how to code certain parts of the project, creating a Trello to keep things organized, and giving minor feedback on the sites design. The final video for the project is in the post linked below
Organizing the World Wide Technology Project
The portion of our project that I contributed to was focused on the personal profiles of each student as well as on creating our presentation video.
The first step was to confirm that it was okay to share student information throughout the directory as well as with incoming students. Once this was approved, a form was needed to collect student information in an organized fashion. This form also served as the first exposure to our student body to inform them of our project. This form included the following questions: name, nickname, age, birthday, interests, and bio. The age and birthday portion were not received correctly and therefore weren’t included in all the profiles.
Once we had received answers, the data was transferred into our file of code designated for the profiles. Coping all the information was tedious but one of the simplest aspects of our project. I created a GitHub repository for our project so that each coder could work on individual tasks at the same time. https://github.com/leonard4589/Fulton-Icebreaker.git
After the profiles were completed, I was tasked with creating our presentation video for the WWT competition. Communicating during spring break was challenging due to everyone’s different schedules and preferred form of communication. Eventually, all sub videos were submitted to be edited and combined to create our presentation. I attended a few meetings to learn more about the video-making process and was able to create the video in a few days. The challenge was that the video had a 5 min cut-off in order to submit. This required different methods and multiple hours to downsize the video while maintaining its original unique quality.
Overall I was impressed by what we accomplished as a group in four weeks and am interested to see how our directory advances.
A link to our presentation video can be found in the following post:
Learning JavaScript: WWT project.
During the WWT project, I was a part of the programming team. My job was to make the website functional, such as making buttons work, having the website redirect you to different pages, and more. I mostly coded in JavaScript using HTML when needed. I also helped with the physical part of the project by installing the software required for the LEDs on the Raspberry Pi (https://github.com/lurbano/rpi-led-strip).
This was my first time using JavaScript and HTML. I’ve only ever used python so adjusting to JavaScript was difficult but diffidently not as hard as HTML which was very confusing for me to understand, the project also had CSS involved which I didn’t even want to touch.
This project was diffidently worth doing I got to start learning JavaScript which is something I’ve wanted to do for a while.
My First Makerspace
This was my first time doing Makerspace for an elective. I’ve been in the Makerspace before I’ve just never taken it as an elective. I used to paint on the wall. I created the “Nether portal” from Minecraft around the door to the storage room, but since we are moving locations I am no longer working on it because I can not take it with me. This year I worked on making stuff for the small business I created on my own. I crochet stuffed animals and sometimes even clothes. So during my Makerspace time, I’ve been crocheting away. I made a lot of stuffed animals and I am getting ready to sell them in my Etsy store. If you would like to know more about my business please come talk to me! 🙂
Programming for WWT
I was the main designer for our webpage, meaning that I spent a lot of time figuring out how to use a grid layout to position everything on the web page with CSS. I started by drawing out what I had imagined each of our pages to look like, and those drawings ended up shaping the design of the whole website. I spent a few days learning how to make drop down menus. I faced a lot of difficulties with using the code I found online, because I had to distinguish between all of the different drop down menus. I had to look through all the code and try to understand what it was doing so that I could know what to change between menus. The other thing that I worked on was gathering profile pictures from students, and editing them so they looked good on the website. Otherwise I helped out a little bit with all of the coding, like fixing bugs with the student directory, and making the search bar easier to use. Hopefully in the future we will be able to add directory information from our school’s directory, and make the drop down menus go to pages that list the students in each grade.
https://soriki.com/makerspace/2022/03/31/world-wide-technology-fulton-icebreaker/
World Wide Technology – Fulton Icebreaker
Our school partnered with World Wide Technology to create a project as a solution to a prompt that was given to us. This year’s prompt was centered around diversity, inclusion, and equity. Our solution was to create something within our Makerspace to include ALL groups instead of focusing on one minority.
To accomplish this, we created a Social Student Directory that includes everyone including faculty and grades 7-12. To incorporate all the younger grades, we also created tiles that can be designed by each individual to represent themselves. These tiles also have unique QR codes on the back that will transfer students to their profile on the directory once scanned.
All tiles are displayed on a board decorated with LEDs to include a flashy aspect that invites curiosity.
A link to our presentation video that explains our goals in more detail can be found below.
A preview of our code created to develop the directory can be accessed at the repository link below.
https://github.com/leonard4589/Fulton-Icebreaker.git
The team’s take on our project:
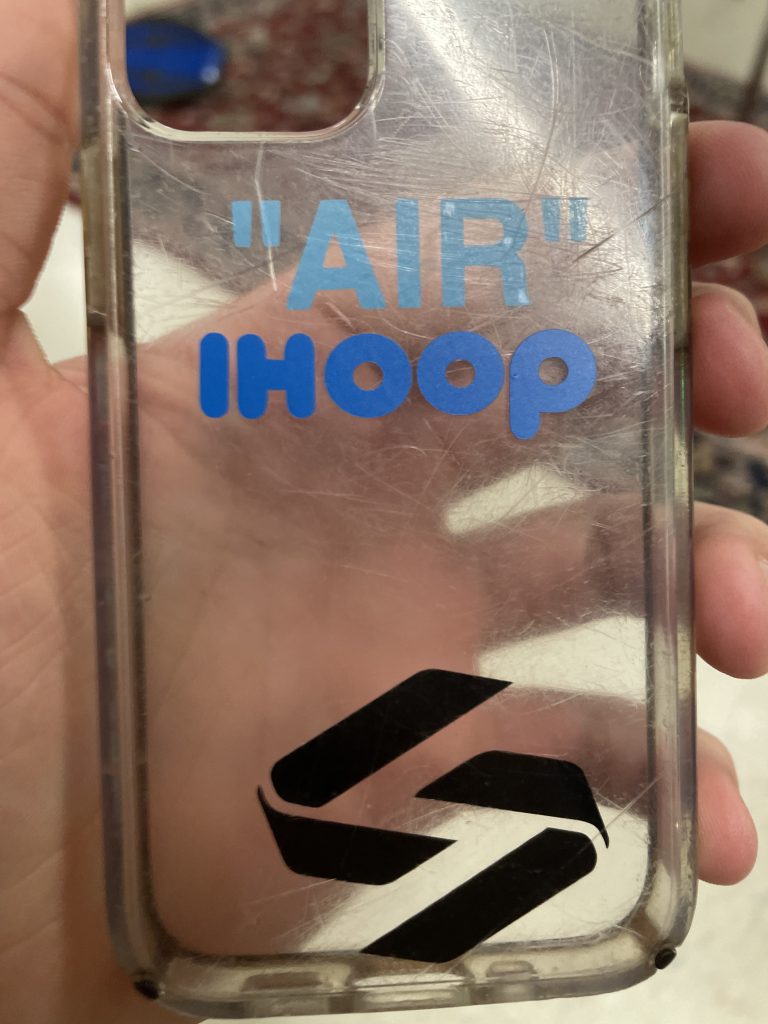
Spencer’s stickers

Wills interim makings
Will’s Interim makings
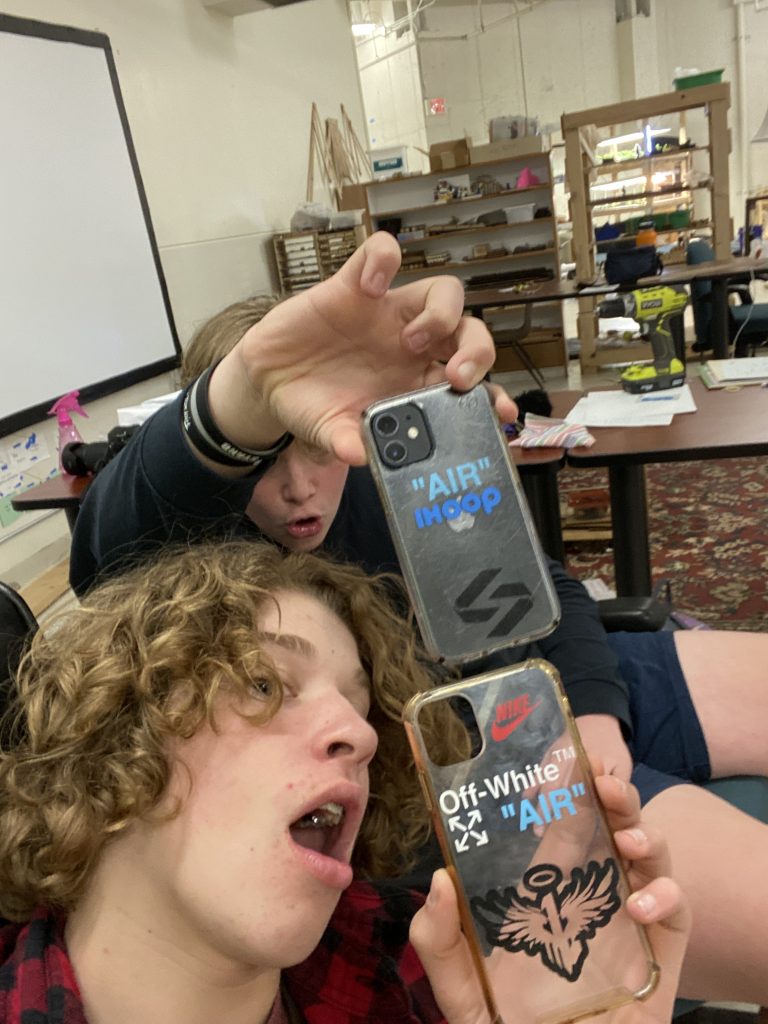

This week in the maker space interim I learned how to use the vinyl cutter and the laser machine. With the vinyl cutter I made the stickers shown above. This was really cool to make and also very cool to see the laser and vinyl cutter machine.
Country Ornaments
I finished making country outline ornaments for my mom. Each ornament is a country she has visited. I found outlines of the country on Google Images and formatted them for the laser cutter, adding a circular cut out at the top. That took a long time, as the countries all have messy borders. Finally, I cut them out on birch wood and tied a piece of red ribbon through the circle.
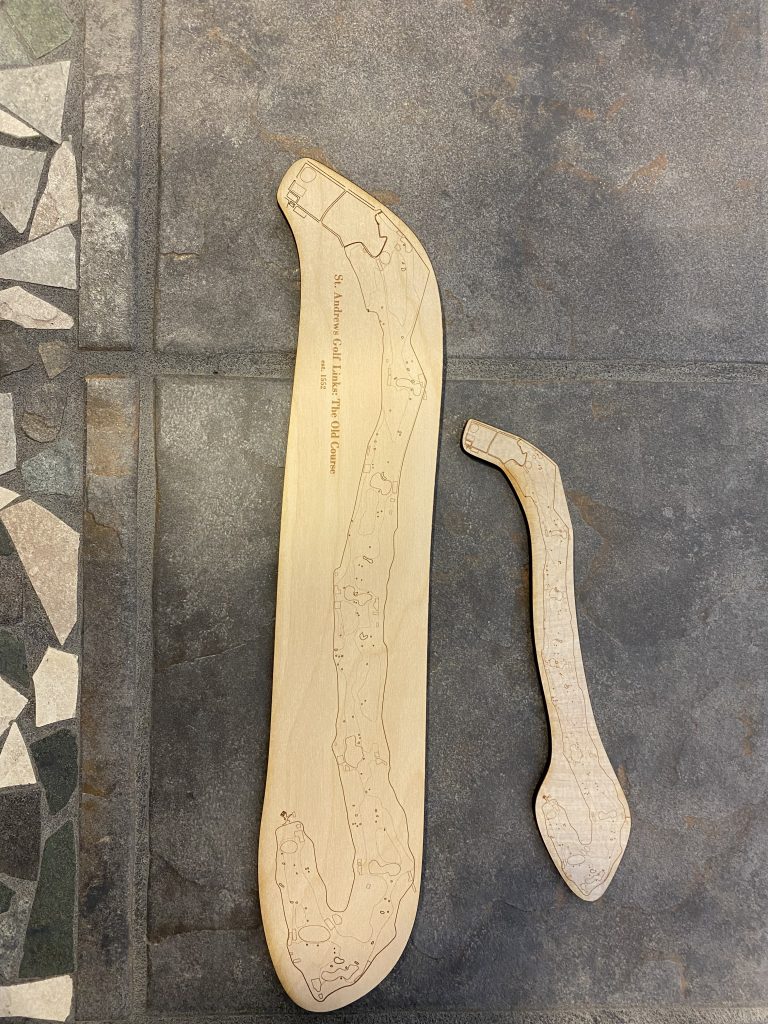
The Old Course Laser Engraving
For this quarter I spent most of the time working on a laser engraving of the Old Course at St. Andrews Golf Links in Scotland. This is one of the most famous courses in golf and it was the first golf course ever made. I played it in October of 2021 and I decided to make something to commemorate that. The main goal with the laser was to capture the detail as the old course has 112 sand bunkers and also to capture the contours of the fairways and greens. The laser is the perfect tool for this and it is really cool to see the detail engraved so cleanly on a piece of wood. Below are the two pieces I made with the engraving on them.
Recent Comments