Tri State Area
Makerspace at the Fulton School
Makerspace interim
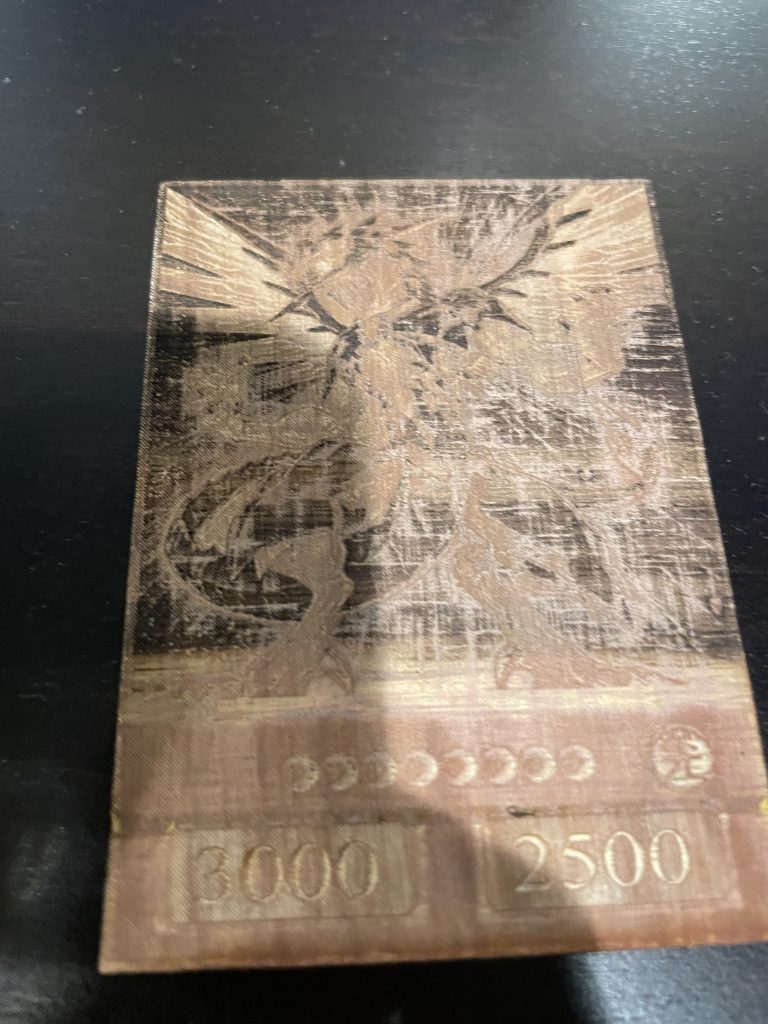
In the maker-space interim I wanted to laser a yugioh card. First I got a image off the internet and put a hairline line around the image so the laser would cut it out. Then when it was done cutting out it was very dark and the image was blurry. So I asked Doctor Urbano if there was a way I could make it better. First I changed the image from colored to black and white. Then I adjusted the brightness and the intensity to make it lighter and turn out better. Then I printed it out. I learned that if you want something to turn out better on the laser making it lighter will help with making it better.


2nd
Yugioh Card
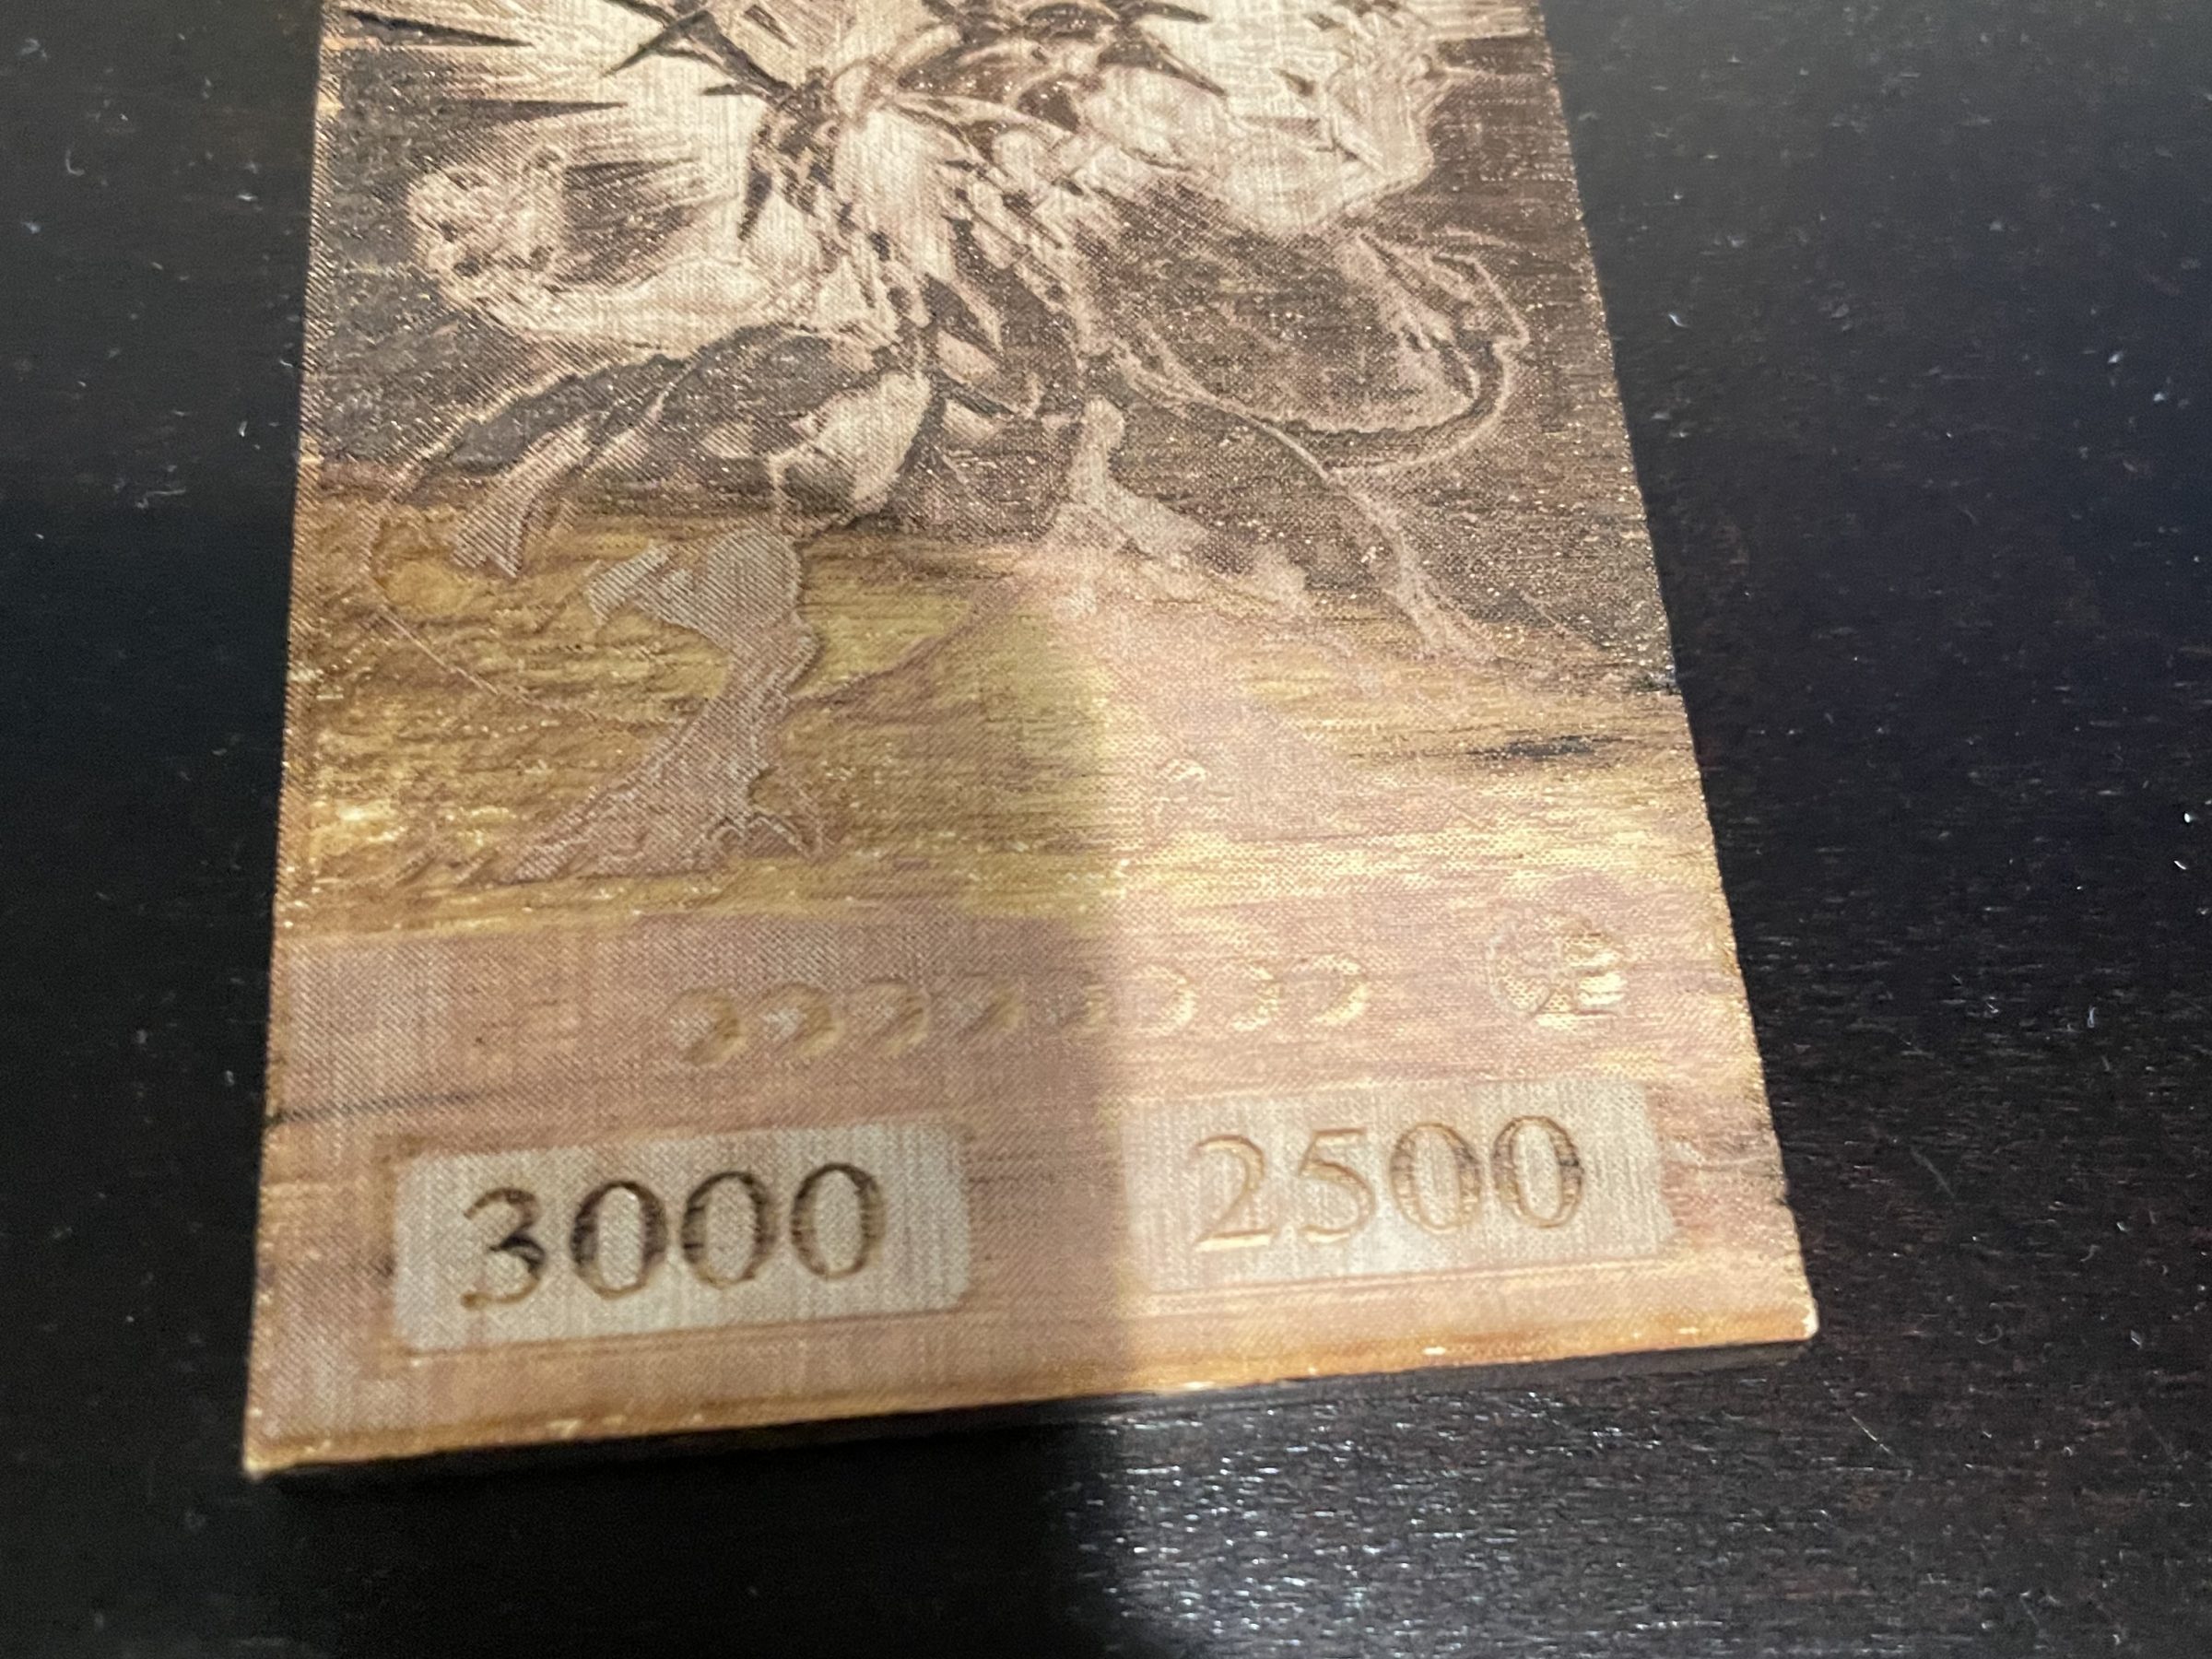
In Makerspace Ryan and I laser printed a yugioh card into wood. First we had to get an image off the internet. Afterwards we replaced the lines with red and printed it out.
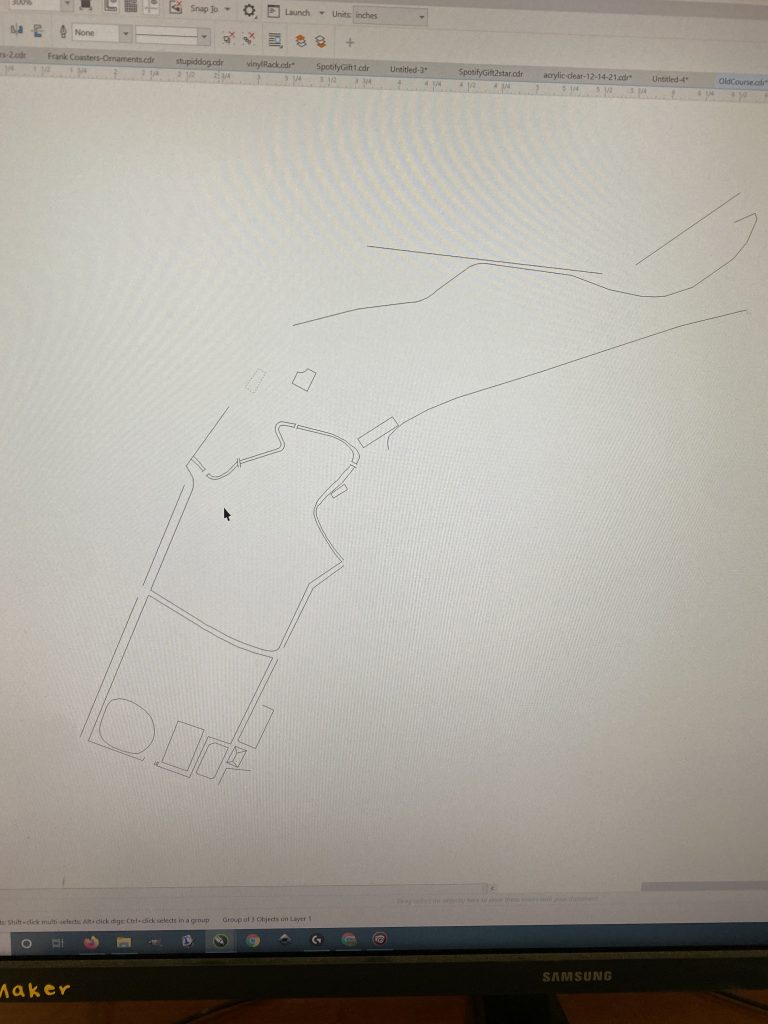
Golf Course Outlines
I am currently creating a display that can hold all the scorecards from the golf courses that I either visit or are significant to me. I was thinking of some cooler things that I could do with the display and I settled on making the outlines of some of the courses to laser engrave into the display. I am not very far into this project but I think it has potential to look really good. Here is a picture of what I have so far in my attempt to trace The Old Course in St. Andrews, Scotland:
Cleaning the Vespa Part II
I revisited an old project during the first quarter. I spent some time cleaning the carburetor. I was inspired to restart this project because I had seen a video on carburetors and had had a better understanding on how they are manufactured and how they work. Here is a link to the video I watched that got me working on this project again: https://www.youtube.com/watch?v=toVfvRhWbj8&t=839s. In the end I was able to take apart the carburetor and I was able to determine with virtual certainty that this carburetor is not the problem with the Vespa. Here are some pictures of the carburetor.


Stickers
I have been sharpening my skills on the vinyl cutter. I have made a few stickers but here are the scraps of the ones I have made. It takes some time to get the design to work and when it does, the machine desires to not want to connect to the computer. I have to reset the computer and figure out a solution to my problem. These are a few of the leftover scraps.


Foosball Table
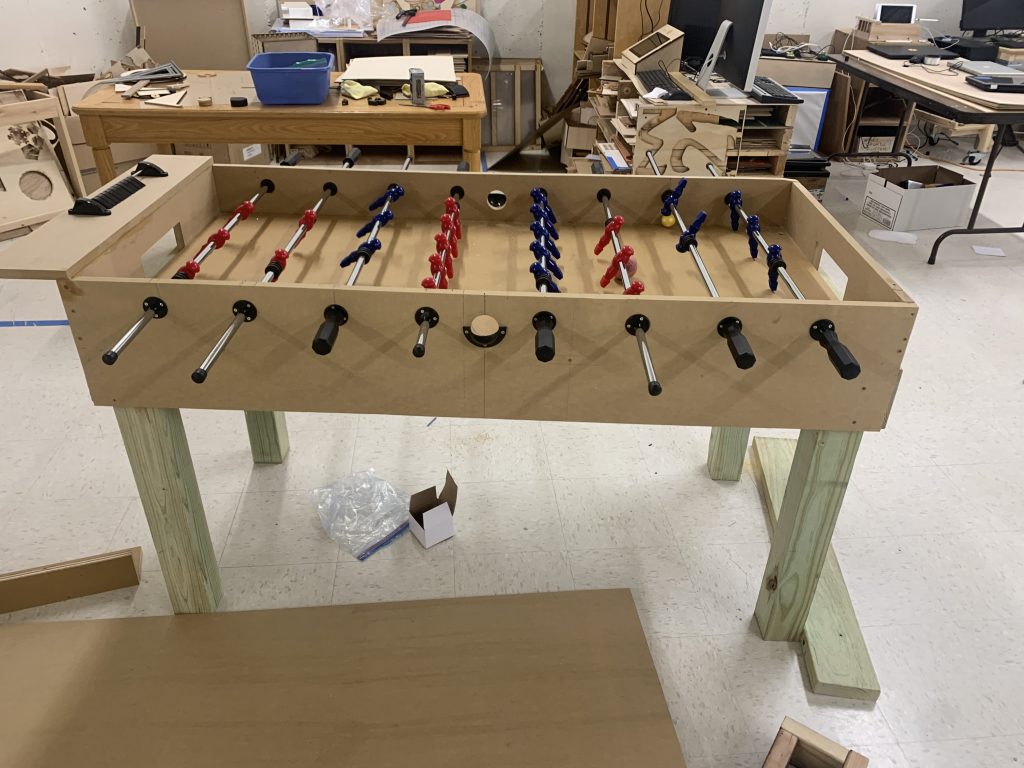
I didn’t add many things to the table this semester, because I have been planning things out before I add them to the table. For the past 2 years I didn’t plan out anything so I spent a lot of time this semester fixing the past mistakes. For the next semester I am going make the goals for the table. I am going to use PVC pipe to make a tunnel for the ball to roll into and have the ball loop around under the ball drop area. All of the pipe will be covered up by wood and will look very nice.
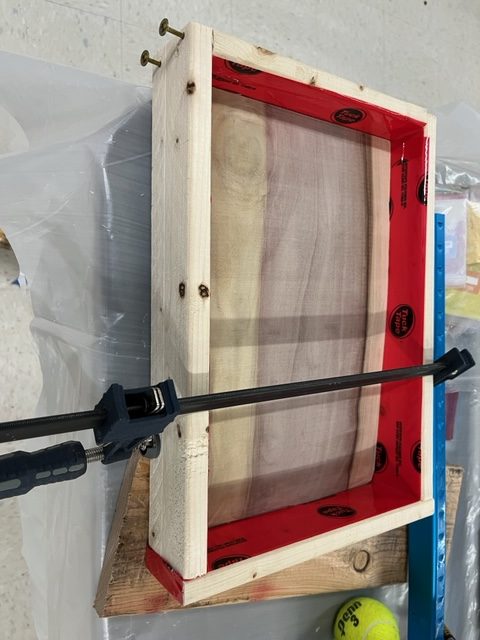
Epoxy beach serving tray
One of my many projects going on right now is a beach serving tray. Blas and I are doing this project together but we are each doing one. The plan is to make this so that we can practice for an epoxy beach table we might be doing in the future depending on how well this project goes and make Christmas presents at the same time. So far I have cut and sanded the wood so that I can put the blue epoxy in the sanded section. I have also made a mold around the wood so that the epoxy will not leak throw. The next step is to pour the blue epoxy into the sanded section. Then I will put clear epoxy and white to make waves.

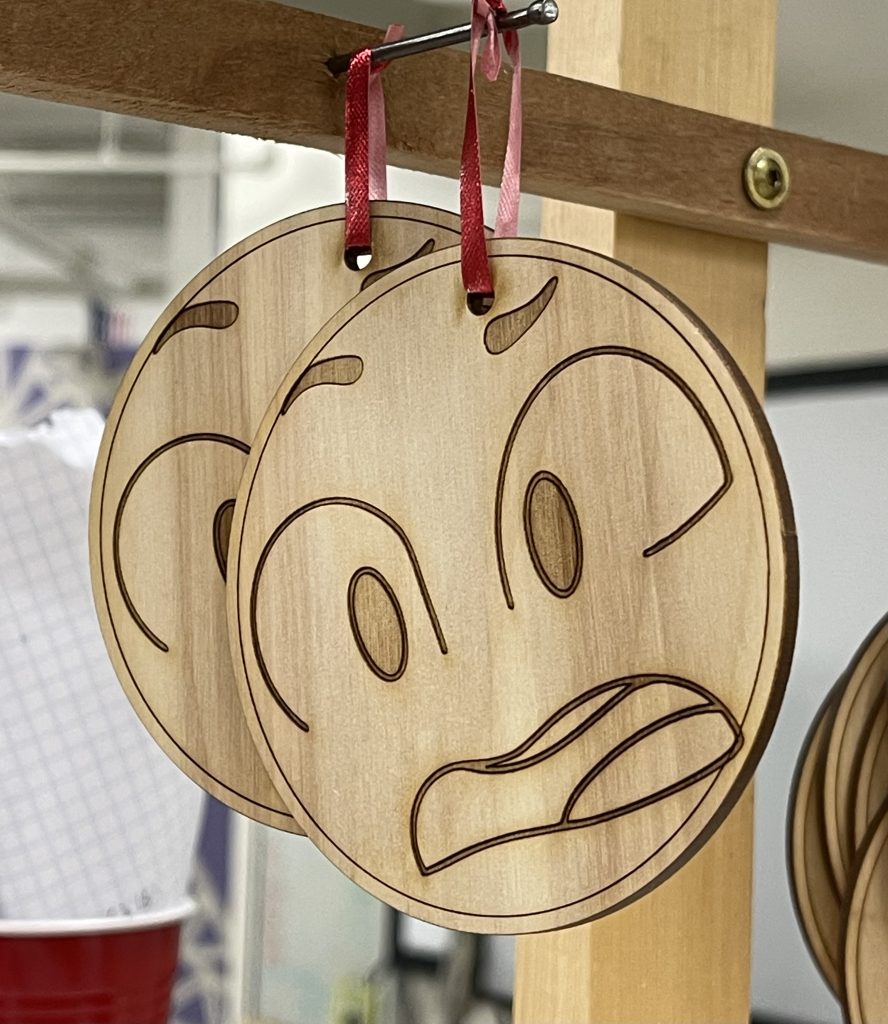
Coaster/Ornament Work
One of the projects I chose to take on this semester was a series of artwork for coasters/ornaments called “Emotional Coasters.” They are a series of cartoon drawings of different emotions, the circle-cut of the coaster being the head. Below is the one that is the emotion supposed to represent “confused.” All I have to do is take a picture of the drawing and trace it onto procreate for clear lines, and then upload to Corel Draw and use the laser cutter to cut it out. 🙂
Framework Laptop Review
I got the 13.5 inch, 3:2 ratio display (smaller display), laptop from Framework. Through the website, I was able to customize the processor, Wifi card, storage, operating system, and memory. When choosing different operating systems, their are many that can be used for different functions. I used a Linux operating system because it is free and it worked for what I wanted it to. The easiest Linux to install for me was Fedora. Fedora is one a type of Linux operating system better suited for programming. The process took multiple tries with the newer wifi card not being supported by other Linux flavors. Multiple operating systems can be installed, but for school work this one serves its purpose.
The positives of the laptop so far, are the easily changeable ports. If I want an HDMI instead of a DP port I could easily press one button and its changed. The laptop is easily up-gradable and easy to put together. There are QR codes inside next to each component that are easily scannable. The laptop is light weight and has many features that I still have yet to explore.
The main negative of the laptop would be that it doesn’t keep charge very well. This could just be some of my settings for the computer but otherwise the laptop has done what I wanted it to.

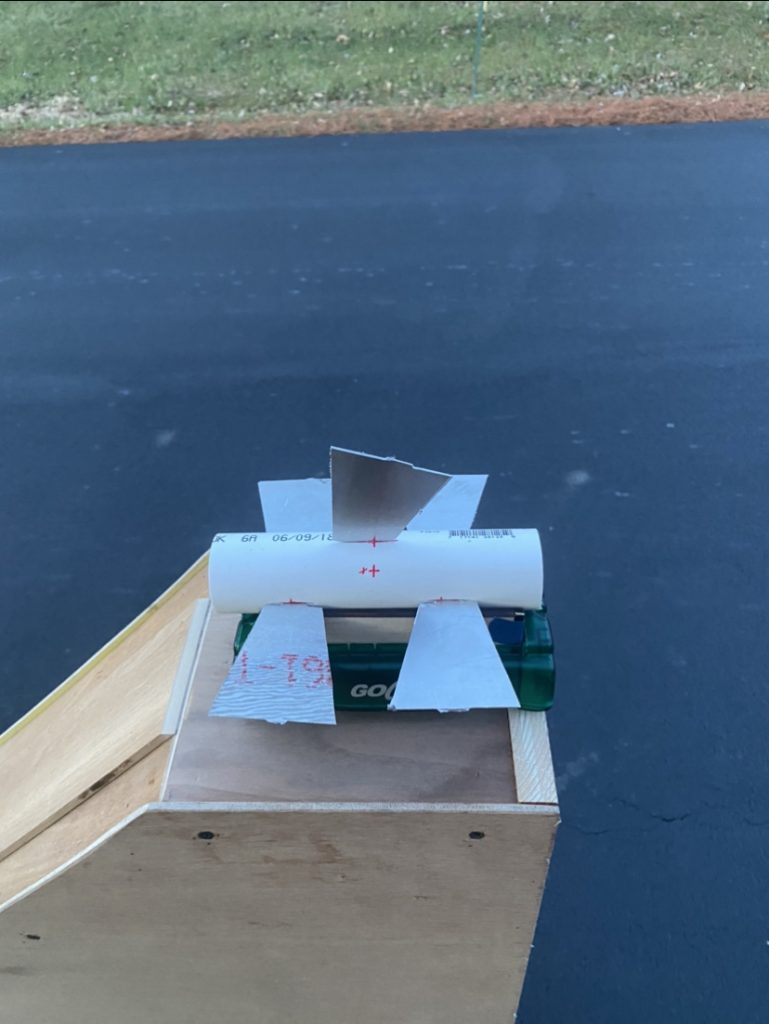
Aluminum Wings
For a science fair project in another class, I had to make aluminum wings to complete a flying trajectory. I designed and cut the wings out on the CNC machine using a 1/8″ bit. It took a few times to create the right dimensions and a trial run in order to cut out the wings correctly. Each time a dimension was set, it took a total of three days to complete the cut. Unlike the laser cutter, the CNC requires multiple passes in order to make a complete cut.
Below is the finished trajectory…it worked…but the results were suboptimal.
Recent Comments