Tri State Area
Makerspace at the Fulton School
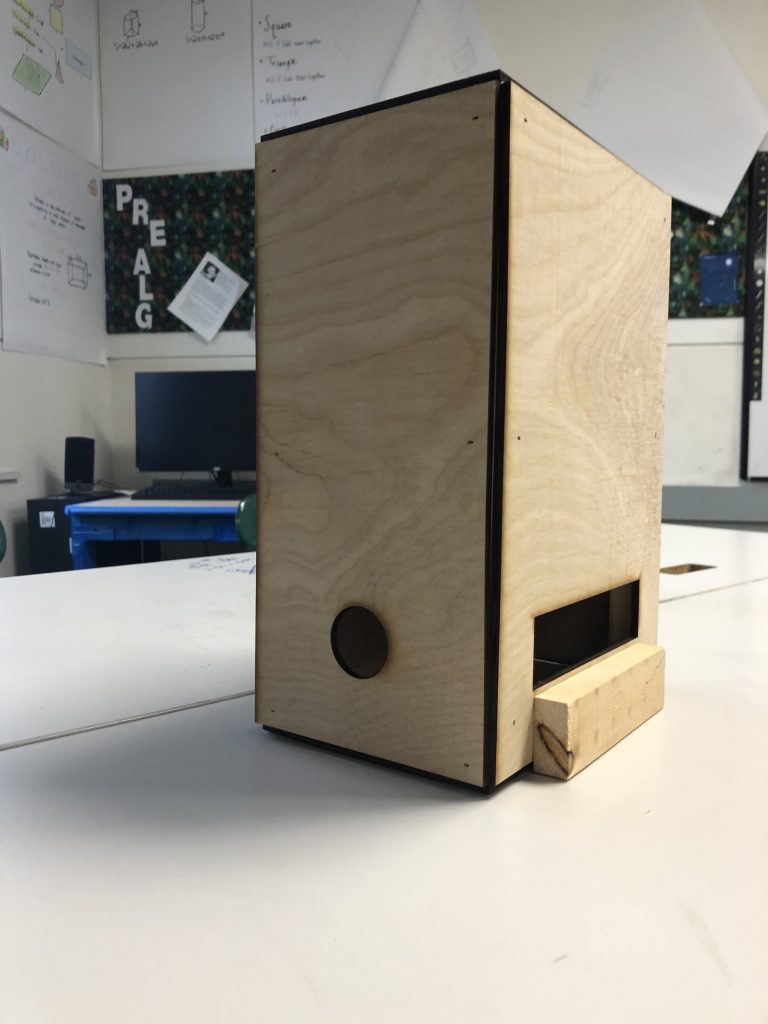
Geometry Birdhouse Project
In geometry class we made birdhouses. I made mine out of the $3 wood from the makerspace. I made my birdhouse for the American Goldfinch which is 4-5 inches in length. I made a hole of the side which will open up to a feed box. The box isn’t attached yet, but will be… eventually…
Getting the hang of building war bases in Clash of Clans
since I have been having trouble making war bases on my th6 account because it’s too small of a base to be able to do any work with I’ve decided to try building them on my th9 account which is easier. Over a long period of time (I had already built 2 bases by this point in time) I noticed that the clan me and Jack created was dying meaning it was becoming a very inactive clan. So I decided to go on discord and find a clan to help me attack. After getting about 500 messages from people to join there clan I had finally found one and they got straight to the point telling me to train this specific army. A few days later I saw my Clash of Clans teacher in a war and looked at his base and it gave me an idea for my 3rd war base design so I immediately started designing the base looking back and fourth on the details of his base ( NOT copying it or designing it in the same way). Eventually after experimenting with different ways I could make compartments, ways to use my walls efficiently and effectively, and deciding where to place my defenses I made probably the best war base out of all the bases I have designed. Which all came from getting a compartment idea off of another player. So my idea is to find clans with players and view their war bases. Then use one of their compartment ideas or multiple of their compartment ideas to help me build my own war bases.
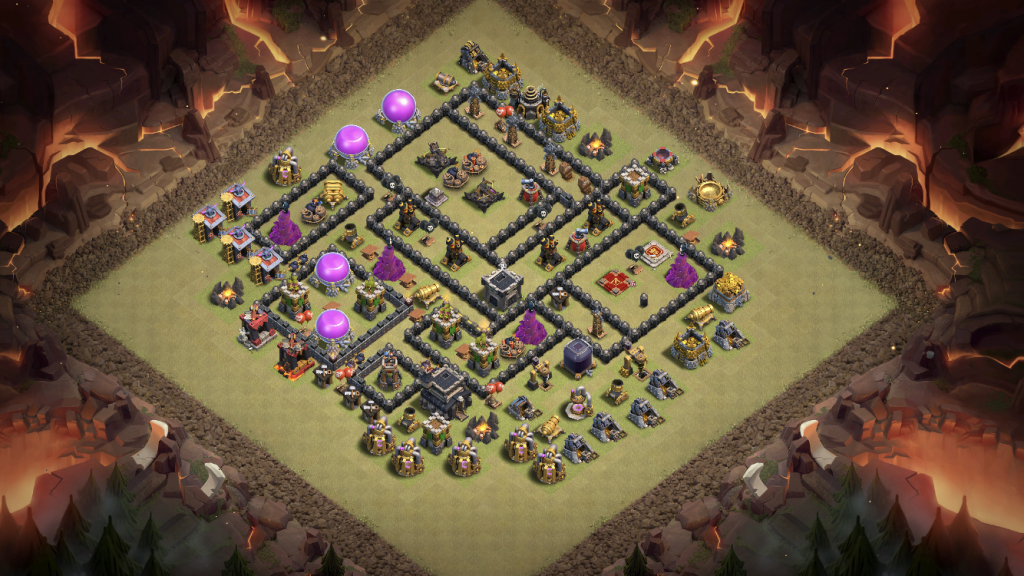
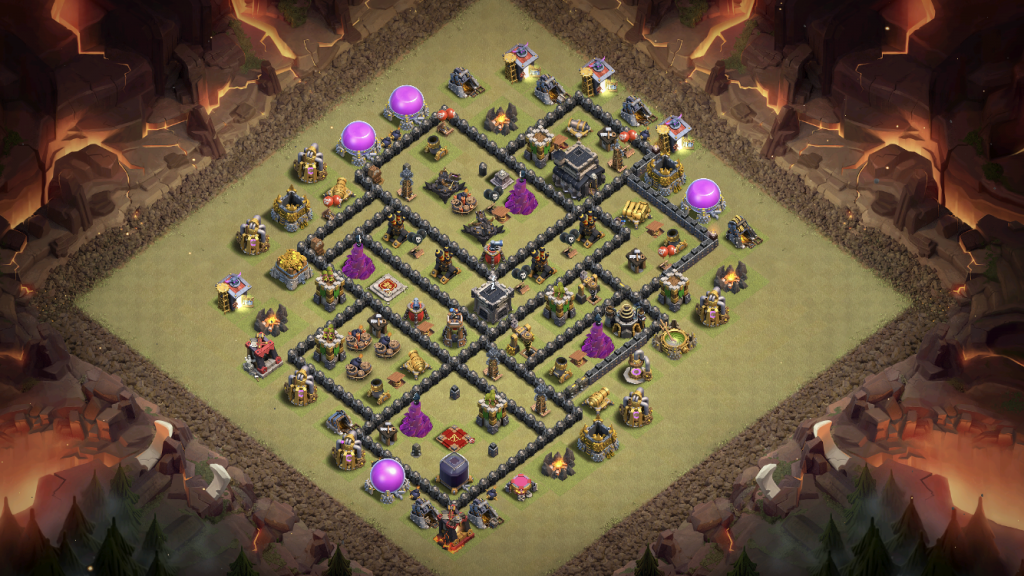
These are all the war bases I have created up to this point with the last image being my best war base:

That’s all I have for an update, and according to this update I’m doing fairly well and have finally found a tactic I can use to make my bases. This may not be my final post so stay tuned.🐓🐓🐓
Surfboard
I made a little wooden surfboard for decoration in my room. I learned how to us the CNC machine during the February interim. I first had to research a bunch of different shapes and types of surfboards. I then create a template of my surfboard shape I wanted in Coral Draw. Then I transferred my my design from Coral to the CNC program. It took a few trails, but I finally learned how to use the CNC machine correctly. I first cut out the first piece of the surfboard, then I got out the same shape, but just a little bit smaller. After this I sanded each piece of wood with the sander to get the edges of the board all smooth. Then I glued the smaller board on top of the slightly larger board. Then my final step was to paint my board. I painted it red and yellow and let some would showing to show the prettiness of the wood.
Reaction Time Game
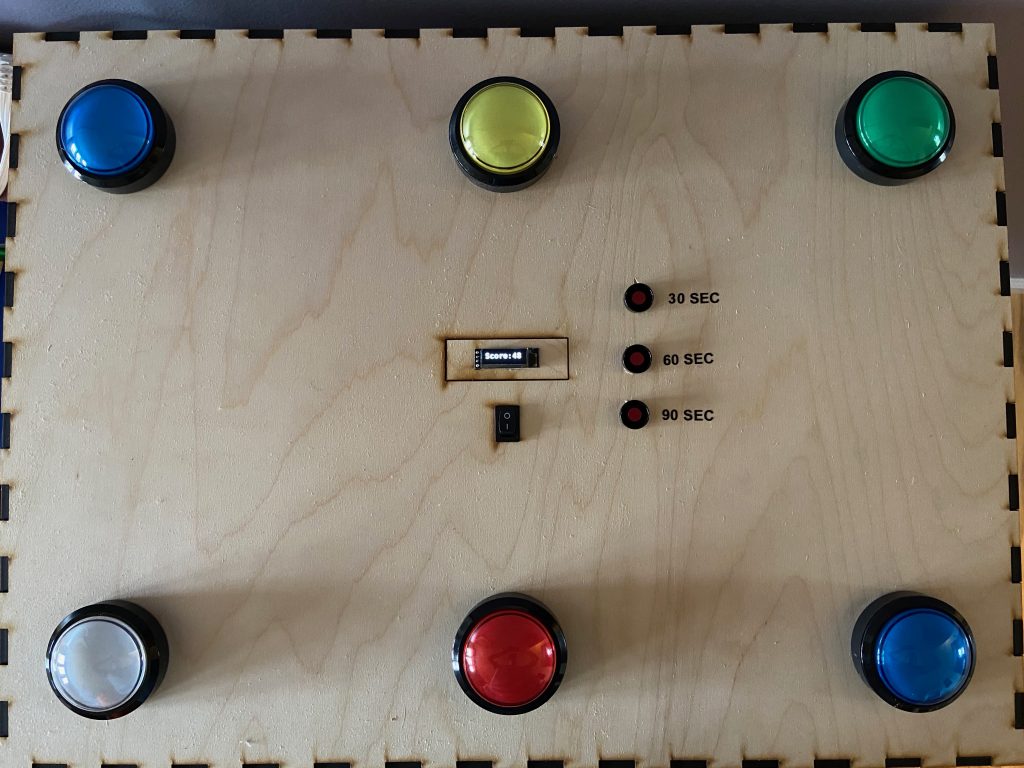
I designed, made and programmed a game to help speed my reaction time up with a raspberry pi. I first wanted to make a 3*5 foot one so I could stand up and do it but then released after designing I should start with a smaller one. I cut a 23*17*6.5 inch out with the laser cut. Then wired the whole circuit togeather. I first linked all the grounds together then ran one wire to the raspberry pi. I then ran a wire to each sensor on the LED buttons (2 on each switch) to a gpio pin on the raspberry pi.

Programming: I started with 3 lights and making them turn on and off then I hit them, then turning another random one on when I hit one. From there, I wired the whole thing up and made a loop which turns on the light on at the beginning, as soon as you hit that another random light will turn on and so on. I have three buttons one for 30, 60 and 90 seconds. There is an OLED screen that will count your score every time you hit a light.
Here is the link to the code:
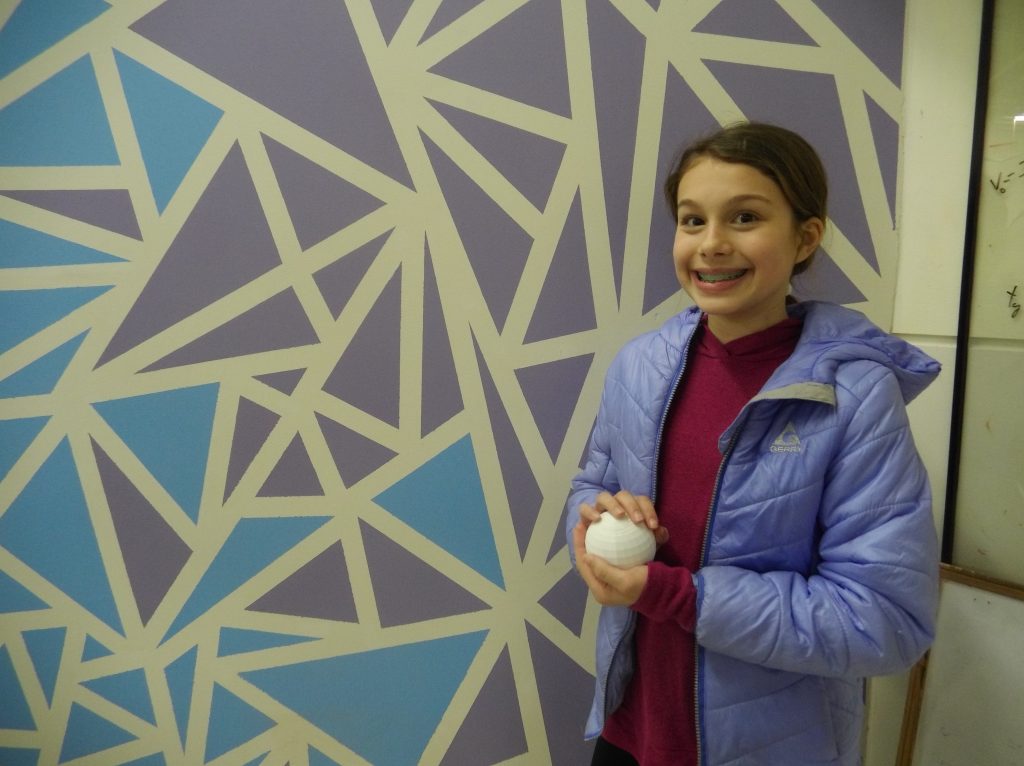
Soccer Ball
I 3D printed a miniature soccer ball with my brother with the color white and painted black circles on it.
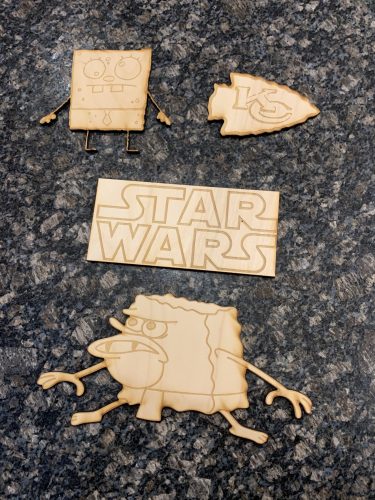
What I did in the makers space interim
So the first day I helped Micheal, Bryson get there 3D objects printed out on the 3D printer. The next day I bought a piece of wood so i could use the wood laser. I made the Kansas city chiefs logo, Star Wars logo, and Doodle bob, and Caveman Sponge bob. Then we tried to engrave something into metal for the first time and it came out really good.
How to use the 3d printer
First you have to find something you want to print off the internet or something you made yourself. Then you want to download the file onto a jump drive. Then load up the 3d printer program, Cura program then add your file into program. Then scale to the size you want it to be then see how much the object weighs in grams to see how much the object will cost. Then you take cloth, rubbing alcohol and start wiping down the base to get any excess plastic off the base. Once you finish cleaning the board you put the bed adhesive on the base so the object you make will stick to the base. Then go to the program, Cura program and slice your object on the program to see how it will take then you press print. Then when it finishes take the butter knife looking tool to gently remove your object and your done.

My Makerspace Interim Experience.
Hello. This is about my experience with the makerspace interim at the Fulton School. When we began makerspace we started by telling each other what our goals for makerspace would be. After that, we went to work. I started by setting up blender and using it to begin creating a resurgent class star destroyer from star wars. Blender is a free tool used to create 3D models and animations. I started by selecting parts of the starting cube, and moving them to create the ship’s main body. I then added another cube and started editing it until I had a simple version. I then began the creation of a lightsaber. I started by creating a cylinder and widening and elongating it. I then made another cylinder, and shrunk and made it about three times the size of the hilt. When I came back the next day, I added a button to the lightsaber hilt, and then smoothed and detailed the star destroyer. At the end of the day I began printing the star destroyer. When I came back the next day, the star destroyer was finished being printed. I then removed the supports, and started sanding the bottom of the ship. The next day, I printed the lightsaber, and once it was finished, I took pictures of the lightsaber and the star destroyer. After that, I began writing this blog post about my experience.


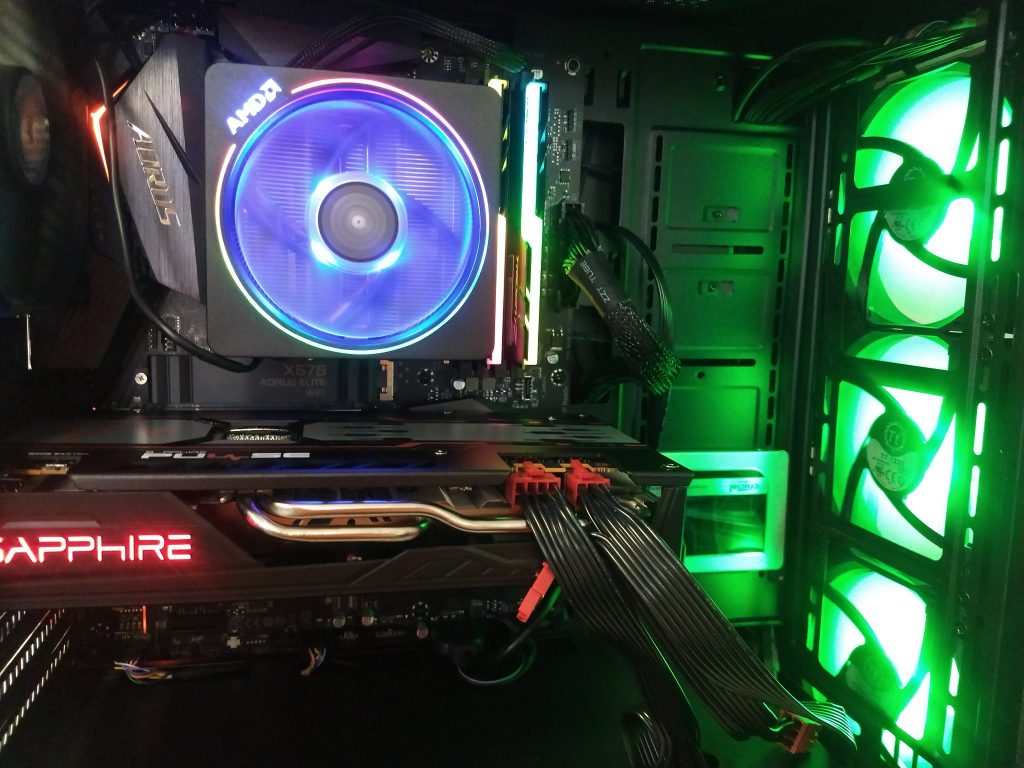
Building a PC
We built a PC with RGB lighting and RGB ram. RGB is a shorthand way of writing Red-Green-Blue. It turned out very good. The experience of building it was very educational, and overall it was really fun. We learned about the different parts of a computer and how they all fit together to create one PC. Then we put them all together. The experience was very enriching and exciting.
February Interim

This is how my week went:
Monday- I got everything squared away for the Makerspace Business Trivia Night basket
Tuesday- I helped Andres with the core samples and made the first New Zealand keychain
Wednesday- I made a second New Zealand key chain
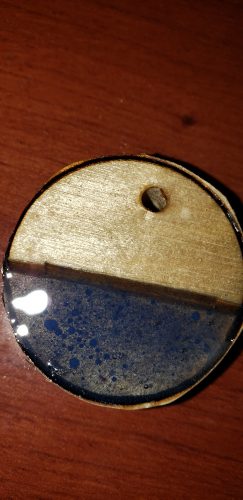
Thursday- I started on the epoxy necklace
Friday- I finished the epoxy necklace.
All in all, I had a very productive interim and hope to start selling the two products I experimented with during the interim.
Wooden Bench
On Wednesday, I was bored and decided to make a bench for my lake house. I bought planks of wood and cut it with the chop saw. I put it together on Friday since I went skiing on Thursday. All that is left is putting the top of it on.
Recent Comments