Tri State Area
Makerspace at the Fulton School
A Better Clock
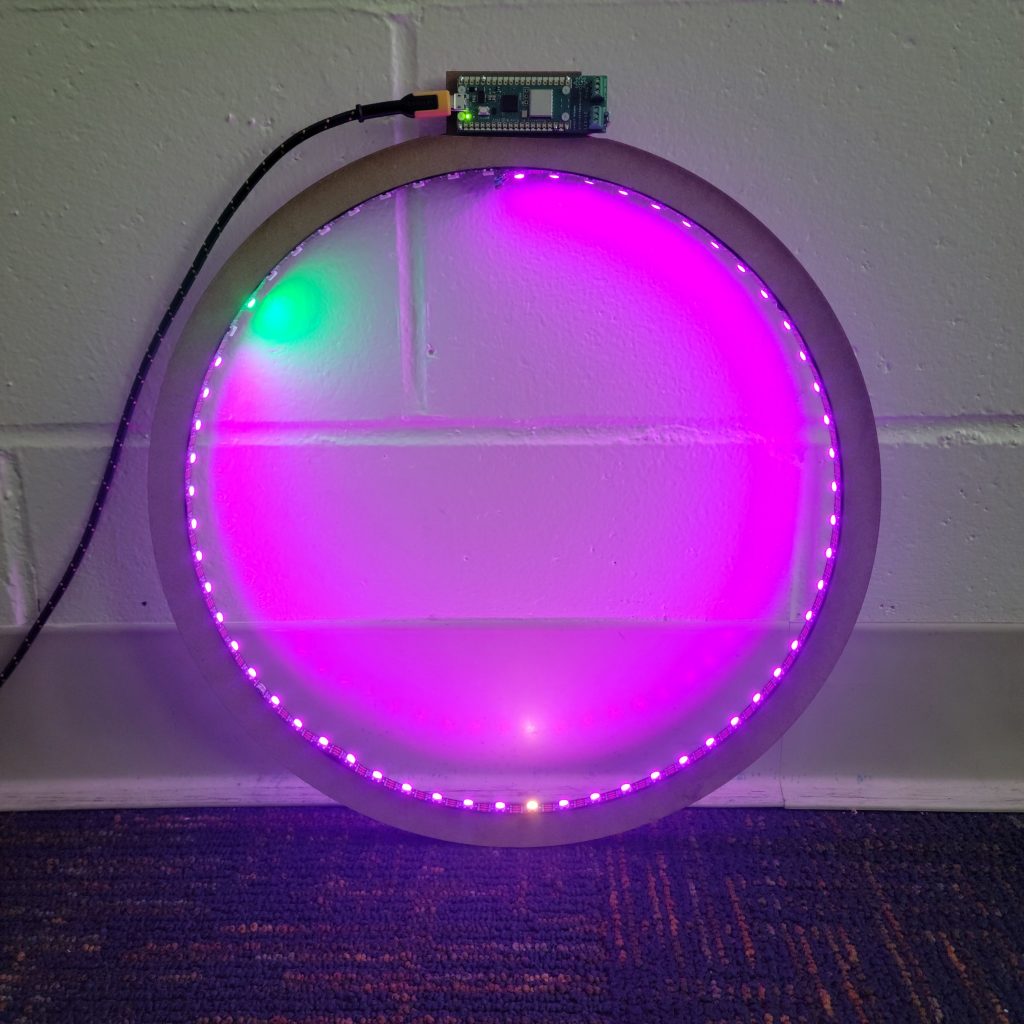
Almost everybody knows of Doctor Urbano’s LED clock in the Makerspace and how blasphemous it is. So I’ve made a better one. Boasting 60, not 72, but 60 top-of-the-line AliExpress LEDs (definitely not made in a sweatshop), this clock doesn’t skip around every few seconds.
Procedure
I cut out two layers of wood on the laser cutter, and then glued them together, I used a Pico W because I need wifi to find the current time so the clock is accurate. Then I soldered wires to the LED’s and hooked them up to the Pico, and stuck the LED’s unto the wood frame. After I got all of the hardware done, I began doing the software, with Doctor Urbano’s help of course. The point of this project was to incorporate arc lengths and arc angles into it. The way I did that was by using equations to find the arc lengths of each hand, Then I had it print each one of them out, in real time.
Results
A working Clock, prints real-time arc lengths
The coding was relatively tricky because Doc and I tried to use 2 different versions and after a lot of finicking, we used version 8 of the pico, also because I don’t know much of coding. I am not sure If I will take this home or leave it in the Makerspace.
Discussion
This is very much an improvement from the original because this one doesn’t skip an LED every few seconds since it has 60 LEDS instead of 72. There isn’t really anything In particular that went wrong or bad in making it, I did have to resolder the wire to the LEDS a couple times but that’s because it was my first time soldering and the wires immediately bent at a 90-degree angle so I had to solder it very good. If I did this again, I would probably be able to do it much faster and probably slightly better.
$$ Arclength = \frac{HandDegrees}{360}\cdot 2\pi r $$
Code Used:
import socketpool
import wifi

from adafruit_httpserver.mime_type import MIMEType
from adafruit_httpserver.request import HTTPRequest
from adafruit_httpserver.response import HTTPResponse
from adafruit_httpserver.server import HTTPServer
import adafruit_ntp

import board
import time
from ledPixelsPico import *
from uNetComm import *
from uSchedule import *
from ledClock import *
from math import pi


# brightness Knob
brightness = 1.0

#ssid, password = secrets.WIFI_SSID, secrets.WIFI_PASSWORD  # pylint: disable=no-member
ssid, password = "TFS Students", "Fultoneagles"  # pylint: disable=no-member

pool = uNetConnect(ssid, password)
server = HTTPServer(pool)
# get time
#ntp = adafruit_ntp.NTP(pool, tz_offset=0)
clock = ledClock(board.GP15, 60, pool, True)
clock.initTime()


print(f"Listening on http://{wifi.radio.ipv4_address}:80")
# Start the server.
server.start(str(wifi.radio.ipv4_address))
t_zero = time.monotonic()

while True:

    dt = time.monotonic() - t_zero
    if dt >= 1.0:
        t_zero = time.monotonic()
        dtime = time.monotonic() - clock.zeroTime
        clock.now = clock.startTime.addSecs(dtime)
        #print(dtime, clock.now)
        print(f"Time: {clock.now.hr}:{clock.now.min}:{clock.now.sec}")
        #clock.lightToTime(clock.now)
        r = 39.3
        h = clock.now.hr
        m = clock.now.min
        s = clock.now.sec
        n = int(60/12*h)
        print(h,n)
        for i in range (60):
            clock.pixels[i]=(0,0,0)
        for i in range(h*5):
            clock.pixels[i]=(20,0,20)

        clock.pixels[m-1] = (70,30,0)
        clock.pixels[s-1] = (0,100,0)
        clock.show()
        hdegrees = h*30
        mdegrees = m*6
        sdegrees = s*6

        harclength = hdegrees/360*2*pi*r
        marclength = mdegrees/360*2*pi*r
        sarclength = sdegrees/360*2*pi*r

        print("arclength hours=", harclength)
        print("arclength minutes=",marclength)
        print("arclength seconds=",sarclength)
LED Clock for Geometry Class
I made a clock run by a Raspberry Pi
It gets the current time over Wi-Fi and can print the arc length of the clock hands.
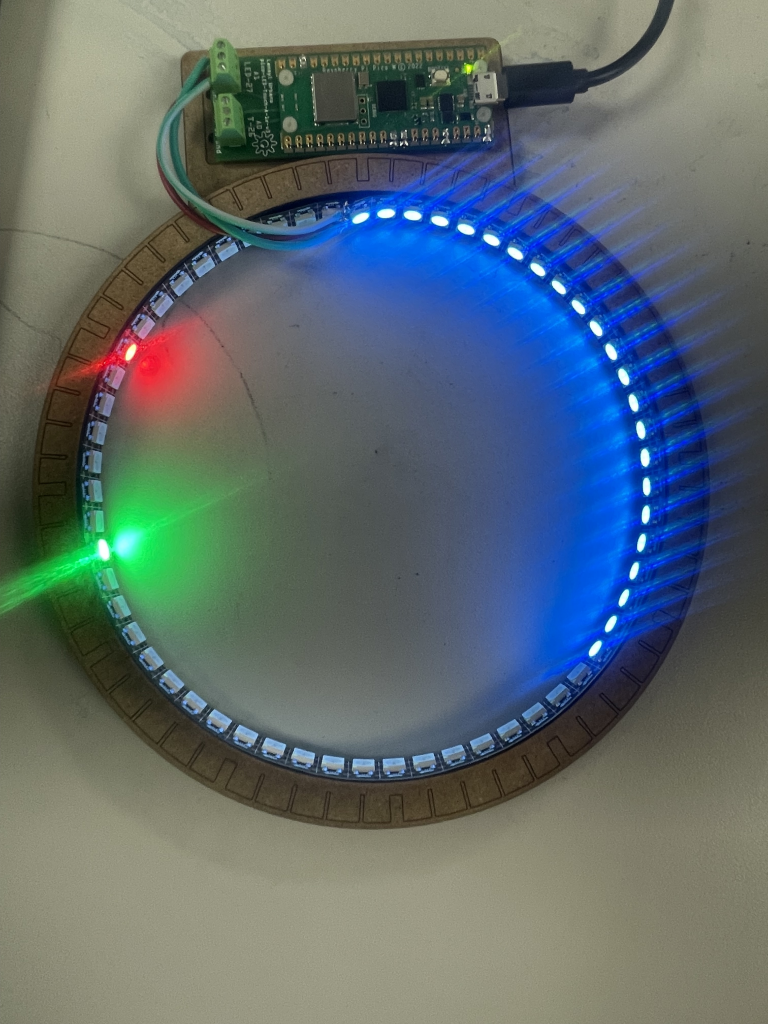
I cut the frame out of wood on the laser cutter (The frame is approximately 13.25cm in diameter), I used 60 LEDs from the 144 LED per meter strip.
I am using a Raspberry Pi Pico W to program the LEDs, the code is a modified version of the code on Doc’s GitHub. It gets the current time over Wi-Fi and tracks the time with an internal clock, sets the LEDs to simulate the clock’s hands, and prints the arc length for the seconds, minutes, and hours hands.
$$ ArcLength= 2 \pi r \cdot \frac{HandDegrees}{ 360 } $$
Doc’s original code is bad because it is specifically made for the clock he made, where there is only 59 LEDs instead of 60, so it has to jump around and skip seconds to stay accurate, also, his LED strip is counter-clockwise, so you have to figure out how to reverse his code.
import socketpool
import wifi

from adafruit_httpserver.mime_type import MIMEType
from adafruit_httpserver.request import HTTPRequest
from adafruit_httpserver.response import HTTPResponse
from adafruit_httpserver.server import HTTPServer
import adafruit_ntp

import board
import time
from ledPixelsPico import *
from uNetComm import *
from uSchedule import *
from ledClock import *
from math import pi


# brightness Knob
brightness = 1.0

#ssid, password = secrets.WIFI_SSID, secrets.WIFI_PASSWORD  # pylint: disable=no-member
ssid, password = "TFS Students", "Fultoneagles"  # pylint: disable=no-member

pool = uNetConnect(ssid, password)
server = HTTPServer(pool)
# get time
#ntp = adafruit_ntp.NTP(pool, tz_offset=0)
clock = ledClock(board.GP27, 60, pool, True)
clock.initTime()


print(f"Listening on http://{wifi.radio.ipv4_address}:80")
# Start the server.
server.start(str(wifi.radio.ipv4_address))
t_zero = time.monotonic()

while True:
    dt = time.monotonic() - t_zero
    if dt >= 1.0:
        t_zero = time.monotonic()
        dtime = time.monotonic() - clock.zeroTime
        clock.now = clock.startTime.addSecs(dtime)
        #print(dtime, clock.now)
        print(f"Time: {clock.now.hr}:{clock.now.min}:{clock.now.sec}")
        #clock.lightToTime(clock.now)
        r = (((100 / 144) * 60) / pi) / 2
        h = clock.now.hr
        m = clock.now.min
        s = clock.now.sec
        for i in range (60):
            clock.pixels[i]=(0,0,0)
        for i in range(m):
            clock.pixels[i]=(0,10,30)

        clock.pixels[h*5] = (100,0,0)
        clock.pixels[s-1] = (0,255,0)
        clock.show()
        hdegrees = h*30
        mdegrees = m*6
        sdegrees = s*6

        harclength = hdegrees/360*2*pi*r
        marclength = mdegrees/360*2*pi*r
        sarclength = sdegrees/360*2*pi*r

        print("arclength hours=", harclength)
        print("arclength minutes=",marclength)
        print("arclength seconds=",sarclength)
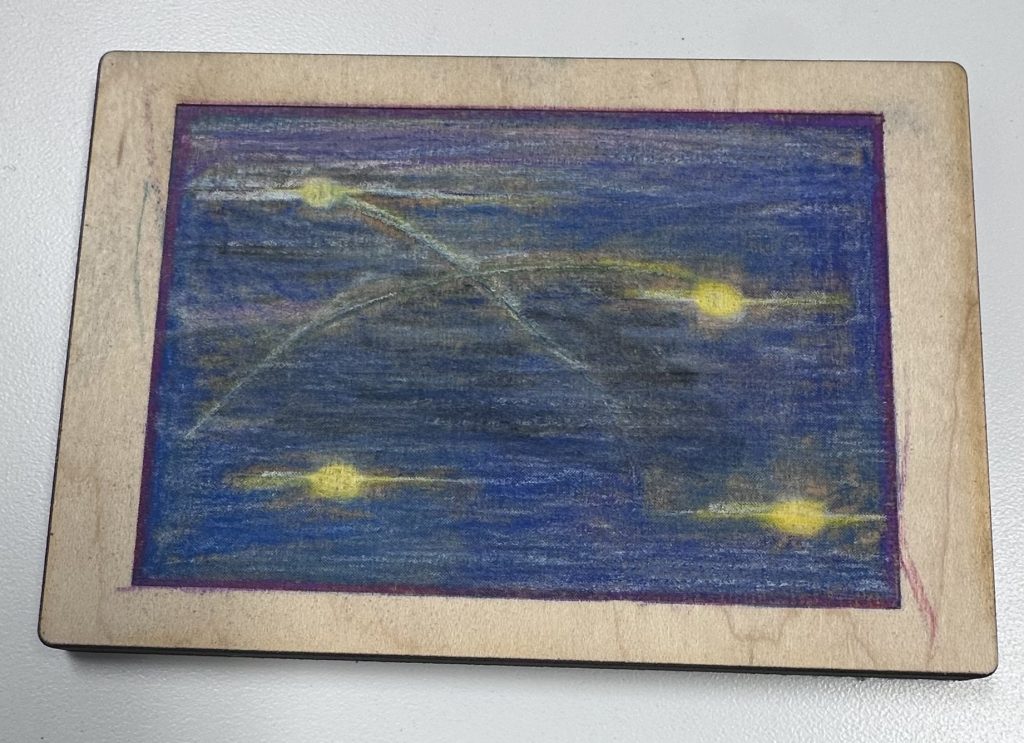
Wooden Starry Night
I first started off making a galaxy drawing on procreate and then laser printed it on a wooden plank and colored it with colored pencils. I then realized it looked like “Starry Night”.
Yarn kite
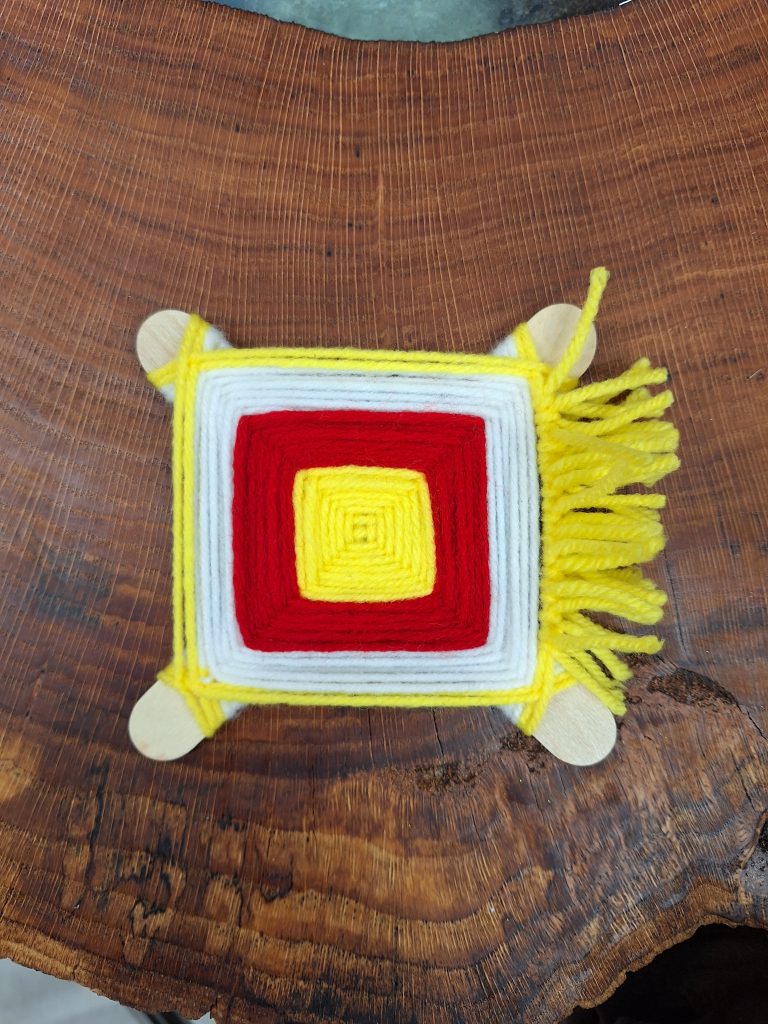
I made this yarn kite because I needed something to do and it was easy. I did it a long time ago at art camp so I knew how. You can make some pretty intricate ones, this one is simple though.
Terrariums
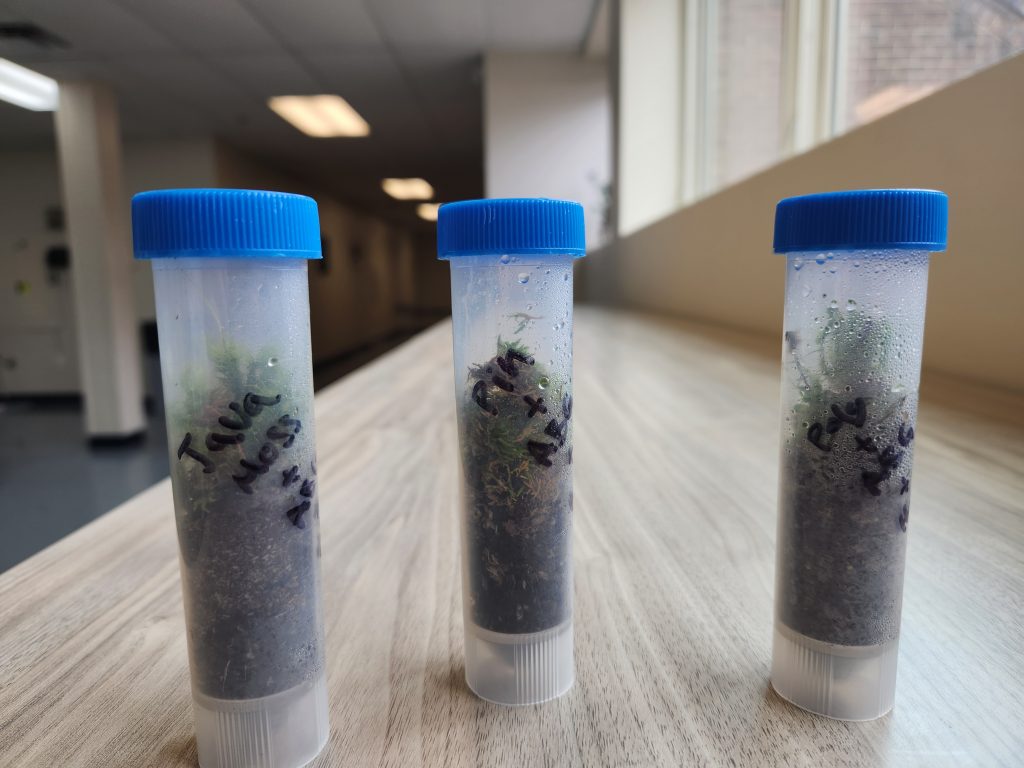
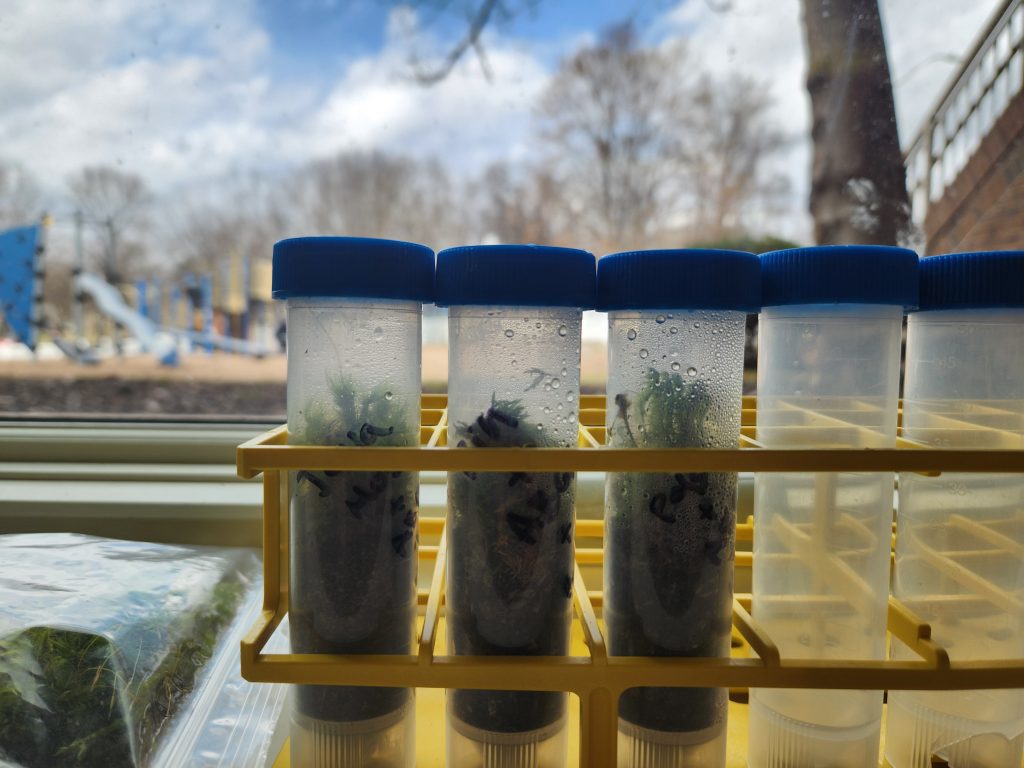
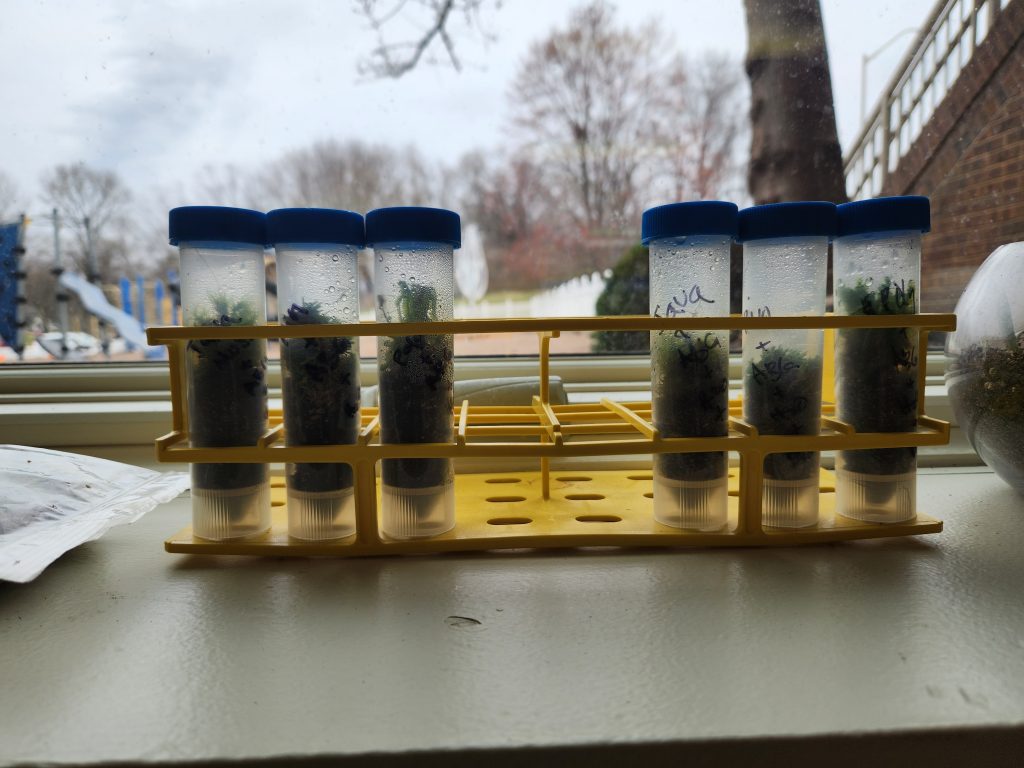
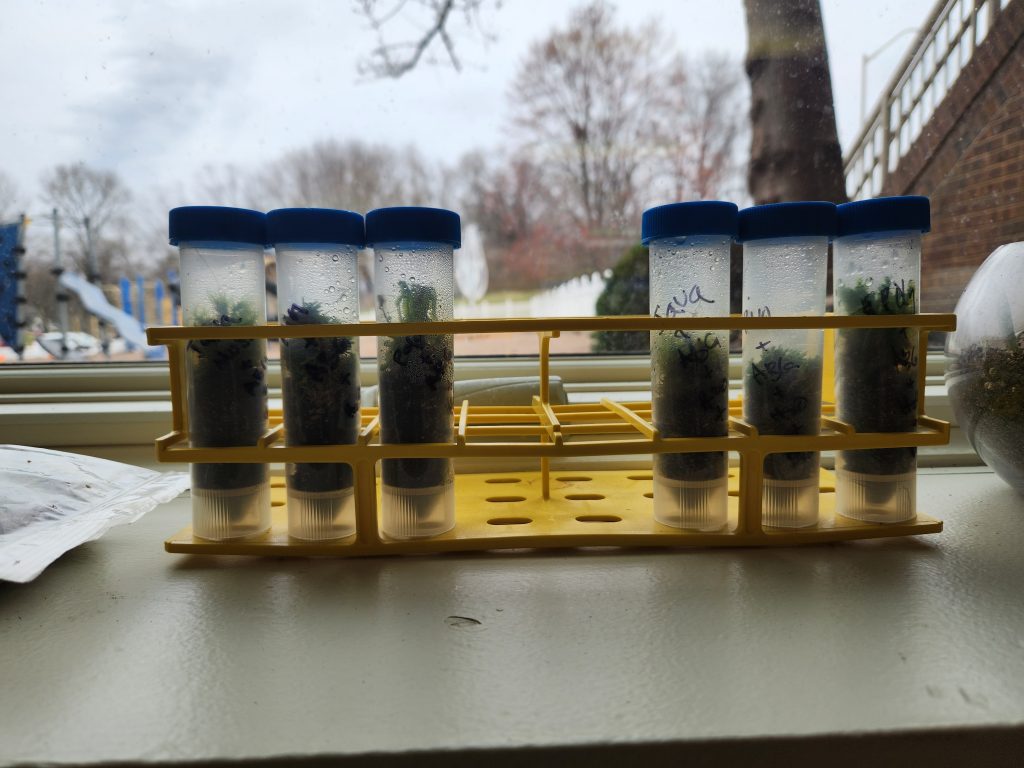
In Mackerspace, I have been experimenting with the minimal necessities and best ways to create a self-sustaining terrarium. I am using three different types of moss and experimenting with drainage. The six combinations I am trying are:
- Java moss+ABG
- Java moss+ABG+false bottom
- Polytrichales+ABG
- Polytrichales+ABG+false bottom
- Pin cushion moss+ABG
- Pin cushion moss+ABG+false bottom
The moss I am using takes a long time to die even if it isn’t properly sustained so after almost one month I have no results.
Makerspace Project
One day I got super bored and didn’t have a project to do. After spending nearly the entire time trying to find what to do, I eventually found two pencils and a random ball of light blue yarn and decided to use them to knit. I decided not to do a particular design, but it will be finished when the yarn runs out. This project is very relaxing and fun to do. It provides a nice break from stressful stuff. So far, I think I’m halfway through the yarn or close to halfway. By doing this project I learned that it’s really easy to find the basic materials for knitting and starting.
Fiat 500 seat upgrade
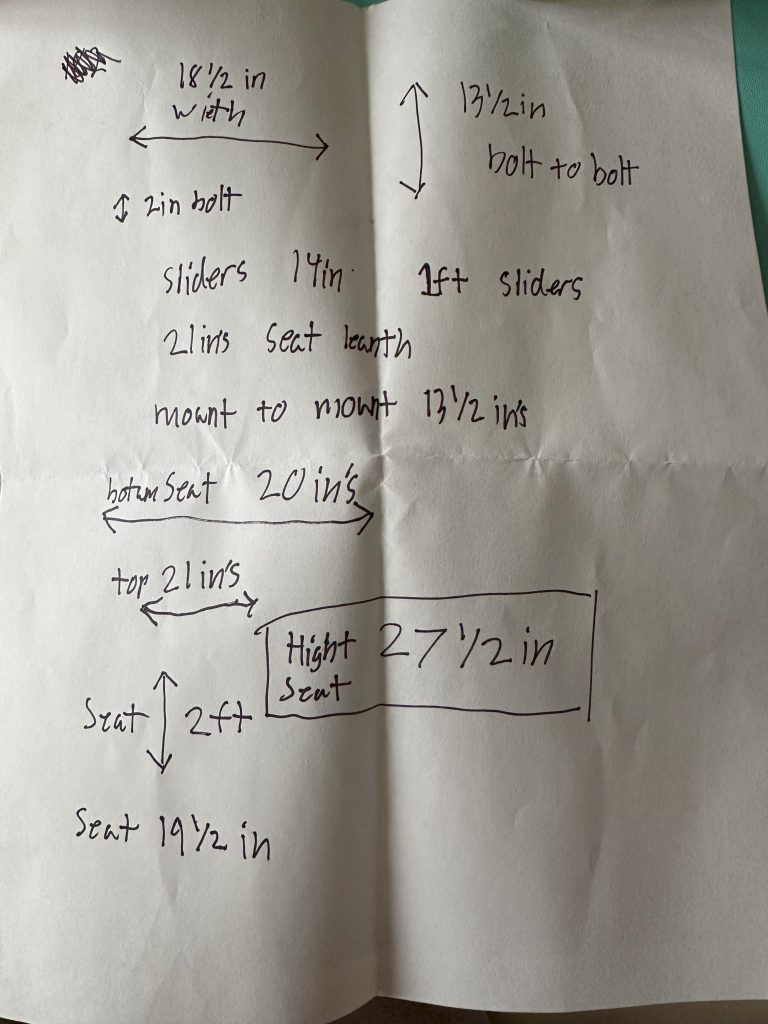
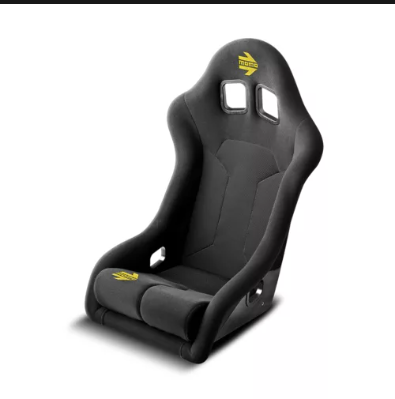
This week in maker’s space I worked on planning a seat upgrade for my car, which is a Fiat 500. The new seat is made in Italy and the company is Italian. It is a bucket seat and I want to upgrade to it because it’s cooler and safer. I made sure to measure the dimensions and the height of the seat compared to the old seat. I also investigated the bolt sizes to make sure they fit the brackets. I figured out which tools I would need. Most of the bolts are 16 mm and 10 mm. I have all of the information I need to order the seat when I have the money to buy it.
Monuments from around the world,
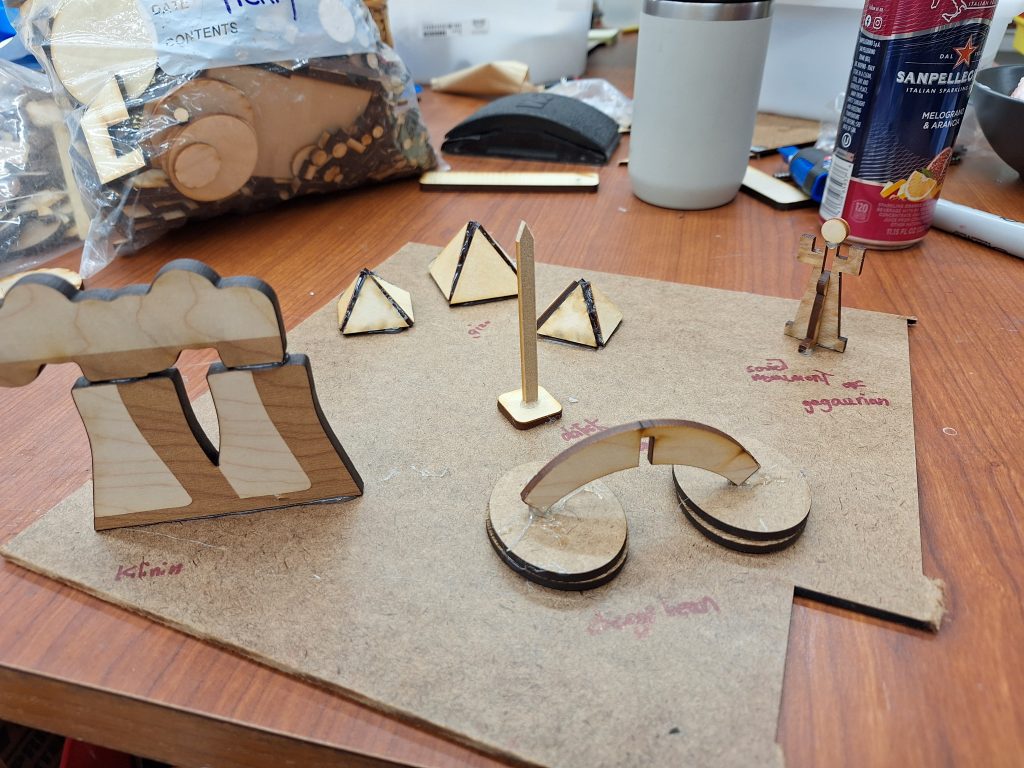
I made some wooden replicas of some monuments from around the world.
I used some scraps from the scraps pile and hot glued things together.
I made the pyramids of Giza, the Chicago bean the Kilianan nuclear powerplant, and the Gagarin monument. Even the Obelisk of Piazza Navona.
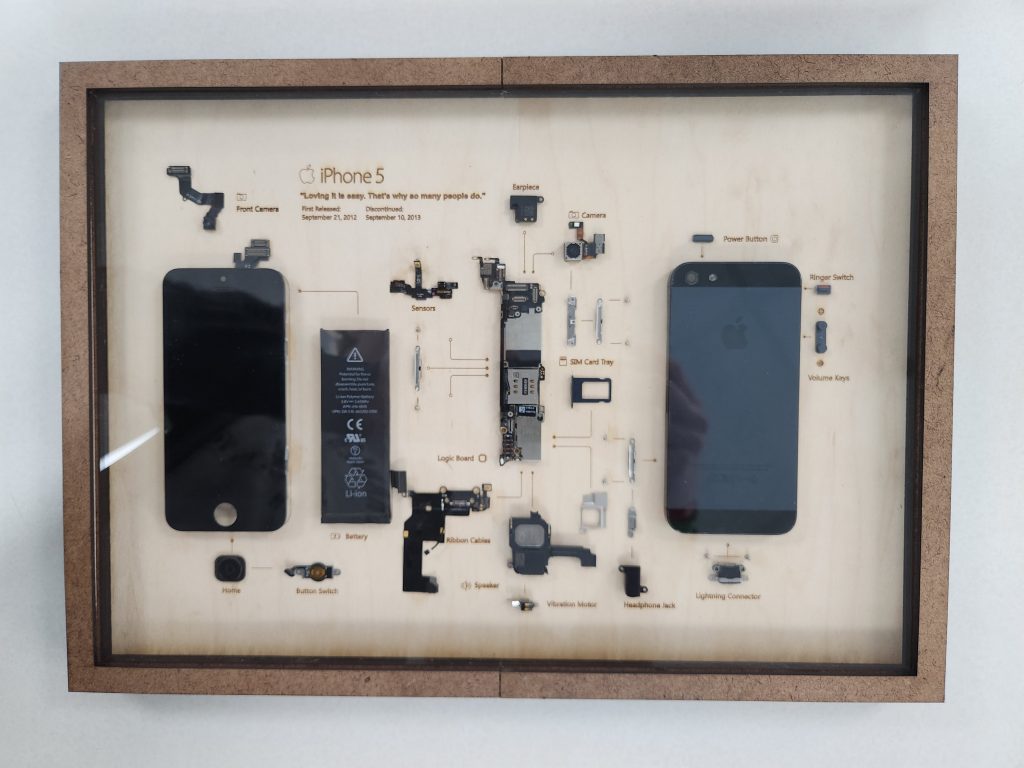
iPhone 5 teardown display
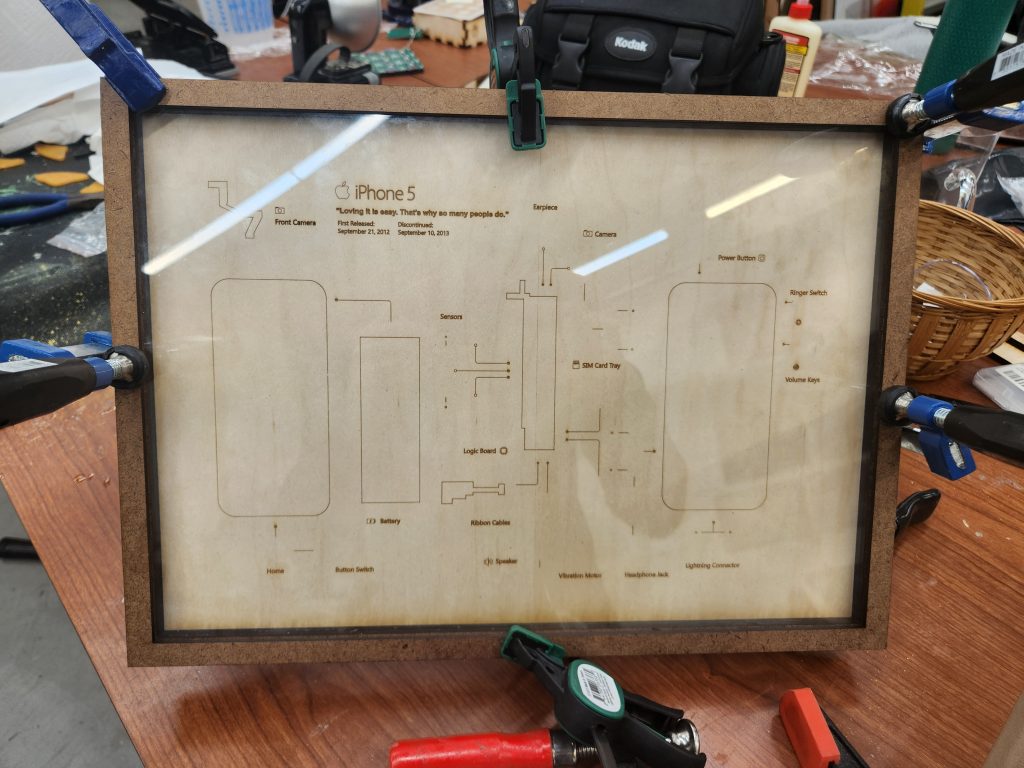
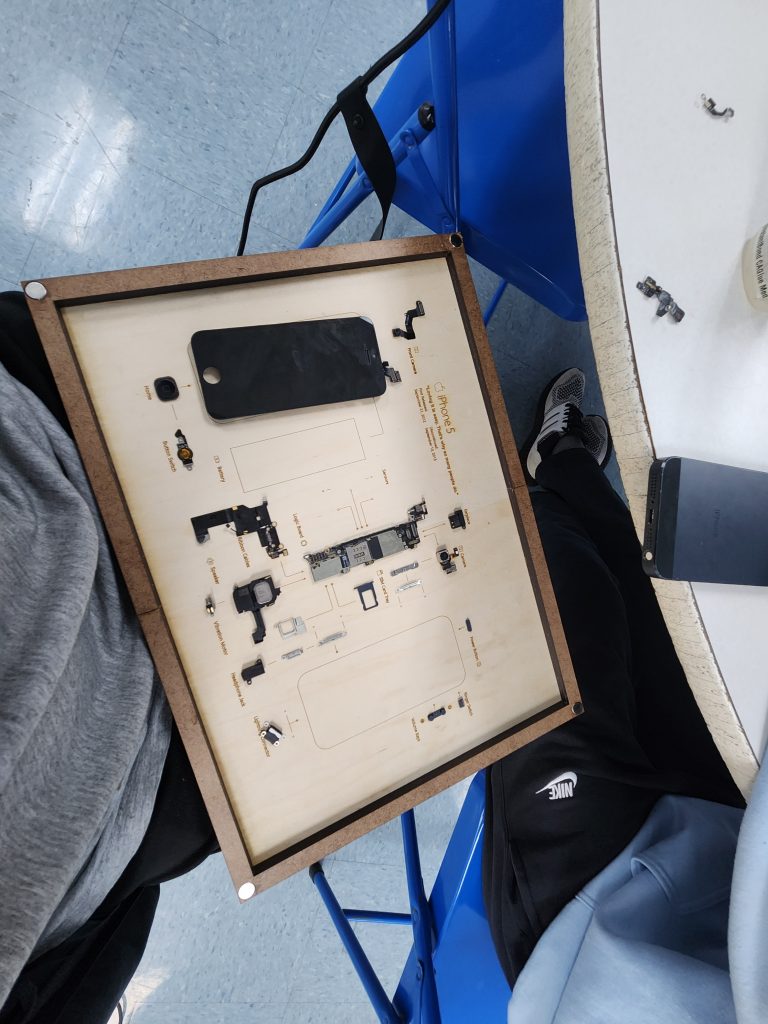
For the 2024 global interim I did a project I had been wanting to do for a while, a teardown display of an iPhone. Recently the Makerspace received a donation of several old Apple products, one of them being an iPhone 5.
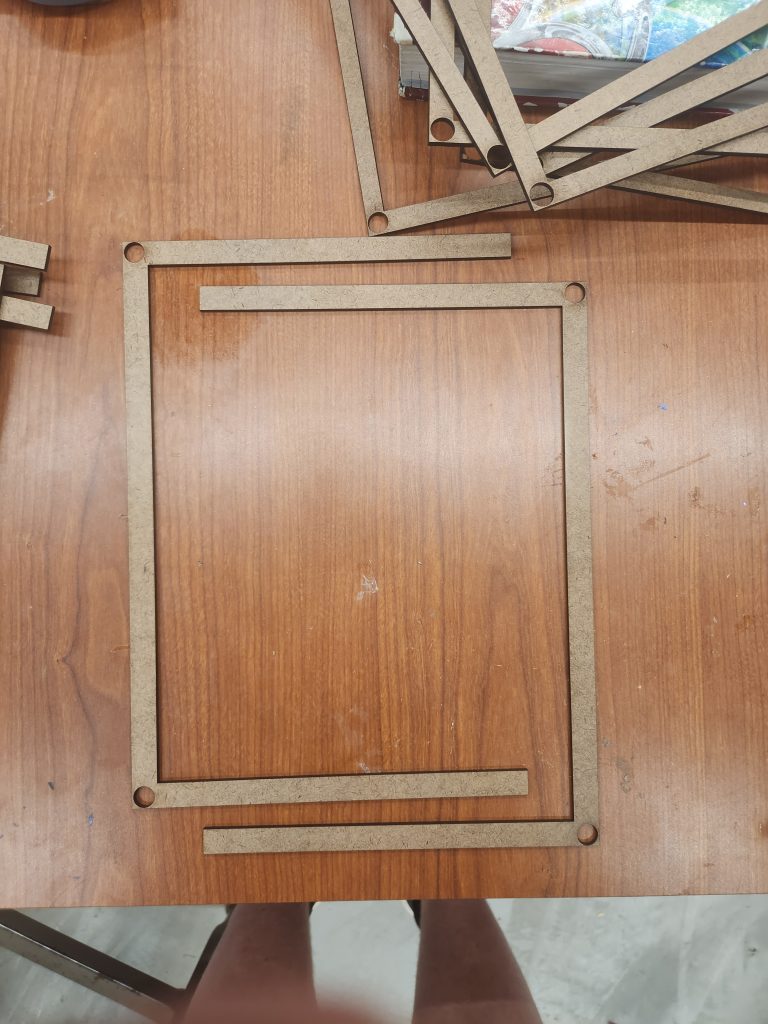
I spent a while trying to find a good template that I could transfer to an .svg file for laser cutting. After doing this I designed a magnetic frame assembly that would let me take the whole frame apart.
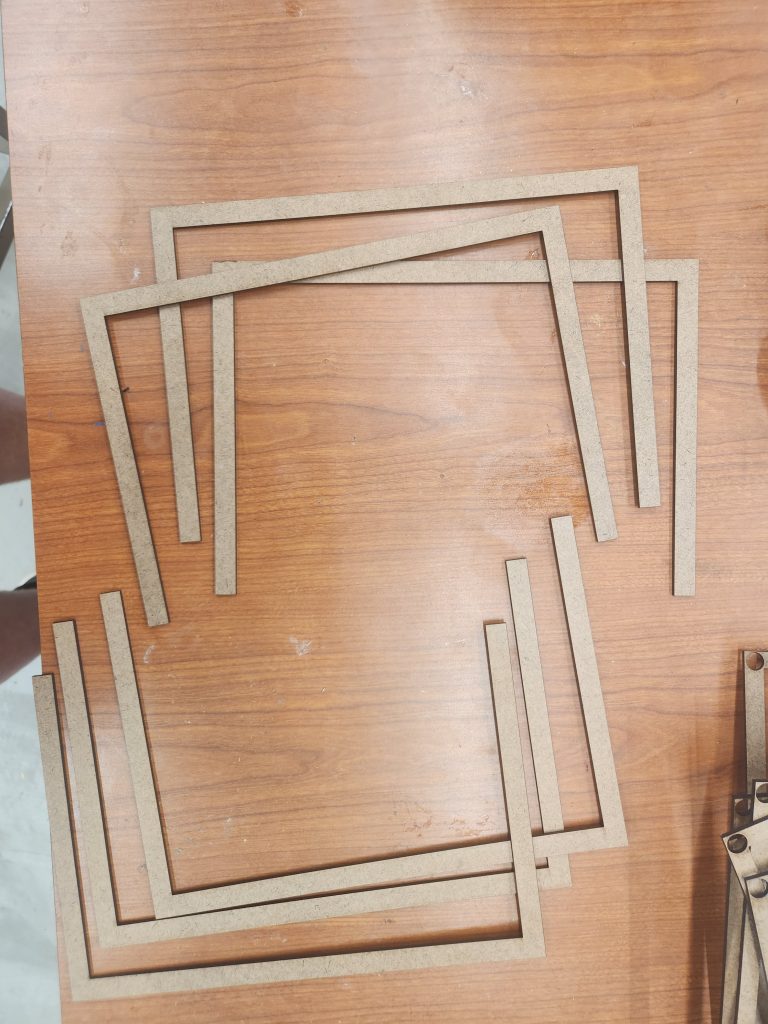
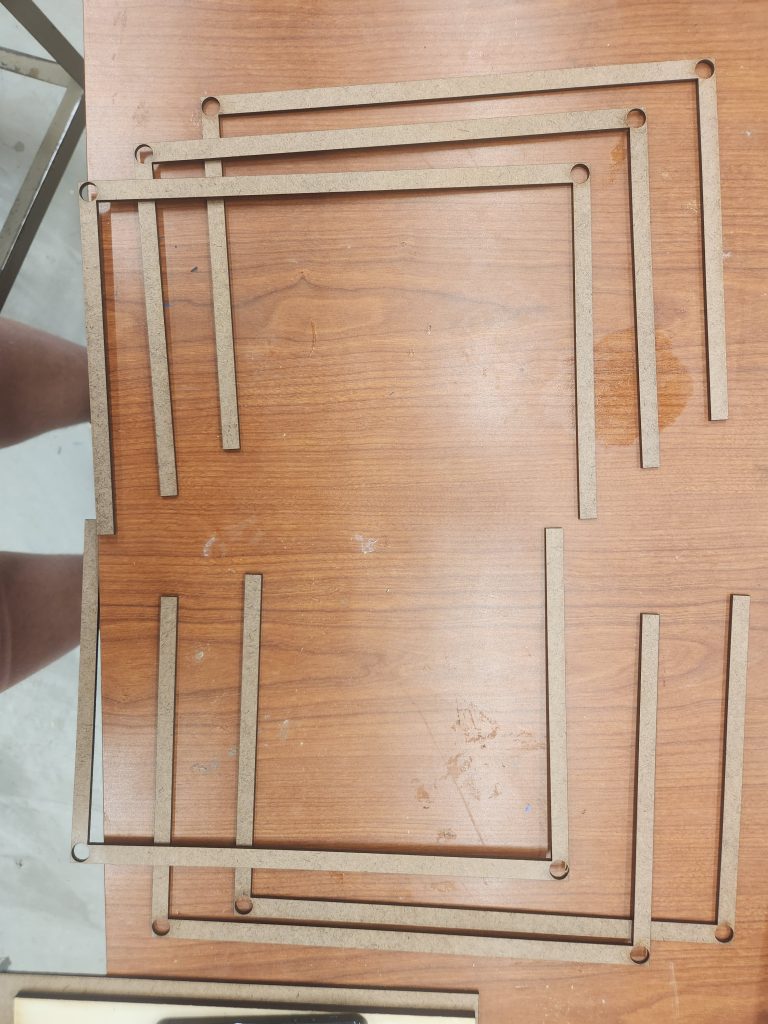
The frame consists of three pieces, a backboard, mid frame, and top frame. The teardown display sits in between the backboard and mid frame while a piece of clear acrylic sits between the mid and top frames.
My original design had the individual layers of the frame cutout in two parts, while seeming like a good idea at first, I later realized that the way I designed it wasn’t all that good, resulting in a more painful assembly process. This design has since been fixed for anyone willing to replicate the project in the future.
Disassembly of the iPhone was a much less painful experience, with help from Damien I was able to get it all taken apart and glued onto the board.
This project fits into the global theme of this week’s interim since it displays all of the globally sourced internals of an iPhone, Japanese batteries and Cameras, Taiwanese silicon, American glass, and Korean processors all put into a phone designed by Apple in California.
Amazing Abaca ball
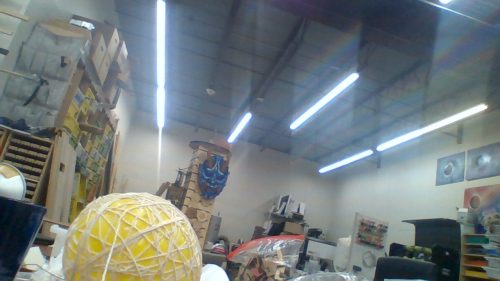
I made an abaca ball, which is from the Philippines. Abaca thread is made from an abaca plant. Abaca plants are native to the Philippines. It also takes several months to be ready for harvest. Long story short, I don’t have any abaca. You may be asking, “how did you make an abaca ball without any abaca thread?” the answer is, I didn’t. Instead of giving up, I improvised by using Millie’s idea which was coating string or yarn in glue and wrapping it around a balloon. After a day, you would pop the balloon. The sting or yarn would stay put because it was covered in dried glue, therefore keeping the string or yarn in place.
Link to info: Food And Agriculture Organization of the United Nations: Future Fibers: Abaca
I discovered abaca balls from Pintrest
“
Recent Comments