Tri State Area
Makerspace at the Fulton School
Sim Racing
Sim racing has been a passion of mine for several years. I have been racing on a ps4 with a lower end racing wheel. At the beginning of lockdown, I upgraded my entire setup. I bought a Fanatec steering wheel and pedals. My brother and I split the cost of a PC. We had an old projector I got to work. I built a stand for the project and the sim rig. I had to make sure the rig was able to stand strong side forces due to the amount of force the wheel outputs. I ended up making the frame out of 2*4’s and plywood, the stand for the wheel is made out of 2*6. A few years ago I also decorated my sim racing area, specifically the wall you can see in the pictures. I cut out all of the main racing tracks from around the world.
In the picture above you can see the sim rig I built which holds the steering wheel and pedal. On the far left is my projector stand, it projects the image onto a project screen I got off amazon. The wall on my left is filled with all the track layouts.
Here are all my track layouts.
Rube Goldberg Machine
For a project in physics class, we were given the opportunity to build a rube Goldberg machine. I worked with a classmate and built a 3 step machine. The first 2 steps are not pictured. I would tap a marble to start it which would go down a Plinko board and would drop the marble into a shelf where it rolled to the next step. We built a golf tee step up, the marble would roll into a golf tee which would knock a marble off the top and would repeat 4 times. The marble would then roll into a farris wheel which would dump it out at the end. I built and designed everything with a laser cutter at school.
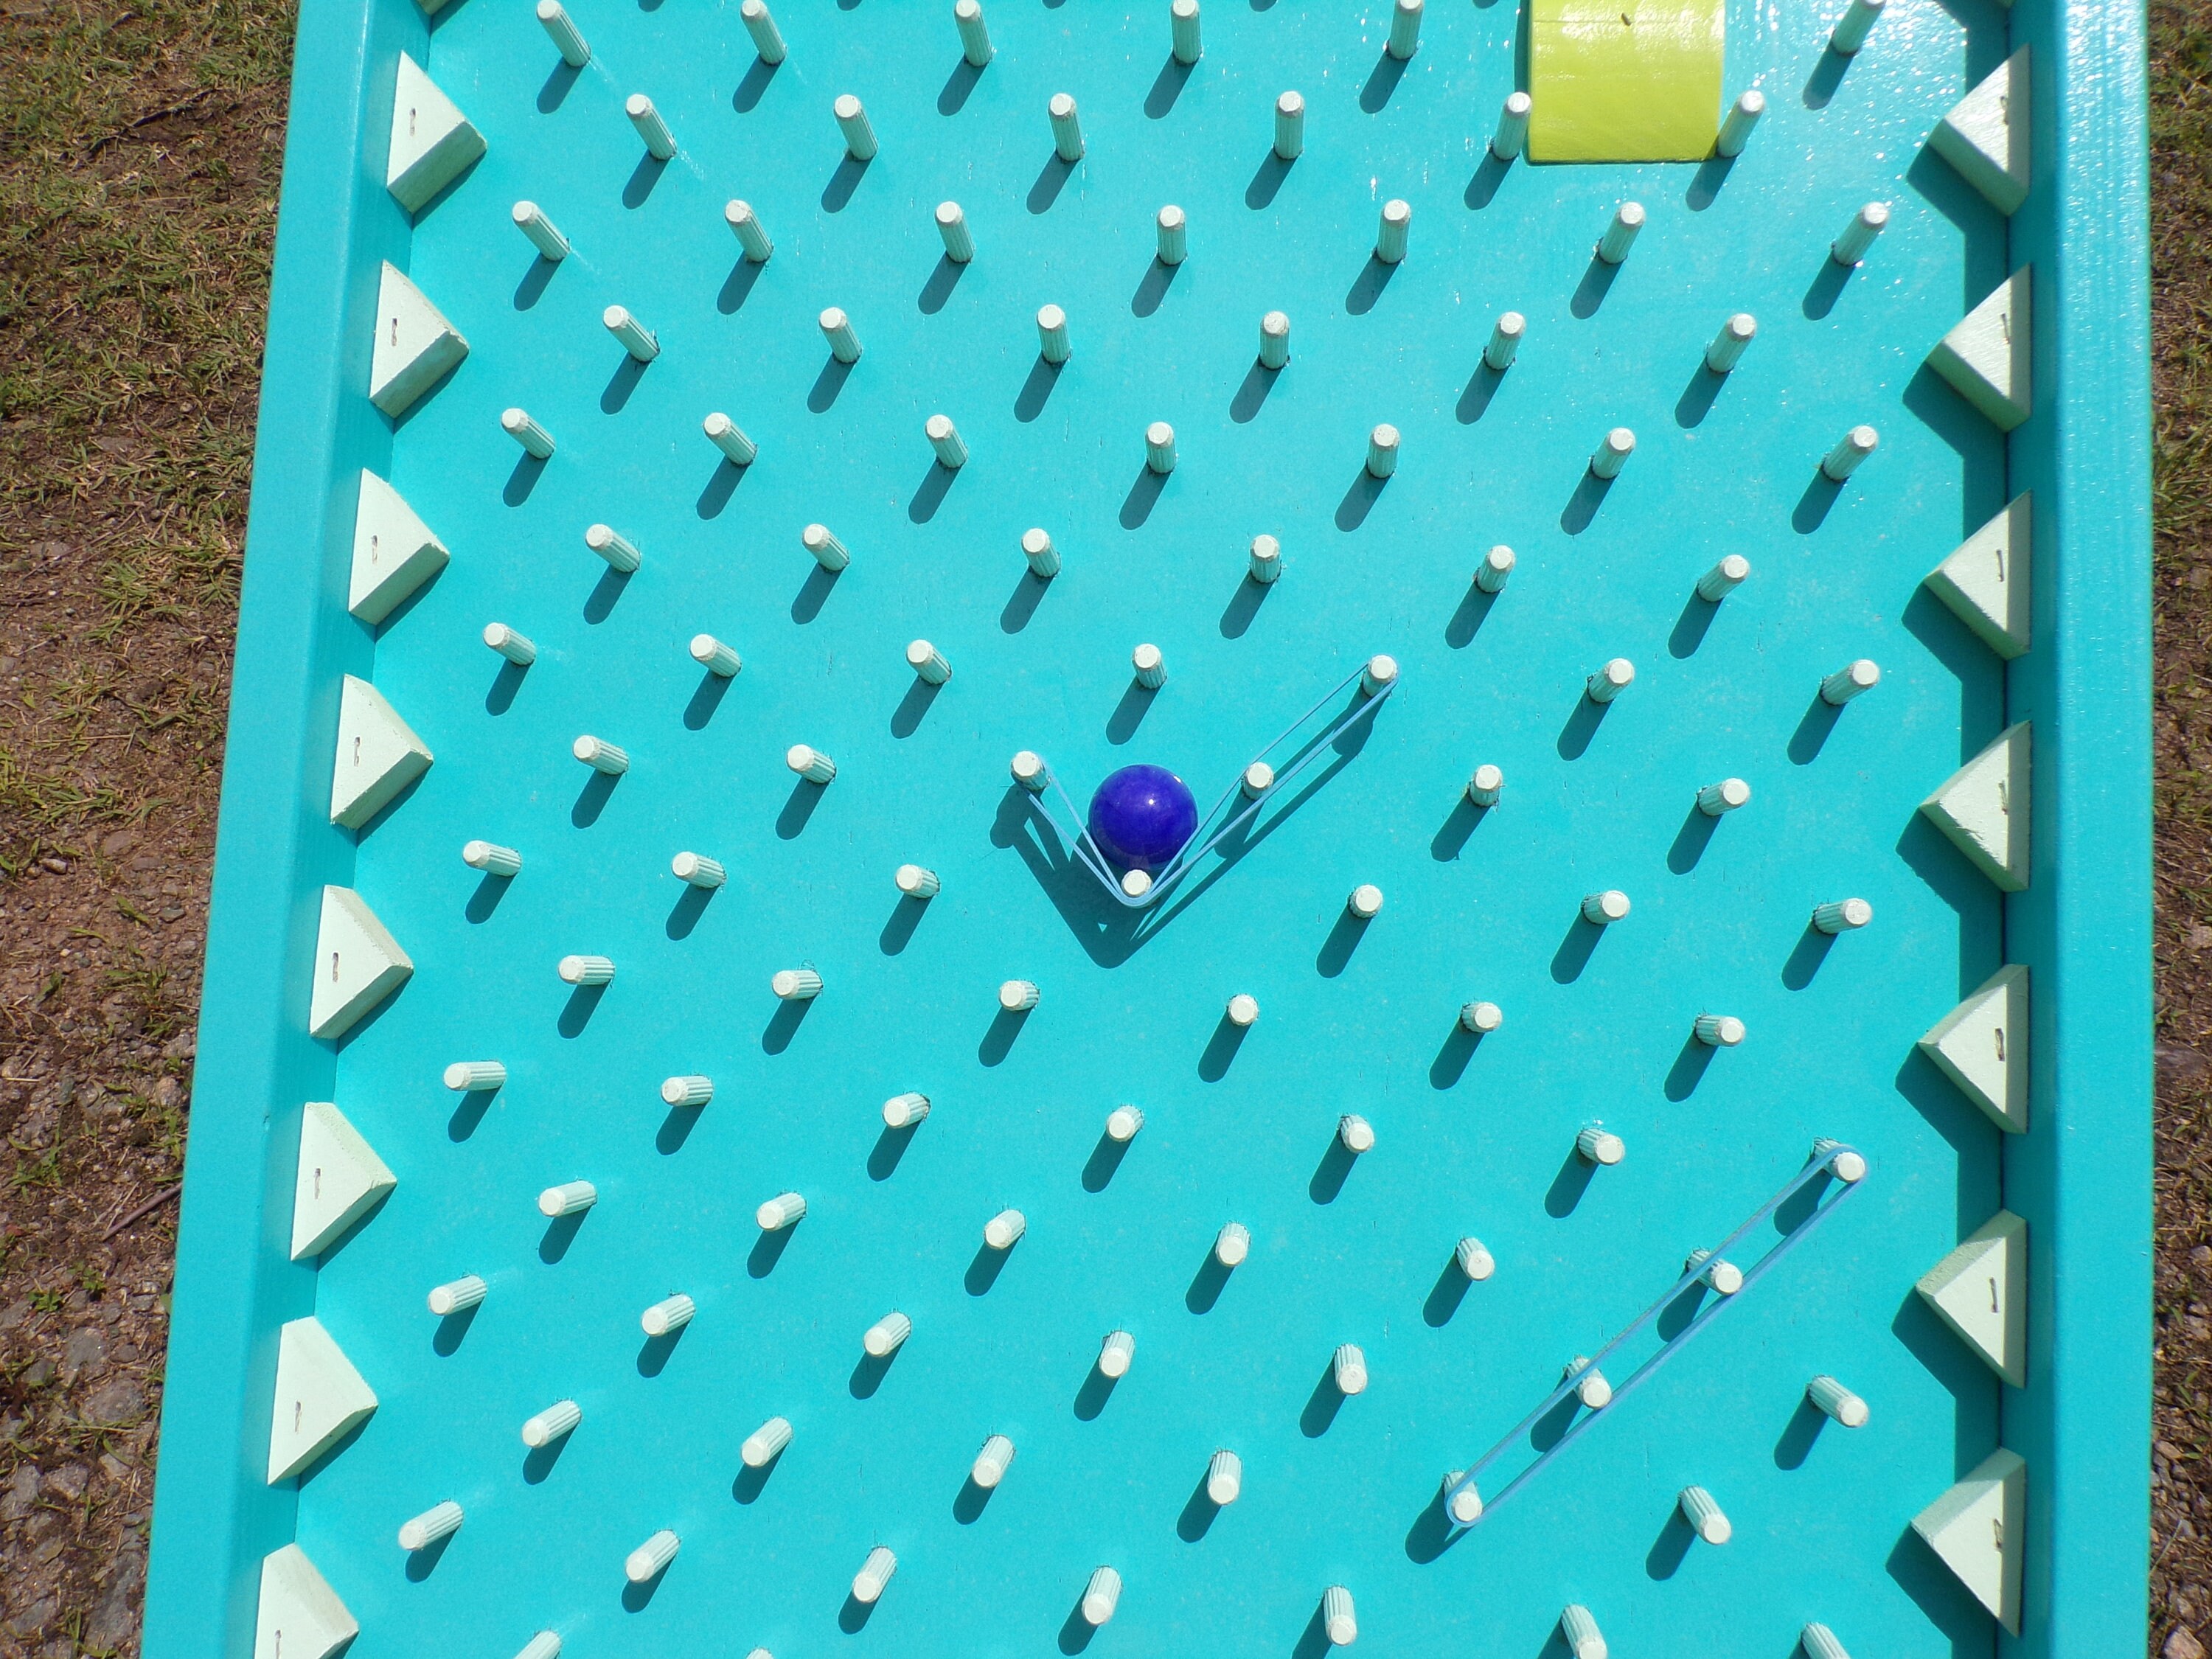
Above is the farris wheel I designed and made.
General Contractor Work
During the summer of 2019, I worked with a local contractor. Some projects I worked on were mowing commercial properties, installing a barn roof, and building a retaining wall, and installing horse fencing. The pictures below are only examples, I do not have any pictures of the projects I worked on.
I helped install a barn roof similar to the one above.
I also worked on a 15 foot high retaining wall similar to the one above.
Neighborhood Landscaping and General Labor
Since 7th grade, I have been working around my neighborhood. Everyone has about 7 acres and most own horses. I mow, trim, mulch, weed, take care of animals, and anything else to take care of a 7 acre property. Along with the general maintenance I have also built several things for neighbors. Some of them include a seesaw for a dog agility course, a fence around a propane tank (picture to come), and much more. This upcoming summer I will be gutting, designing, and building a new dream garden for my neighbor. I plan on taking everything out and re-leveling the ground. Then mulch the entire area. I will then build multiple raised beds, a greenhouse, a drainage pond, and a work bench. It will have a decorative fence around the outside.
Above is the frame of the dog seesaw, it will have a 2*6 on top of it.
Here is a picture of a stall I just re mated.
Karting Designs
I have been go karting since 12, but have competed competitively for the last 3 years. This year I won the IDRIVE championship which awarded me a professional go kart for the next season. Most racers I race with have their own logos and like customized products. I have made up multiple designs to sell on race days. Everything is 100% customizable. They can ask for their logos, achievements, sponsors, or anything else to be printed on the designs. I have also printed my logo onto a t-shirt and hoodie. I plan on making more clothes.
Customizable laser art
Hoodie
T-shirt front
T-shirt back
Yoga Room Art
My parents were turning an old office into a yoga and meditation room. They searched all over the internet for simple clean looking calm wall art, they could not find anything. I designed and cut out all the the art above for their room. The tree cut out is the most popular. Since I made it for them I have received multiple orders from friends.
Makerspace @home during COVID
Since spring break 2020 I have been doing online school. One of the biggest things I miss is not having access to the makerspace every day and not being able to utilize it for class projects as often. I have still found ways to build and make things for classes at home. A few of them include recreating a graphic novel scene, recreating scenes from books, and building a raffle box.
The image above is a recreating from a graphic novel. My brother and I were taking the same class and worked together on the project work to recreate this picture. He held the whip in the background while I knelled on our horse with a scarecrow on my back.
The pictures above are recreations of different scenes from True Grit and Othello. The first one is a recreation of the dugout scene in True Grit. I cut the hills out of cardboard and spray painted them dark green. While the paint was still wet I covered it with grass, leaves, and branches. I made the cabin out of lincoln logs. I made the shed next to the cabin out of branches and weaved them through string so they would stay together. The base is white fabric so it would look like winter.
The last 2 pictures above are a recreation of the Globe Theater. My brother and I did research on the globe theaters construction and unique characteristics. We made it out of paper and popsicle sticks.
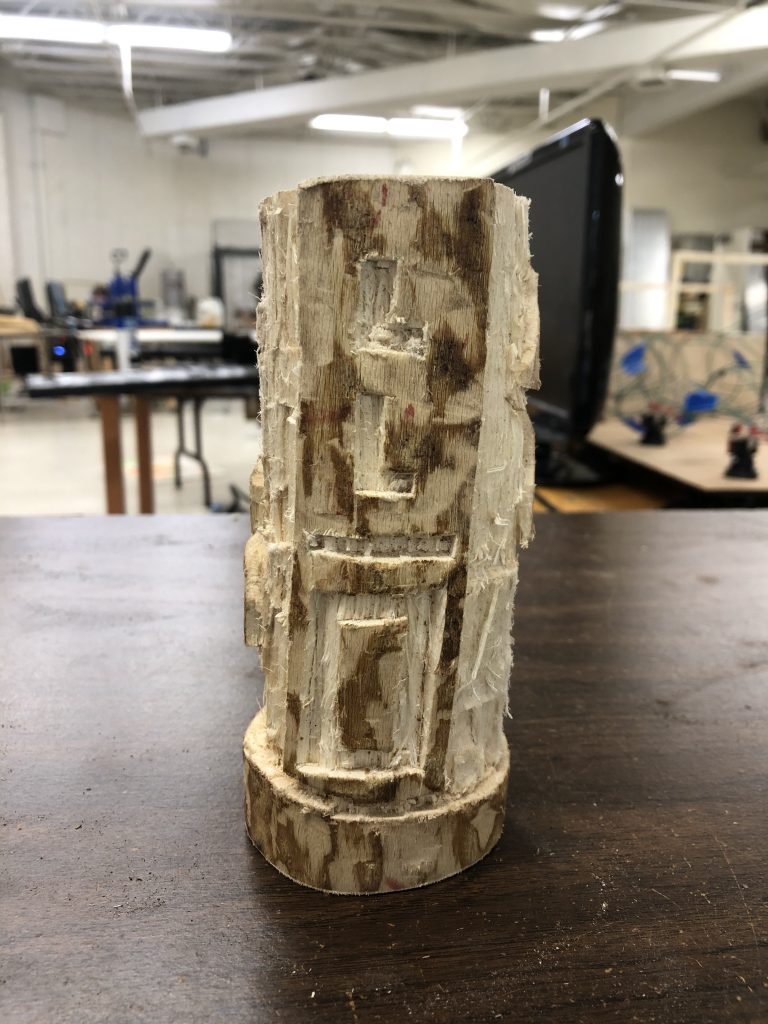
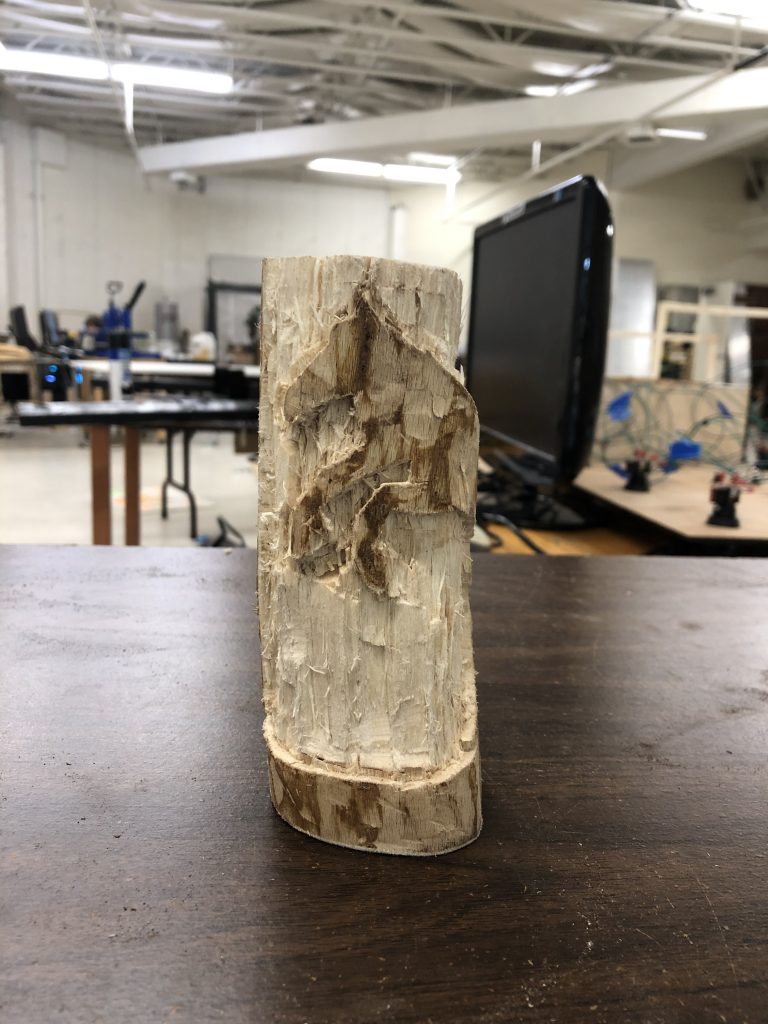
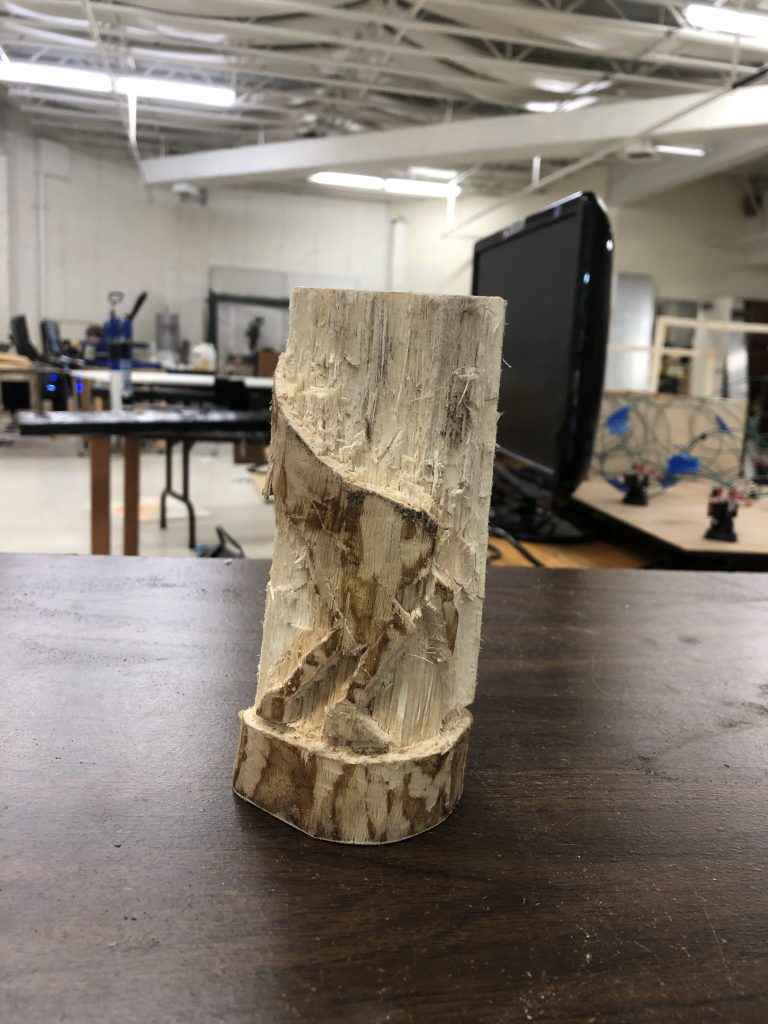
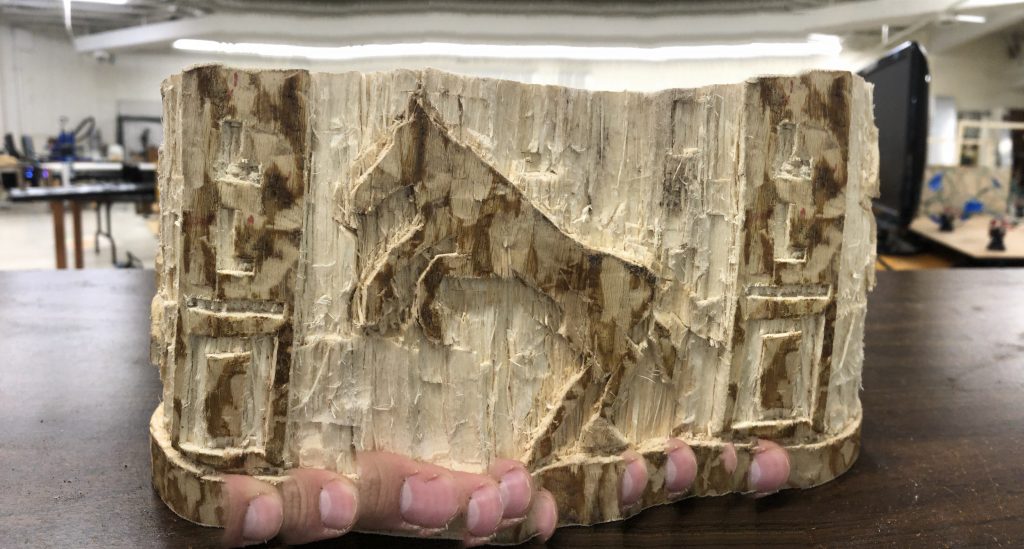
The last two pictures are models of a raffle box in The Lottery. The box was very old. I tried to model the book’s description of it as much as possible. I lightly painted it black to make it look worn along with splintering the wood. The names were all carved into wood chips. I found a down cedar branch and cut it up. I then used a wood burner to engrave all the character’s names on the peices.
Makerspace PPE
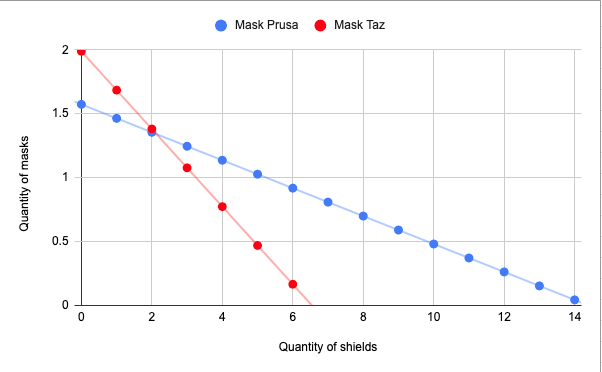
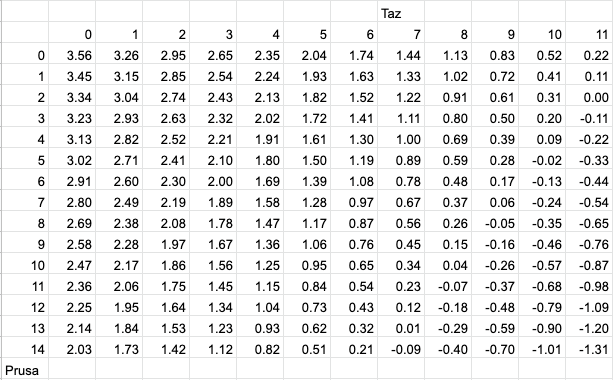
I have made a production possibility curve for the makerspace 3D printers making face shields and face masks. The curve shows how many products you can make in 24 hours working as efficiently as possible.


Recent Comments